Star Wars Battlefront Star Card guide
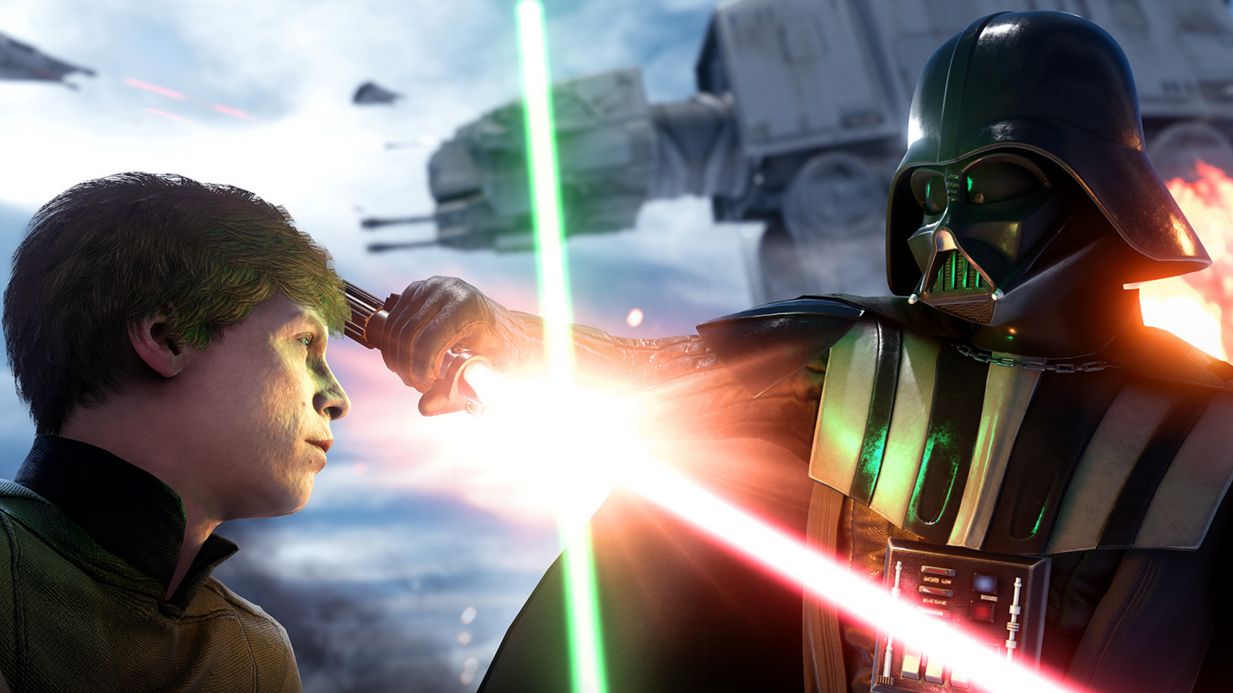
The humble blaster is the bread-and-butter of Battlefront’s battlefields, but it’s the awkward-sounding Star Cards that shape the tools and firepower at your disposal. After ranking up for the first time, you can start unlocking cards with credits earned through multiplayer matches or the AI modes. Three cards fill a ‘hand’ brought into battle: each card represents a short-cooldown ability, grenade, or secondary weapon serving as useful (and often flashy) tide-turners and damage amplifiers. In a way, devising and choosing the ideal hand against the opposition is Battlefront’s closest approximation to a loadout system.
Figuring out a Star Card hand that works for you is something best done through trying various combinations in the field, so let this guide be your primer for learning each card’s function, the requirements to unlock it, and simple tips on its applicability. I’ve also included a few sample hands I’ve used with good success as possible starting points for your own setups.
A few general notes: you can upgrade cards for 7,000 credits to an improved version that either prolongs the given effect or shortens the cooldown timer. As in actual card games, certain hands counter others—the Homing Shot’s lock-on effect is negated by a timely Smoke Grenade, for instance. Don’t worry about layering some sort of grand meta-strategy for your hand. A good rule of thumb is to pick whatever looks fun for you, and you’ll do well. As Andy pointed out in his review, Battlefront is fairly shallow, and shines best when you just jump in and enjoy the Star Wars thrill.
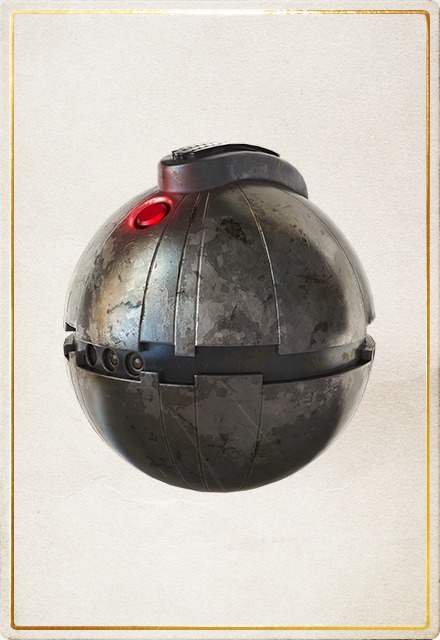
Thermal Detonator
Rank required: 2
Cost: 150 credits
Cooldown: 15 seconds
The first unlockable Star Card is both one of the most all-purpose and the most commonly seen flung around during a round. The Thermal Detonator is as standard as a frag grenade gets: see an enemy, chuck a Detonator, and wait for the boom. It predictably fares well in enclosed spaces and tight hallways, but it’s also a decent choice for softening up or finishing off ground targets in the open alongside a couple blaster shots. The fuse begins ticking the moment it leaves your hand, so with a practiced throw, you can land a Detonator at someone’s feet right when it’s about to blow.
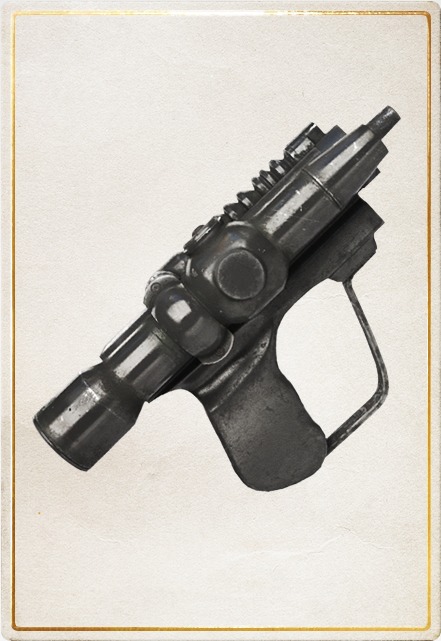
Scout Pistol
Rank required: 3
Cost: 650 credits
Cooldown: 9 seconds
The Scout Pistol seems mediocre at first glance—a toyish little thing that only pops off two shots before needing to recharge. Those two shots belie its harmlessness, as the Scout Pistol can snappily drop an enemy at close range in less time than most of your primary blasters. It’s excellent for surprising soldiers around sharp corners and blind spots—pop out of cover, fire off the Pistol, and reap a quick frag. Though the Pistol tends to get passed over for more explosive cards, don’t discount its pocket-sized punch and relatively short cooldown in interiors such as the icy corridors of Hoth’s rebel base or Endor’s bunker.
Keep up to date with the most important stories and the best deals, as picked by the PC Gamer team.
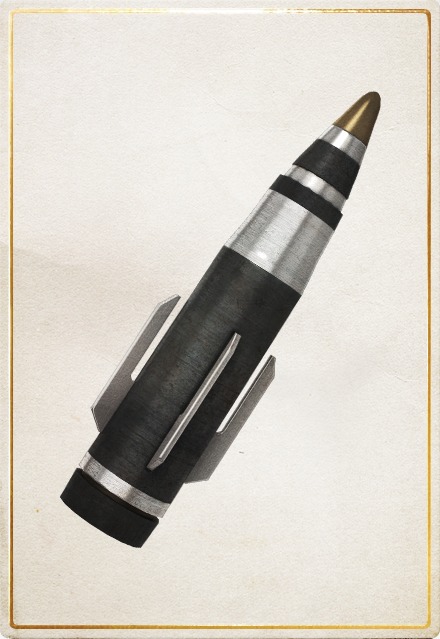
Ion Torpedo
Rank required: 4
Cost: 650 credits
Cooldown: 15 seconds
If you’re on the Rebel side, chances are you’ll spot plenty teammates equipping this card. In the large-scale Supremacy and Walker Assault modes, the Empire gets the added luxury of the AT-ST and AT-AT ground war machines, both capable of inflicting immense destruction if left unchecked. The Ion Torpedo is the best direct anti-vehicle (and anti-air) damage card you can arm yourself with, and it’s a necessity for Rebels to help chunk down the hulking AT-AT health in Walker Assault. You’ll need to aim and keep your crosshair on target for a few seconds to acquire a lock, so be mindful of exposing yourself while zoomed in. Try angling yourself so the torpedo hits rear-facing armor for a damage bonus.
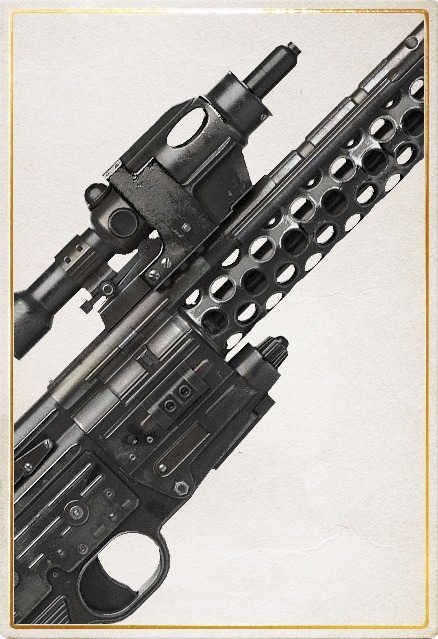
Pulse Cannon
Rank required: 5
Cost: 1,700 credits
Cooldown: 18 seconds
Plinking away at long-range opponents in Battlefront is easy to pull off thanks to forgiving auto-fire accuracy. When someone needs that extra friendly touch, swap the Pulse Cannon into your hand. If you can land your shot after a full charge, you’ll be rewarded with an instant (and spectacular) kill as your victim goes flying from the impact. The Cannon is a popular choice for sniper, ambush, and defensive setups, as you can eliminate a target quickly and safely from a distance. It also deals substantial damage to heroes and is a great coup de grace tool for Hero Hunt or Heroes vs. Villains. Don’t bother using it against vehicles—it’s strictly anti-personnel, so it won’t even scratch the paint job on an AT-ST’s armor.
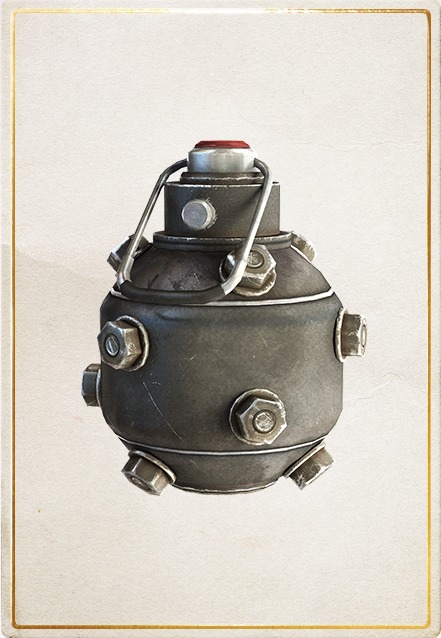
Impact Grenade
Rank required: 6
Cost: 1,700 credits
Cooldown: 16 seconds
Alongside its brothers Barrage and Thermal Detonator, the Impact Grenade is the primary culprit for hallways spammed with explosive death. Unlike the Detonator, the Impact goes off at the point of contact with any surface. That includes walls, the floor, pieces of scenery, trees, or someone’s face. It’s a guaranteed kill if you hot-potato it directly onto an enemy, but you’ll need precise throws as the blast radius is smaller than the Detonator. It’s amazing for clearing groups clustered around Walker Assault uplinks.
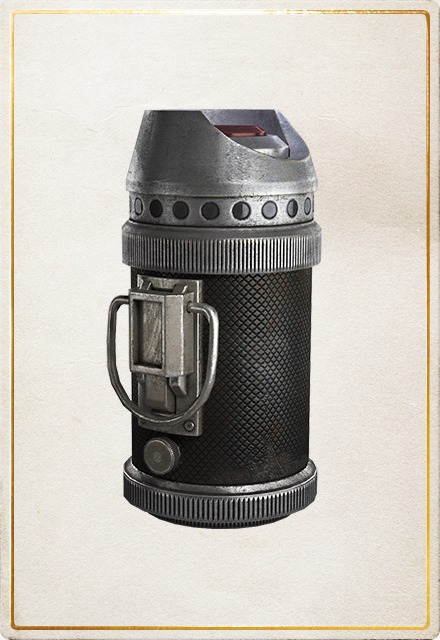
Ion Grenade
Rank required: 9
Cost: 2,300 credits
Cooldown: 16 seconds
As its name implies, the Ion Grenade is a specialized piece of ordnance designed to be chucked at vehicles. It can function as a low-damage normal grenade in a pinch, but its fuse is hideously long if it doesn’t hit armor. It pairs well with the Ion Torpedo in a full anti-armor hand, and it’s useful for finishing off a weakened AT-ST up close after puncturing it with a torpedo or two. It’s also perfect for damaging a walker on its vulnerable underbelly if you can avoid getting stepped on.
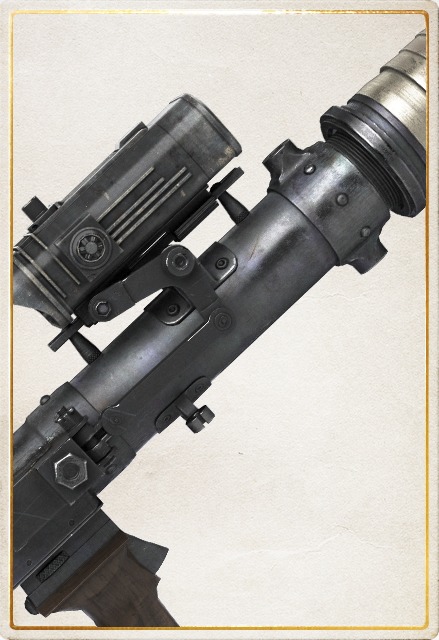
Homing Shot
Rank required: 11
Cost: 3,100 credits
Cooldown: 18 seconds
The Homing Shot joins the Pulse Cannon as a long-range eliminator with an added fire-and-forget flavor. Operating in similar function to the Ion Torpedo, it locks onto enemy players and sends out a small missile that slowly closes in on the target for a one-shot kill (bonus points if you simultaneously hum the Jaws theme). You’ll typically see whoever you’ve got your sights on scrambling for cover as a noisy red warning flashes on your prey’s screen during a lock. Consequently, put something large and sturdy in between yourself if a Homing Shot is coming your way. It won’t get the job done as speedily as the Pulse Cannon does, but it’s a good item for holding off encroachment from afar.
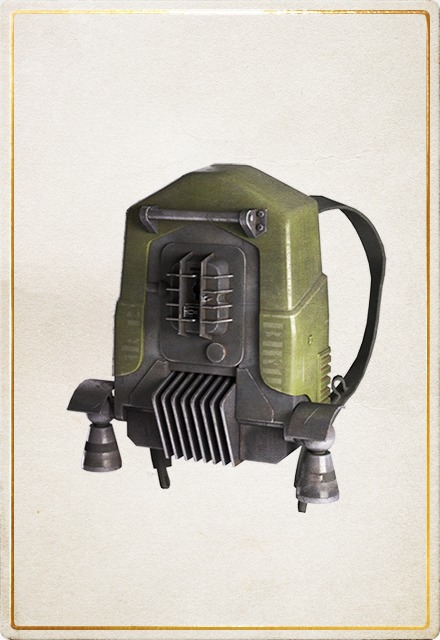
Jump Pack
Rank required: 13
Cost: 3,100 credits
Cooldown: 25 seconds
The Jump Pack pleases the Boba Fett in all of us. Strapped on like a bulky laptop backpack, it jets you in whatever direction you’re heading at the time of activation. As expected, it’s a huge boon to maneuverability and staying alive, and it’s equally advantageous for rapidly closing the distance—rocketing onto an enemy Cargo carrier like Fett himself is wicked fun—and quickly escaping a death zone to recover. Its general usefulness pairs well with any other card, so you can’t go wrong choosing it.
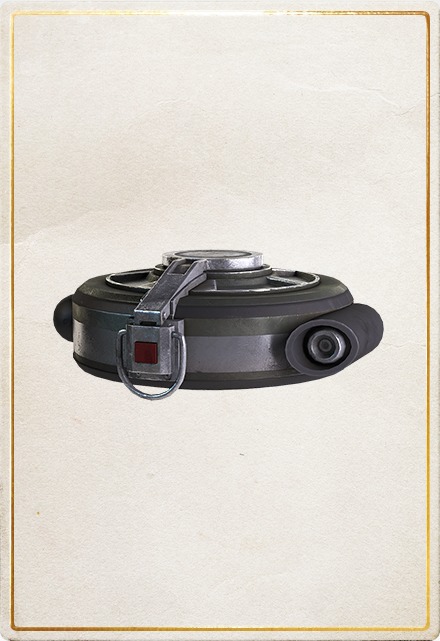
Smoke Grenade
Rank required: 16
Cost: 3,300 credits
Cooldown: 20 seconds
For the support-oriented connoisseur, the Smoke Grenade is the ideal companion. It won’t rack up kills or shower your screen with special effects, but it’ll excel at easing pressure off your team with superb area denial and thick, smoky cover for added mobility. The smoke also shakes Homing Shot locks, an amazing convenience while traversing open ground. Spider-like tactics complement the Smoke Grenade—set up an ambush nearby and wait for impatient enemies to rush in through the cloud.
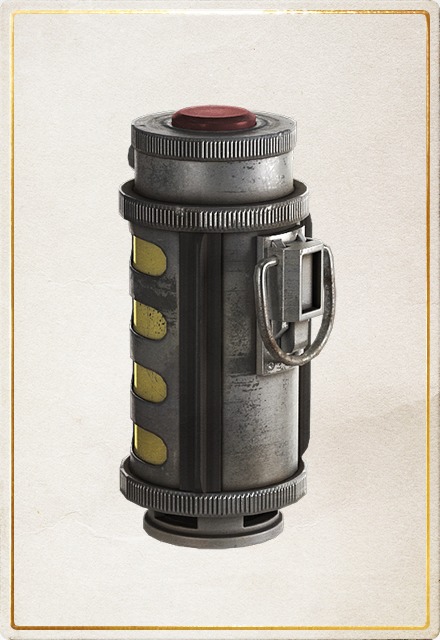
Flash Grenade
Rank required: 20
Cost: 3,100 credits
Cooldown: 16 seconds
The dualism of the video game flashbang: an amazing utility for hampering opponents when thrown correctly or the quickest way to get yelled at by frustrated teammates when not. Even the Flash Grenades of Battlefront’s far, far galaxy dance on that double edge, so you won’t find many players risking the wrath of the server by having it equipped. Still, the blinding effect isn’t so terribly obnoxious unless you’re right next to the thing as it goes off. Grenades of the explodey type naturally pursue the Flash Grenade’s disorienting effect; if anything, it can certainly whip up plenty chaos indoors.
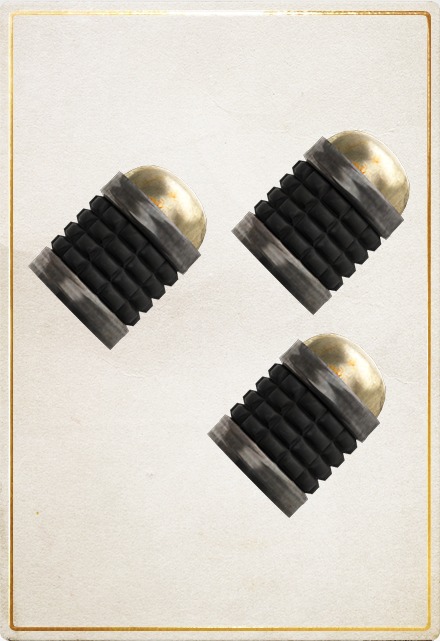
Barrage
Rank required: 24
Cost: 3,100 credits
Cooldown: 18 seconds
As more players rank up, you’re guaranteed to increasingly hear the thunk-thunk-thunk of the Barrage. It fires three mini-grenades in a short arc that detonate shortly after landing. This is the go-to for clearing nests and dug-in defenses, as anything short of a Hero will quickly be decimated. Try favoring less-traveled pathways and flanking routes to avoid the Barrage, as it shines in blind corners and steep inclines. You can bank Barrage shots off walls for extra precision, but make sure you’re well clear to avoid bouncing a grenade right back into your face.
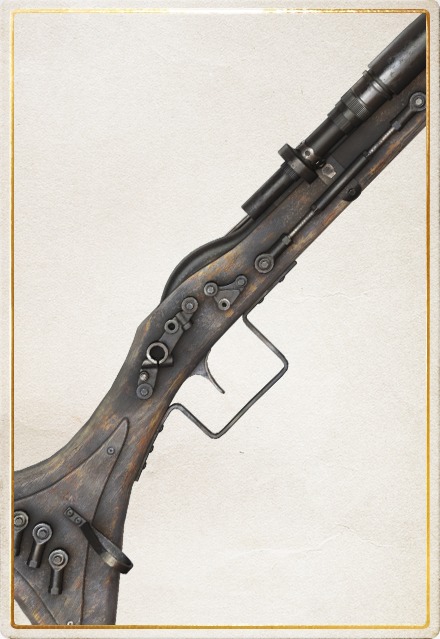
Cycler Rifle
Rank required: 28
Cost: 3,100 credits
Cooldown: 15 seconds
A favored pick from the open beta, the Cycler Rifle has now been shoved somewhat far down the unlock tree and given extra projectile drop. Its basic function is still the same—a long-range bullet shot that ignores shields—but gravity’s added pull increases the challenge and skill needed to land those distant snipes. At the moment, the Cycler Rifle is in a weird position of being a largely ignored high-end card, as the Pulse Cannon accomplishes similar results with less aiming effort. Until DICE’s rebalancing touch, the Cycler Rifle is an outlier choice for marksman hands.
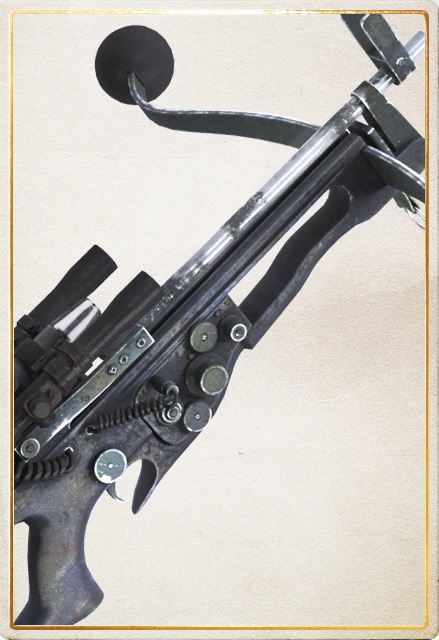
Bowcaster
Rank required: 32
Cost: 3,100 credits
Cooldown: 18 seconds
The scoped Bowcaster, the weapon of choice for a certain smuggler’s furry companion, is the last unlockable Star Card and a blast to use. It fires one explosive bolt on a single click, but the real magic happens when you hold down fire and charge a 5-bolt spread in a horizontal arc. The heavy impact makes this card useful as a close-range shotgun of sorts as it can pass through shields and mow down clumps of enemies in a single blast. (Its room-clearing efficiency rivals Heroes at times.) Like the Scout Pistol, the Bowcaster is meant to augment your offensive output but with more versatility than the former. A popular tactic is to combine it with the Jump Pack to boost out of cover for some charged death from above.
On the next page, some of our suggested hands...
Omri Petitte is a former PC Gamer associate editor and long-time freelance writer covering news and reviews. If you spot his name, it probably means you're reading about some kind of first-person shooter. Why yes, he would like to talk to you about Battlefield. Do you have a few days?

