Tips for beating Hearthstone’s Monster Hunt mode with every hero
Allow our expert to guide you safely through The Witchwood’s new singleplayer mode. Now with added Hagatha!
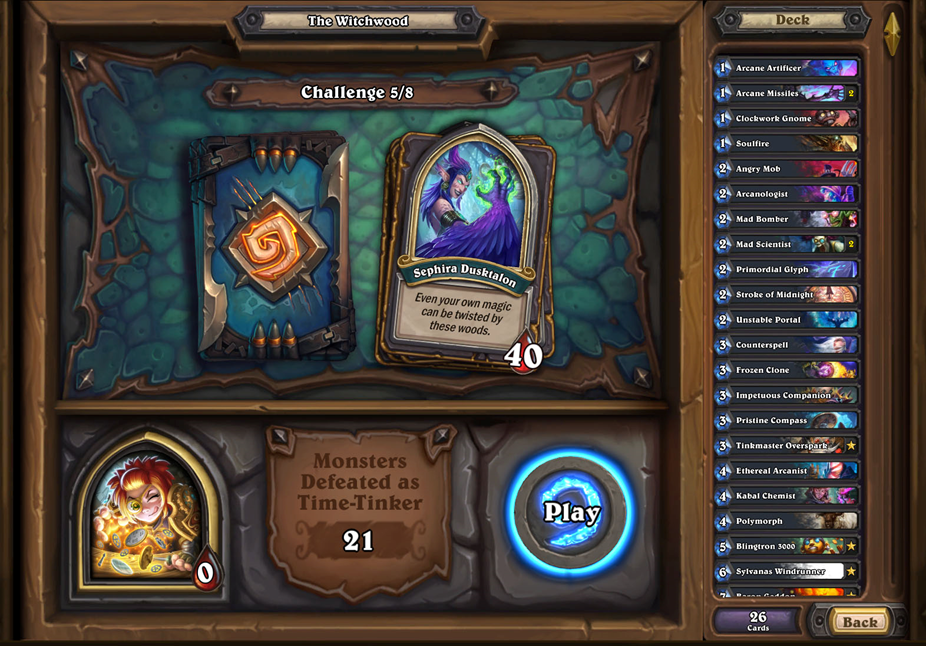
The Witchwood’s Monster Hunt mode dropped this week, and as expected it’s a lot of fun. As with the Dungeon Run from Kobolds & Catacombs, the player is pitted against a series of eight increasingly tricky computer-controlled foes. You get four heroes to choose from: Cannoneer, Houndmaster, Time-Tinker and Tracker. Each of these is associated with one of Hearthstone's traditional nine classes—Cannoneer is Warrior, Houndmaster is Hunter, etc—but also has a unique hero power that synergises with their deck. After defeating each opponent you can add "buckets" of cards to your deck to develop it along a certain theme, and overpowered "treasures" to blow your opponents out of the water with absurd effects.
One of the common criticisms of Dungeon Run was that too much power was concentrated in the final bosses, with the preceding challenges a bit of a cakewalk by comparison. This was a criticism I made also, so I was initially pleased to discover that Blizzard has upped the difficulty of some of the earlier bosses for Monster Hunt. I'm now discovering this is one of those be-careful-what-you-wish-for type things, having lost to the sixth round boss Azalina Soulthief a frankly embarrassing number of times now. Yet another example of why Blizzard should never listen to me, ever.
Another big difference is the addition of a final-final boss, Hagatha the Witch, who you can only challenge once you've beaten the mode with all four heroes. Each hero has a completely different playstyle, and there's a lot of skill in selecting the right cards and treasures to maximise your chance of completing a run. I’ve attempted to demystify that process a bit by putting some tips together for each of the four heroes. Starting off with…
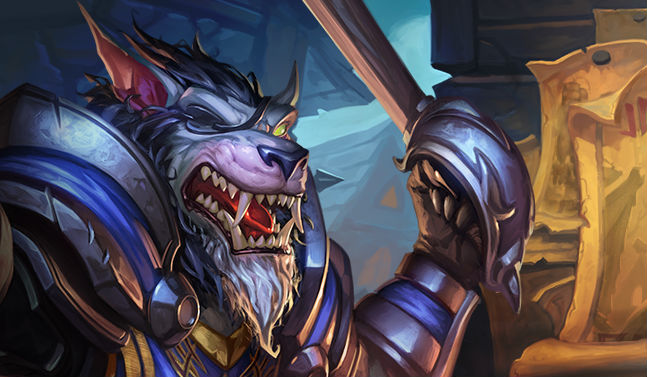
Darius Crowley, Cannoneer
The cannoneer's core deck consists mostly of Warrior class cards, and features a lot of Enrage and Rush effects. Your hero power is called "Fire!", costs two Mana, and reads "Fire your cannons! If they kill any minions, refresh this". The cannons in question here are represented on the board, and will damage any enemies opposite when fired. The most noteworthy card in your core deck is a Cannoneer class-exclusive called "Extra Powder", which costs one Mana and boosts your cannon damage by two for the duration of the turn.
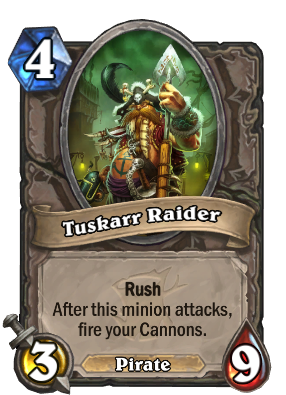
Pirate Warrior would've loved this.
The cannoneer has access to some really good treasures that synergise with the hero power. Look out for '"Dragonfire Ammo", "Grizzled Reinforcement", and "Tuskarr Raider", all of which make your cannons extra devastating.
For card buckets, you'll want to make sure you pick up a few 'Strike' buckets every run, as that's where all the warrior weapons are and those are very strong. Also good are the Warcry and Berserker buckets, the former because of high overall minion strength and the latter because the whirlwind effects will synergise with your enrage cards and help you get refreshes on your hero power.
The final boss, Lord Godfrey, has a deck that on the surface seems like a perfect counter to yours. Loads of minions with heavy deathrattles, Saboteurs to cancel out your hero power and even Grim Patron to make a clumsy fire of your cannons enough to grow his board. In practice, though, he isn't too tough. He hasn't got too many comeback mechanics, so build up a lead on board and it should be relatively plain sailing. You can also your hero power to abuse the Bittertide Hydras he plays to deal tons of damage to his face.
Keep up to date with the most important stories and the best deals, as picked by the PC Gamer team.
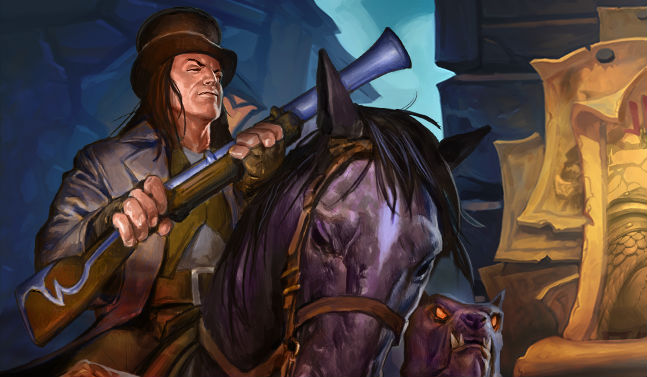
Houndmaster Shaw
This is very much a Hunter deck, with no weird uncollectible cards and a distinct Beast theme. Your hero power is pretty feeble, summoning a 1/1 mastiff with Rush (not even charge!). There is, however, lots of synergy already in the core deck. Few things are more powerful than a turn four Houndmaster, and Unleash the Hounds plus Kill Command is a great way to finish your opponents off.
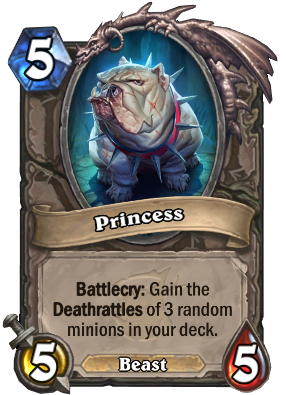
"Who's a good girl? You are!"
The main treasures to look out for are Princess and Bubba, a pair of very angry-looking dogs. Princess lets you build into a strong Deathrattle theme, and Bubba lets you swing unfavourable boards with an army of loyal bloodhounds. Companionship is another useful class-specific treasure, and will significantly boost your hero power into a very useful removal tool.
For buckets, try to keep in mind that a strong Beast Hunter deck is what you're shooting for. "Pack Mentality" and "Divide and Conquer" are the best choices here, featuring loads of Hunter staples like Savannah Highmane, Haunted Creeper, and Scavenging Hyena. "Unwavering" is also strong, especially so if you're lucky enough to draft Princess.
Glinda Crowskin is the Houndmaster's final foe. Her hero power is "False Heart" and prevents her from taking damage when she has a minion on board. This can be quite frustrating for deal with, as you obviously have to clear every single one of her minions before you can chip away at that 50 point life total. The main thing to be aware of with Glinda is her board clears. Abyssal Enforcer and Doom are the scary ones: just make sure you can stay ahead on board even if she plays on of these and you should be fine.
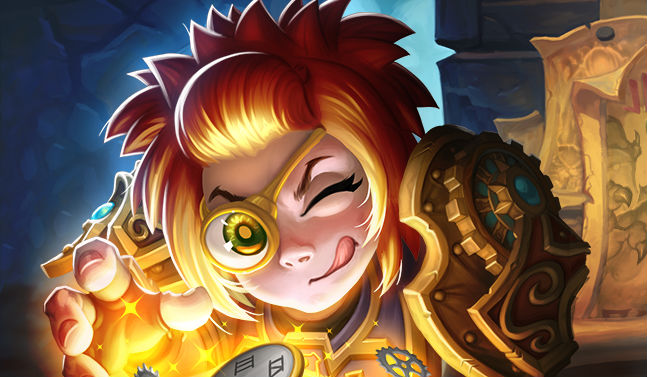
Toki, Time-Tinker
Toki stands out as the most unique of the heroes. She's a mage, and her deck is full of a lot of the class's mainstays: Mana Wyrm, Water Elemental, Unstable Portal—stuff like that. More interesting is her hero power, which costs 0 Mana and lets you go back to the start of your turn. The main application of this is re-rolling your RNG effects: so if an Arcane Missiles doesn't go your way, for example, you can go back to the start of the turn and see if it does. Or, even better, if Blingtron 3000 doesn't give you the Doomhammer you were hoping for then you'll at least have one more shot.
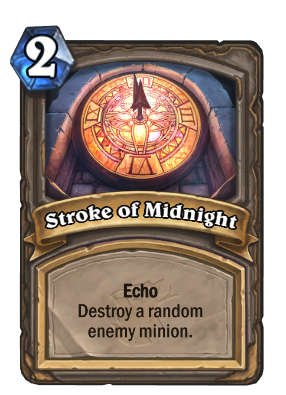
Gotta kill 'em all!
Undoubtedly the most awesome treasure Toki gets access to is 'Rewind'. A super-charged version of her hero power, this treasure is passive and lets you restart the game if you lose. That's basically a second life. Note, however, that you only get to use Rewind once. After that it's gone for good. 'Stroke of midnight' is another very powerful treasure to look out for. This card costs two Mana and reads 'Echo. Destroy a random enemy minion'. This is nuts for obvious reasons, granting you the power to dispense with multiple large threats for a very modest cost.
Your final boss is the very flavorful Infinite Toki, who is actually future Toki on a mission to stop herself in the present. Her hero power is super-fun, costing two Mana and giving one of her minions "Mega-Windfury. That is: Windfury x2, so the minion targeted gets to attack 4 times. You'll want to keep her board clear so as to not get badly punished by this. The other crazy thing to look out for is her ten Mana card "Alternate Timeline", which restarts the game while keeping both players' life totals the same.
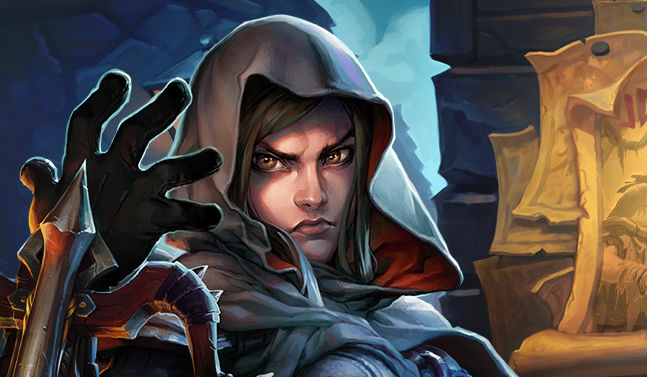
Tess Graymane, Tracker
Tess is nominally a Rogue but actually has lots of Hunter cards in her deck, too. Her hero power is 'Scavenge', which costs two Mana and reads "Discover a class spell that's been played this game". This is a very value-intensive hero power and is a good way to ensure your hand is always well-stocked with options. It also means you can afford to draft a more aggressive deck, given you can often find lethal damage by summoning back an extra Deadly Poison or Sinister Strike.
Cult of the Wolf and Sticky Fingers are two very good treasures to look out for. Cult of the Wolf halves the cost of your hero power and lets you play it twice, which is great for grinding out value games or even locating a big burst finish. Sticky Fingers is another value-intensive one, reducing the cost of cards that didn't start in your deck by one, and also works great with your hero power.
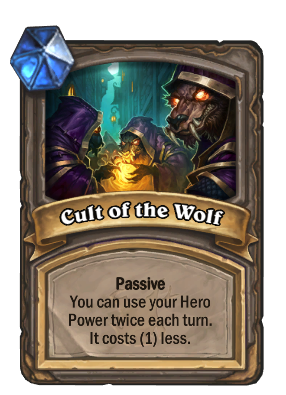
Double dip Tess's hero power.
When selecting your card buckets you should remember that Jade archetypes are very strong with Tess. Get hold of some copies of Shadowstep and you'll be able to use your hero power to play this again and again. Bounce your Jade minions repeatedly and you'll very soon find yourself with some serious power on board.
The final boss Tess has to face is Captain Shivers, and he's pretty scary. He starts with a Kingsbane equipped—that's the Rogue legendary weapon that get shuffled back into your deck after each use, and keeps buffs for the duration of the game—and his hero power is a zero-Mana guaranteed draw of Kingsbane whenever he needs it.
Since he's got Leeching Poison in his deck to grant his weapon a lifesteal buff, rushing down Captain Shivers face is almost impossible. Instead, you have to play the value game, removing all of his minions until he eventually runs out of cards. Prepare to get your board cleared by Blade Flurry a bunch of times, so make sure you have a way to reload your board after a clear. As mentioned already, Jades are probably the best strategy to get through this boss fight. Hang in there and you should eventually be able to overwhelm Shivers with a horde of massive green men.
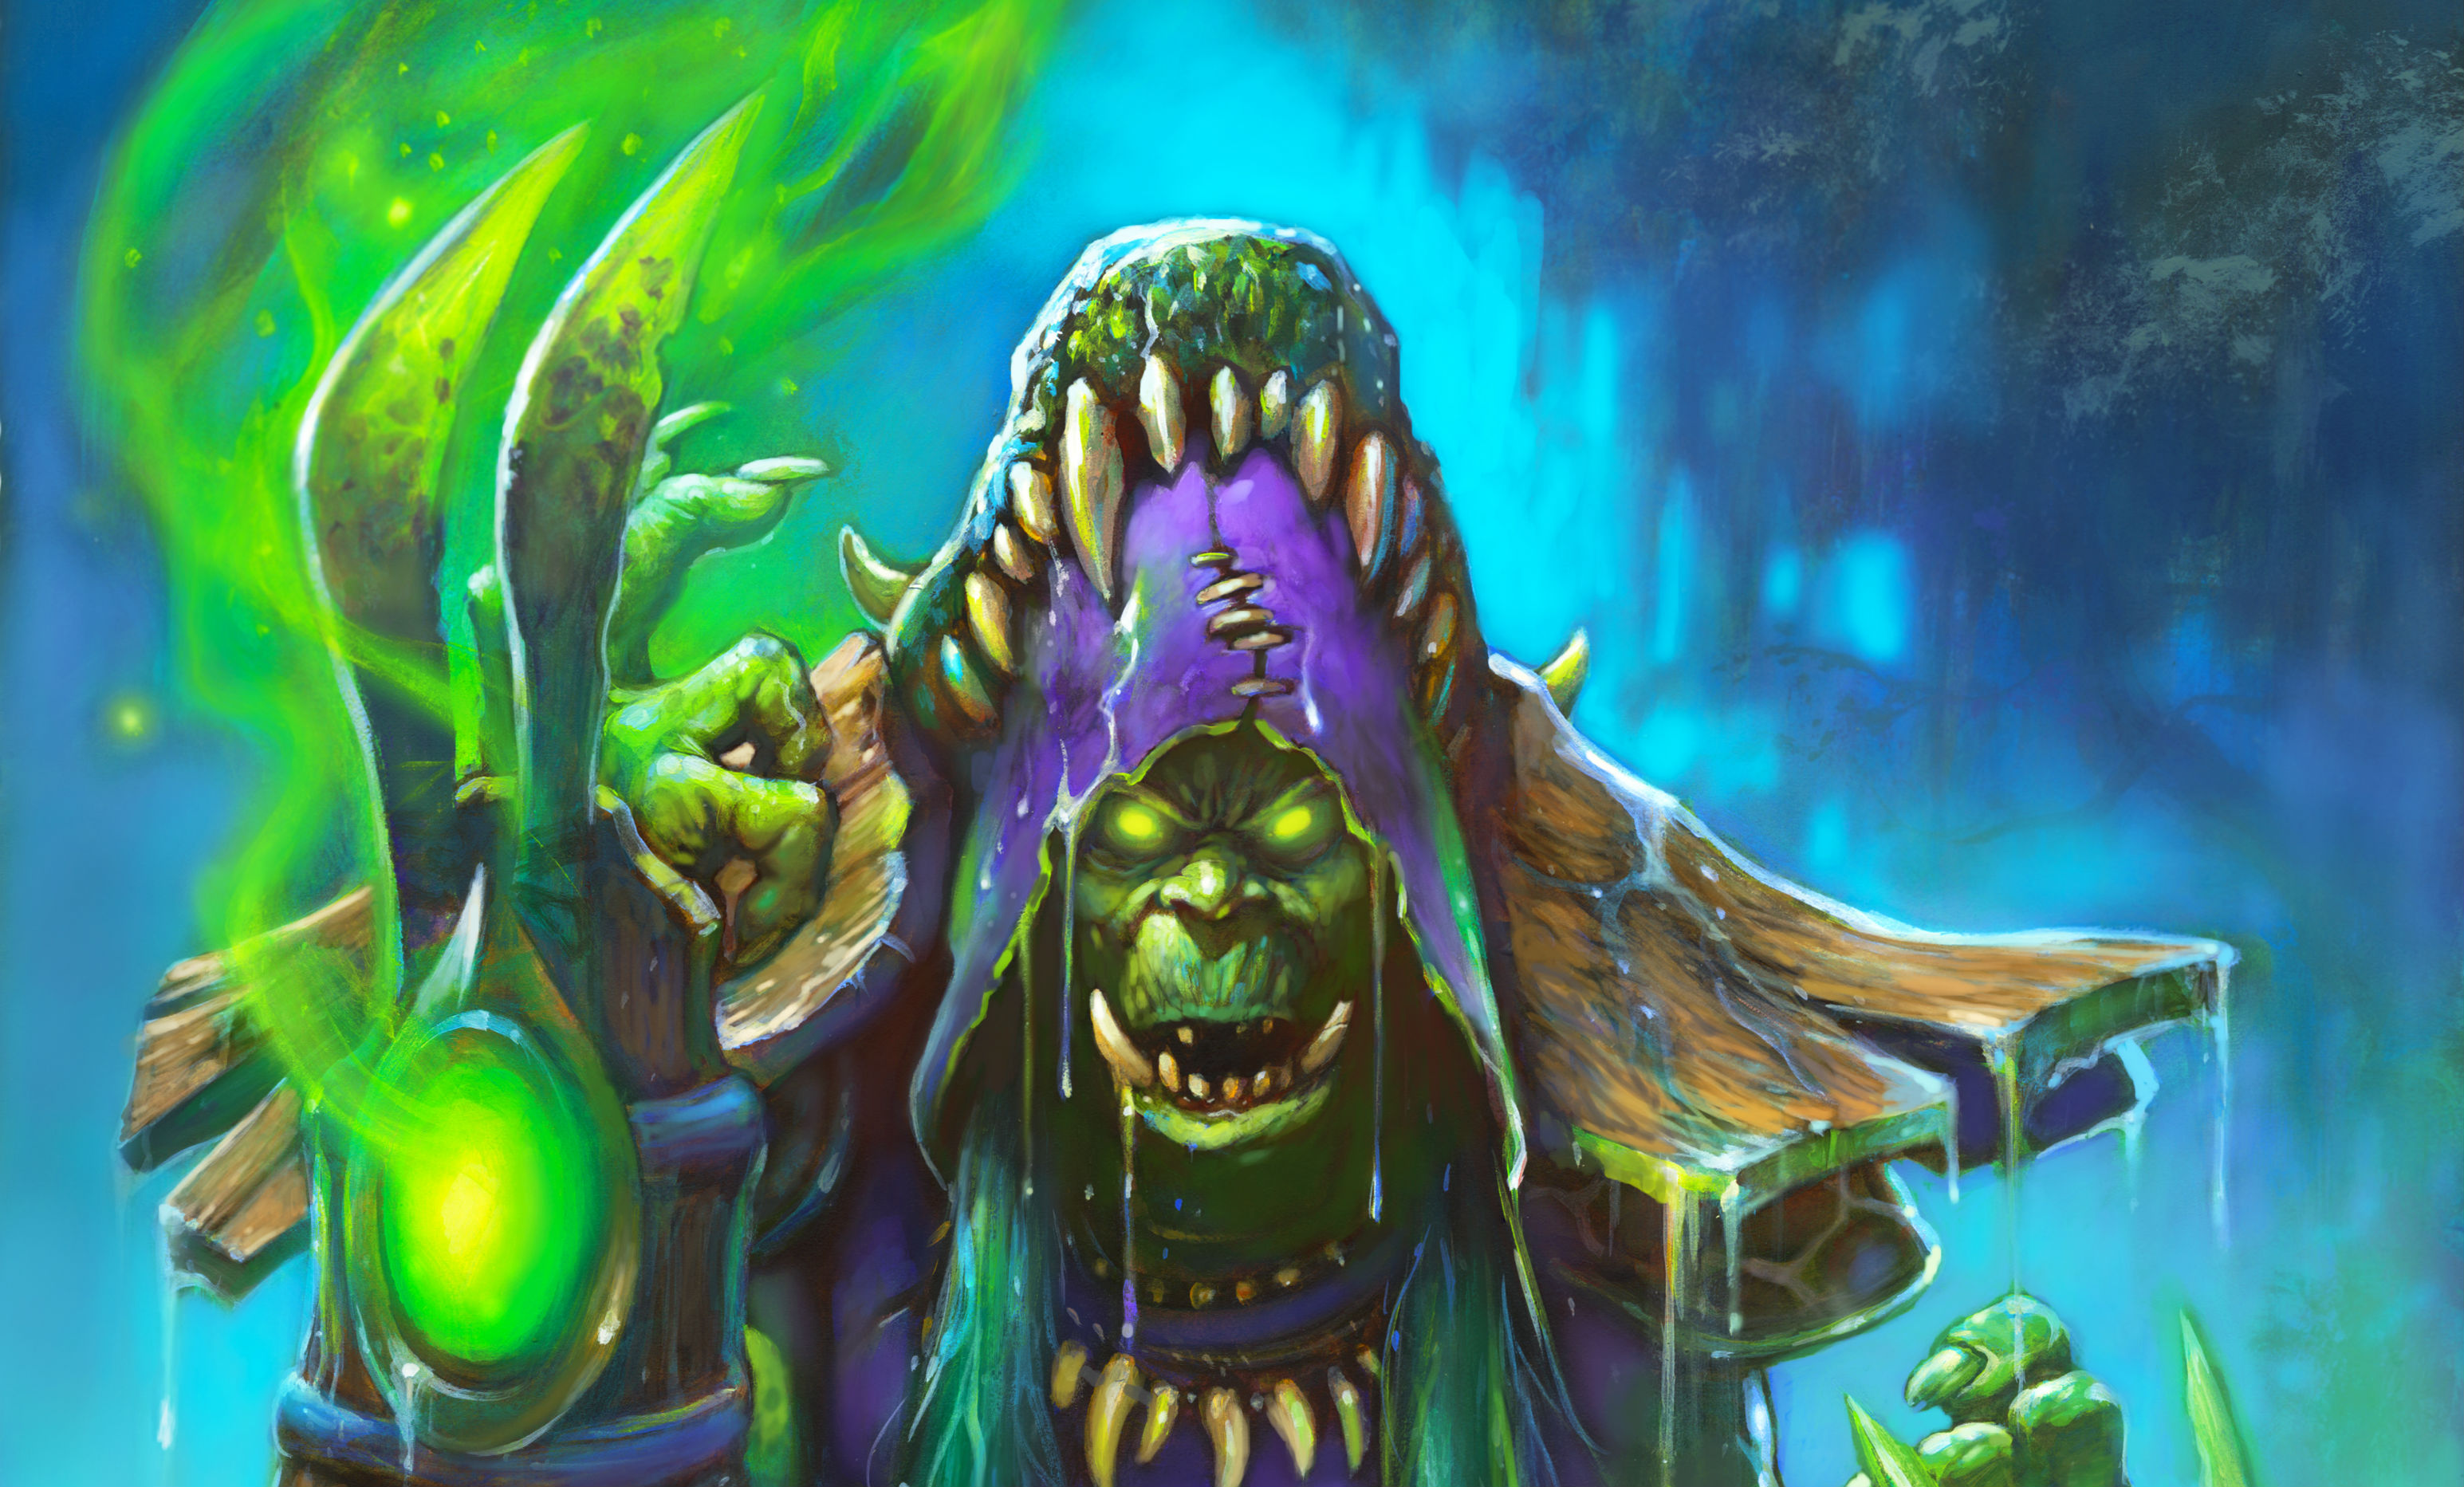
Final Challenge: Hagatha the Witch
Once you've cleared the mode with all four heroes, you get to challenge Hagatha the Witch. Like the boss fights before it, your encounter with Hagatha will be a long slog no matter what you do. Unlike the other challenges, though, you'll have the option of using all four heroes over the course of the fight.
How does this work? You start off as Houndmaster Shaw, with a deck of four cards that fit his theme, and you get to choose one of three passive treasures at the beginning of the game. What's more interesting, though, is you also get awarded three Hero cards, each of which allows you to switch to one of the other Monster Hunt heroes, adding a bunch of cards to your deck and gaining a new hero power in the process. Each hero card has a different battlecry, but all of them let you pick an extra passive treasure.
Hagatha will be able to sustain her life total and hand size for an extremely long time. This is due in no small part to her hero power, 'Bewitch', which awards her a random Shaman spell every time she plays a minion. Equally infuriating is 'Ritual Dagger', a weapon she'll definitely play that tops up her life total and gains a durability point every time she plays a Shaman spell. And she'll be playing loads of those.
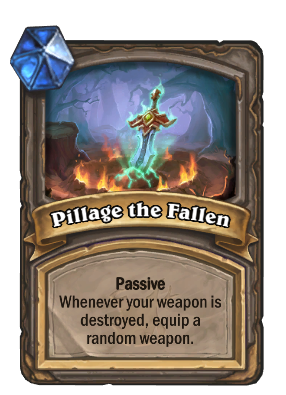
"Yo, I heard you like weapons."
The key to winning this encounter is using your Heroes at the right moments and picking the best treasures. Each of their Battlecries is area-of-effect damage: Toki does three to all minions, Darius five and Tess eight. You'll want to make sure you use these to seize back the initiative when you're losing on board.
It's also important to know that the passive treasures you're offered when you play each hero aren't randomized—they are the same every encounter. This means that, for the most part, there are some clear best options. For Toki's treasures, Double Time is pretty much always the best. For Darius, you should pick either Pillage the Fallen or Entrenchment, depending on the situation. And with Tess, it's hard to see past Cult of the Wolf, a hugely powerful treasure that will provide you with some much-needed sustain to get through the final stages of the fight.
Once you've played Tess, make sure to spam her hero power, "Scavenge" as much as humanly possible. With the Cult of the Wolf and Double Time treasures, your spells will be mad powerful and you'll have loads of them. This added firepower should be enough to see you through and earn you that snazzy Monster Hunter cardback.
And that's it for Hearthstone's latest round of single player content! I think this iteration is way better than Dungeon Run, personally. The difficulty feels more evenly spread out, and you fall victim to absurd bullshit an awful lot less. Plus, with unique bosses for every hero and the final encounter with Hagatha to work towards, I felt way more incentivized to plow through all of the content. So fair play to Blizzard—you've won me over with this one. Ban Azalina Soulthief though, she's still the Devil.

