Fallout: New Vegas GECK Tutorial

One thing you'll have noticed while wandering through the lonely New Vegas wastelands is that the post-apocalyptic world isn't the most progressive place. Never mind rebuilding civilisation – most of these survivor-types are too lazy to even move the corpses out of the bathtub when they take a soak.
Luckily, you're here to help. You might not be able to teach these tattered scavengers to rebuild their world for themselves, but you can lead by example by using the GECK – the Garden of Eden Creation Kit.
It's precisely what you'd expect the app Bethesda used created the original game to be, which is to say fearsomely, terrifyingly complicated. To build a full quest, complete with dialogue, missions and more, would be one hell of an undertaking, whether you have modding experience or not. However, there are less ambitious projects that are just as rewarding. How about a swish pad of your own where you can stash your gear? That's very easy to get the hang of, and over the next twelve steps, I'll show you exactly how to build it.
I'll even show you how to make the place look nice and messy, so that the neighbours don't complain that you're letting the side down by not wanting to sit in a hole, listening to bloody Big Iron for the millionth time.
1. Get the Geck
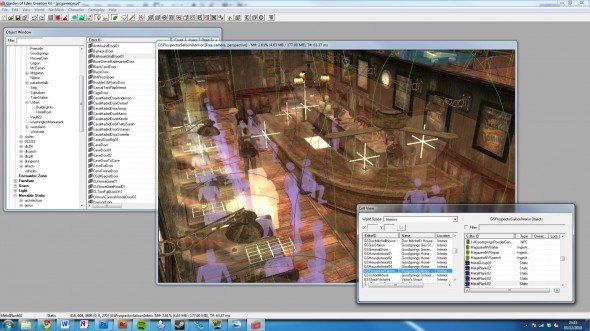
If you already have a copy from Fallout 3, you'll need to update it to version 1.5 to open New Vegas's updated file formats. If not, simply download a clean copy from fallout.bethsoft.com/ eng/downloads/geck.html. Install it into your New Vegas directory – if you put it anywhere else, you'll get a message about a missing DLL on startup – and load it. Go to File > Data and double-click FalloutNV.esm to import New Vegas.
2. Prepare the ground
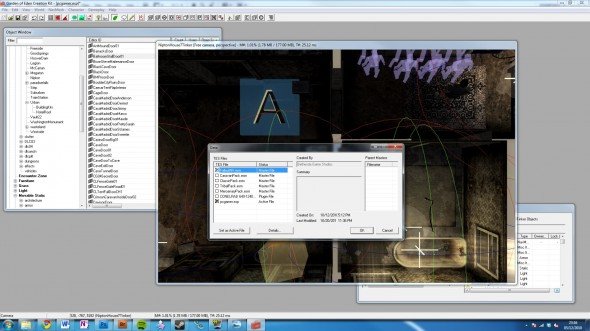
Before doing anything else, click Save. Fallout lets you have multiple mods activated at once, which temporarily overwrite the content of the main game. These have the extension .esm. Watch that you don't make any conflicting changes if you plan to experiment with mods, and start a new 'clean' game before testing your creation. It's a bad idea to add/remove unfinished content from your main game if you're still playing.
3. Terrain types
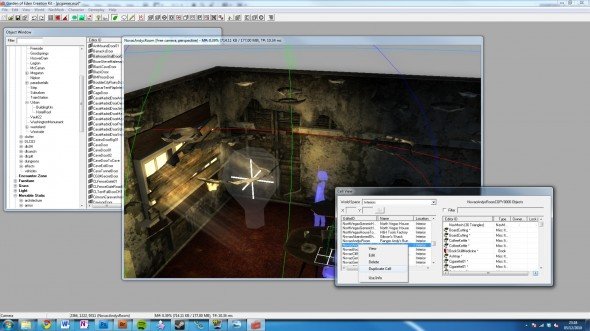
There are two types of location in New Vegas – the exterior wasteland, which is built up out of cells and regions, and interiors, such as the insides of houses and Vaults, the construction of which is more like playing with Lego. We'll be making an interior, and the easiest way to start is to duplicate one that's already there. This takes care of all the atmospheric and other twiddly settings, which we can edit later.
Keep up to date with the most important stories and the best deals, as picked by the PC Gamer team.
4. Making space
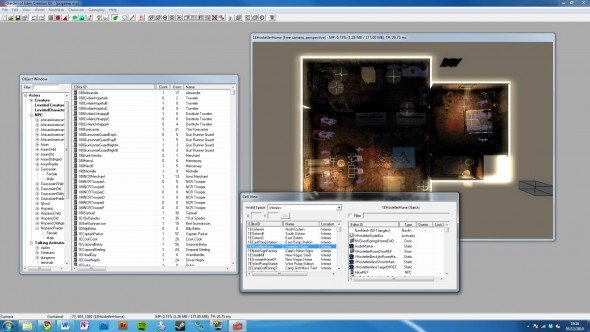
Look at the Cell View window. In the World Space option, select Interiors, and choose a house like 1EHostetlerHome. Right-click on it, and choose Duplicate Cell to make your own copy. Next, select this copy and press F2 to rename it – to something like PCGamerHouse. To name it in-game, right-click on the entry, select Edit, check the Interior Data tab. On the Objects list, press Shift and End followed by Del to delete the contents.
5. Snap to grid
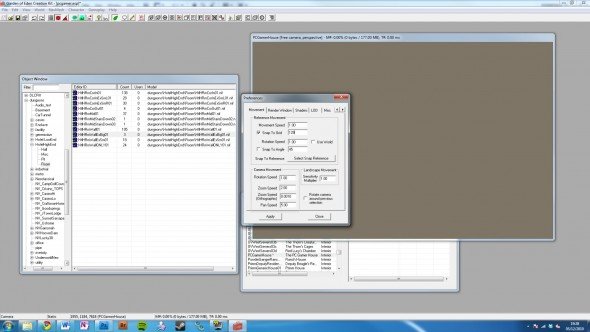
Click the Snap to Grid button – a red circle on a mesh – from the top bar, then right-click on the 3D window to determine how tight the grid of this positioning aid should be. For rooms, you want 128 units to start with, shrinking down smaller as you move onto individual items. In the Movement tab, set 'Snap To Grid' to be 128. That done, click OK. It's time to go get some post-apocalyptic Lego pieces to play with.
6. Room with no view
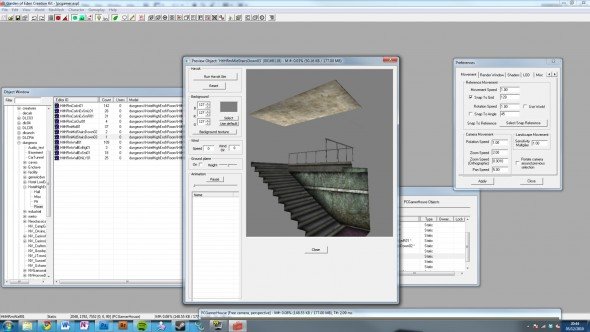
In the Object window, navigate your way to World Objects > Static > Dungeons > HotelHighEnd to find pieces of scenery that are designed to work together. Right-click and select Preview to see what they look like, and most important, where the holes are. Drag HtlHRmMidStairsDown02 into the 3D window. It'll be pitch black, so press A to switch off light-mapping. Now you can see what you're doing.
7. Drag and drop
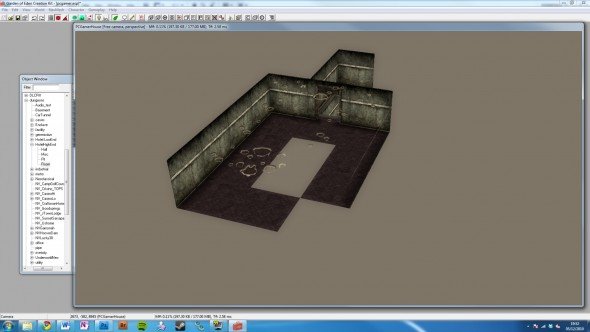
To move the piece around, simply drag and drop, holding X, Y or Z to lock movement on that particular axis. To move the camera providing your viewpoint, hold down the spacebar and drag. To switch viewpoints, press C, or hit T for a top-down view. To move the object itself, hold down the left mouse button and drag. It's faster to do this with snap-to-grid deactivated, then switching snap-to-grid back on when you're ready to use it.
8. Apocalypse kit
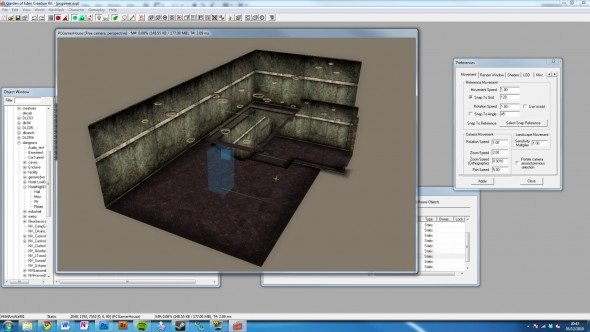
Not all pieces will connect together cleanly, but by sticking with this room set, we're making things easier for ourselves. Put in Corner pieces to build the room up top, linking them with Wall pieces, and filling out the middle with the Mid01 (floor and ceiling) tiles. Down below, add an Exit, and block it off with a freestanding Wall. Use the bar along the wall to let you line things up, being careful not to overlap floor tiles, which would look ghastly.
9. The furnishings
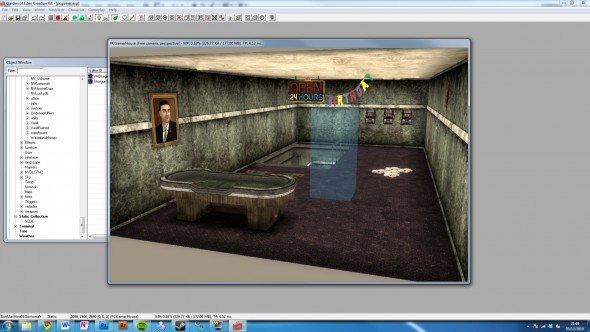
Adding decoration is much easier. Fallout: New Vegas has several different types, including items that do things and more general noninteractive clutter, but you add all of them by simply drag and dropping. Move them into position, spin them around to be off-axis and more natural looking. Just watch out for the wall decoration clipping through them. Taste is strictly optional. Look for 'decals' to crack up the walls and add that post-apocalyptic charm.
10. Atomic light
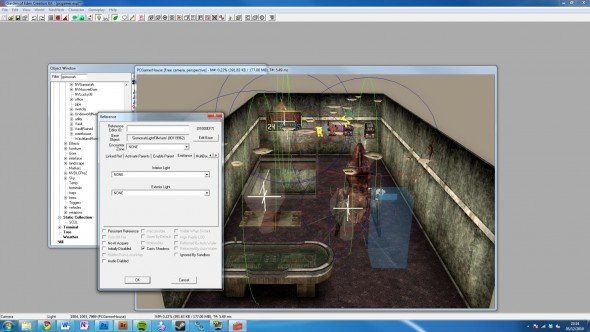
In the Geck editor, everything appears nicely lit, but only because we turned off lightmapping. In-game, it'll be almost pitch black. Time to fix this by adding some lights. Lights actually consist of two pieces: the light source and the light effect itself. The source is an object like a lamp, dropped into the world like any other prop. Find one you like and add it. Search for LightFill to add one of the preset effects, and drag it in front of the lamp.
11. The door
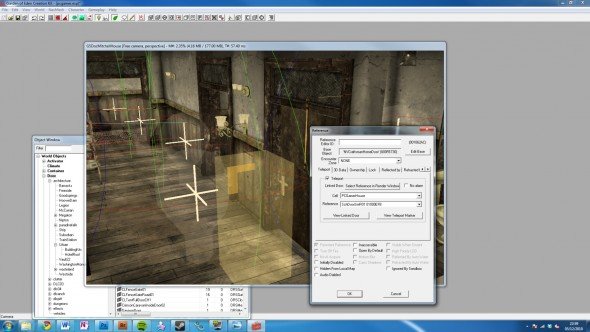
To connect your new house up to the outside world, you need two things: a door inside it, leading out, and a door somewhere in the Wasteland that will bring you to this place. Check the Door section of the World Objects list to find one that fits a gap and slide it into place in your Interior. Next, open up a Wasteland map and find a door you won't be using any time soon. Here I've used Doc Mitchell's bathroom door. Sorry about that, Doc.
12. Pay a visit
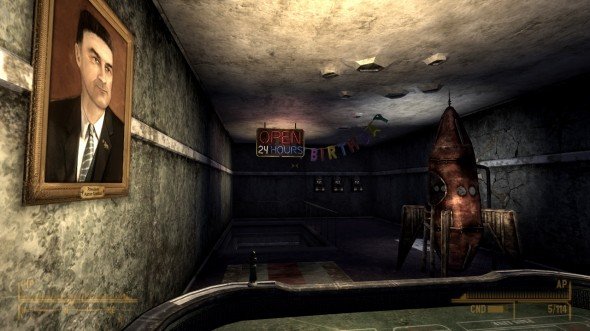
Double-click the door and select 'Teleport', followed by the Cell (room/area) you want it to link too, then the specific reference. The return path is set for you. And that's it: now you have your own in-game pad. Start a new game, and after Doc finishes chat, open the door and step in. Alternatively, press the tilde (~) and type 'coc pcgamerhouse' to warp home. (You may need to add a COCMarkerHeading object if you end up outside the map.)
If you're looking for other ways to spruce your game up without creating it yourself first or perhaps a little inspiration, check out our list of 25 best Fallout: New Vegas mods .
