Armored Core 6: How to beat the chapter 4 Coral Convergence boss
This Coral monster is Armored Core 6's toughest boss. Here's how to bring it down.
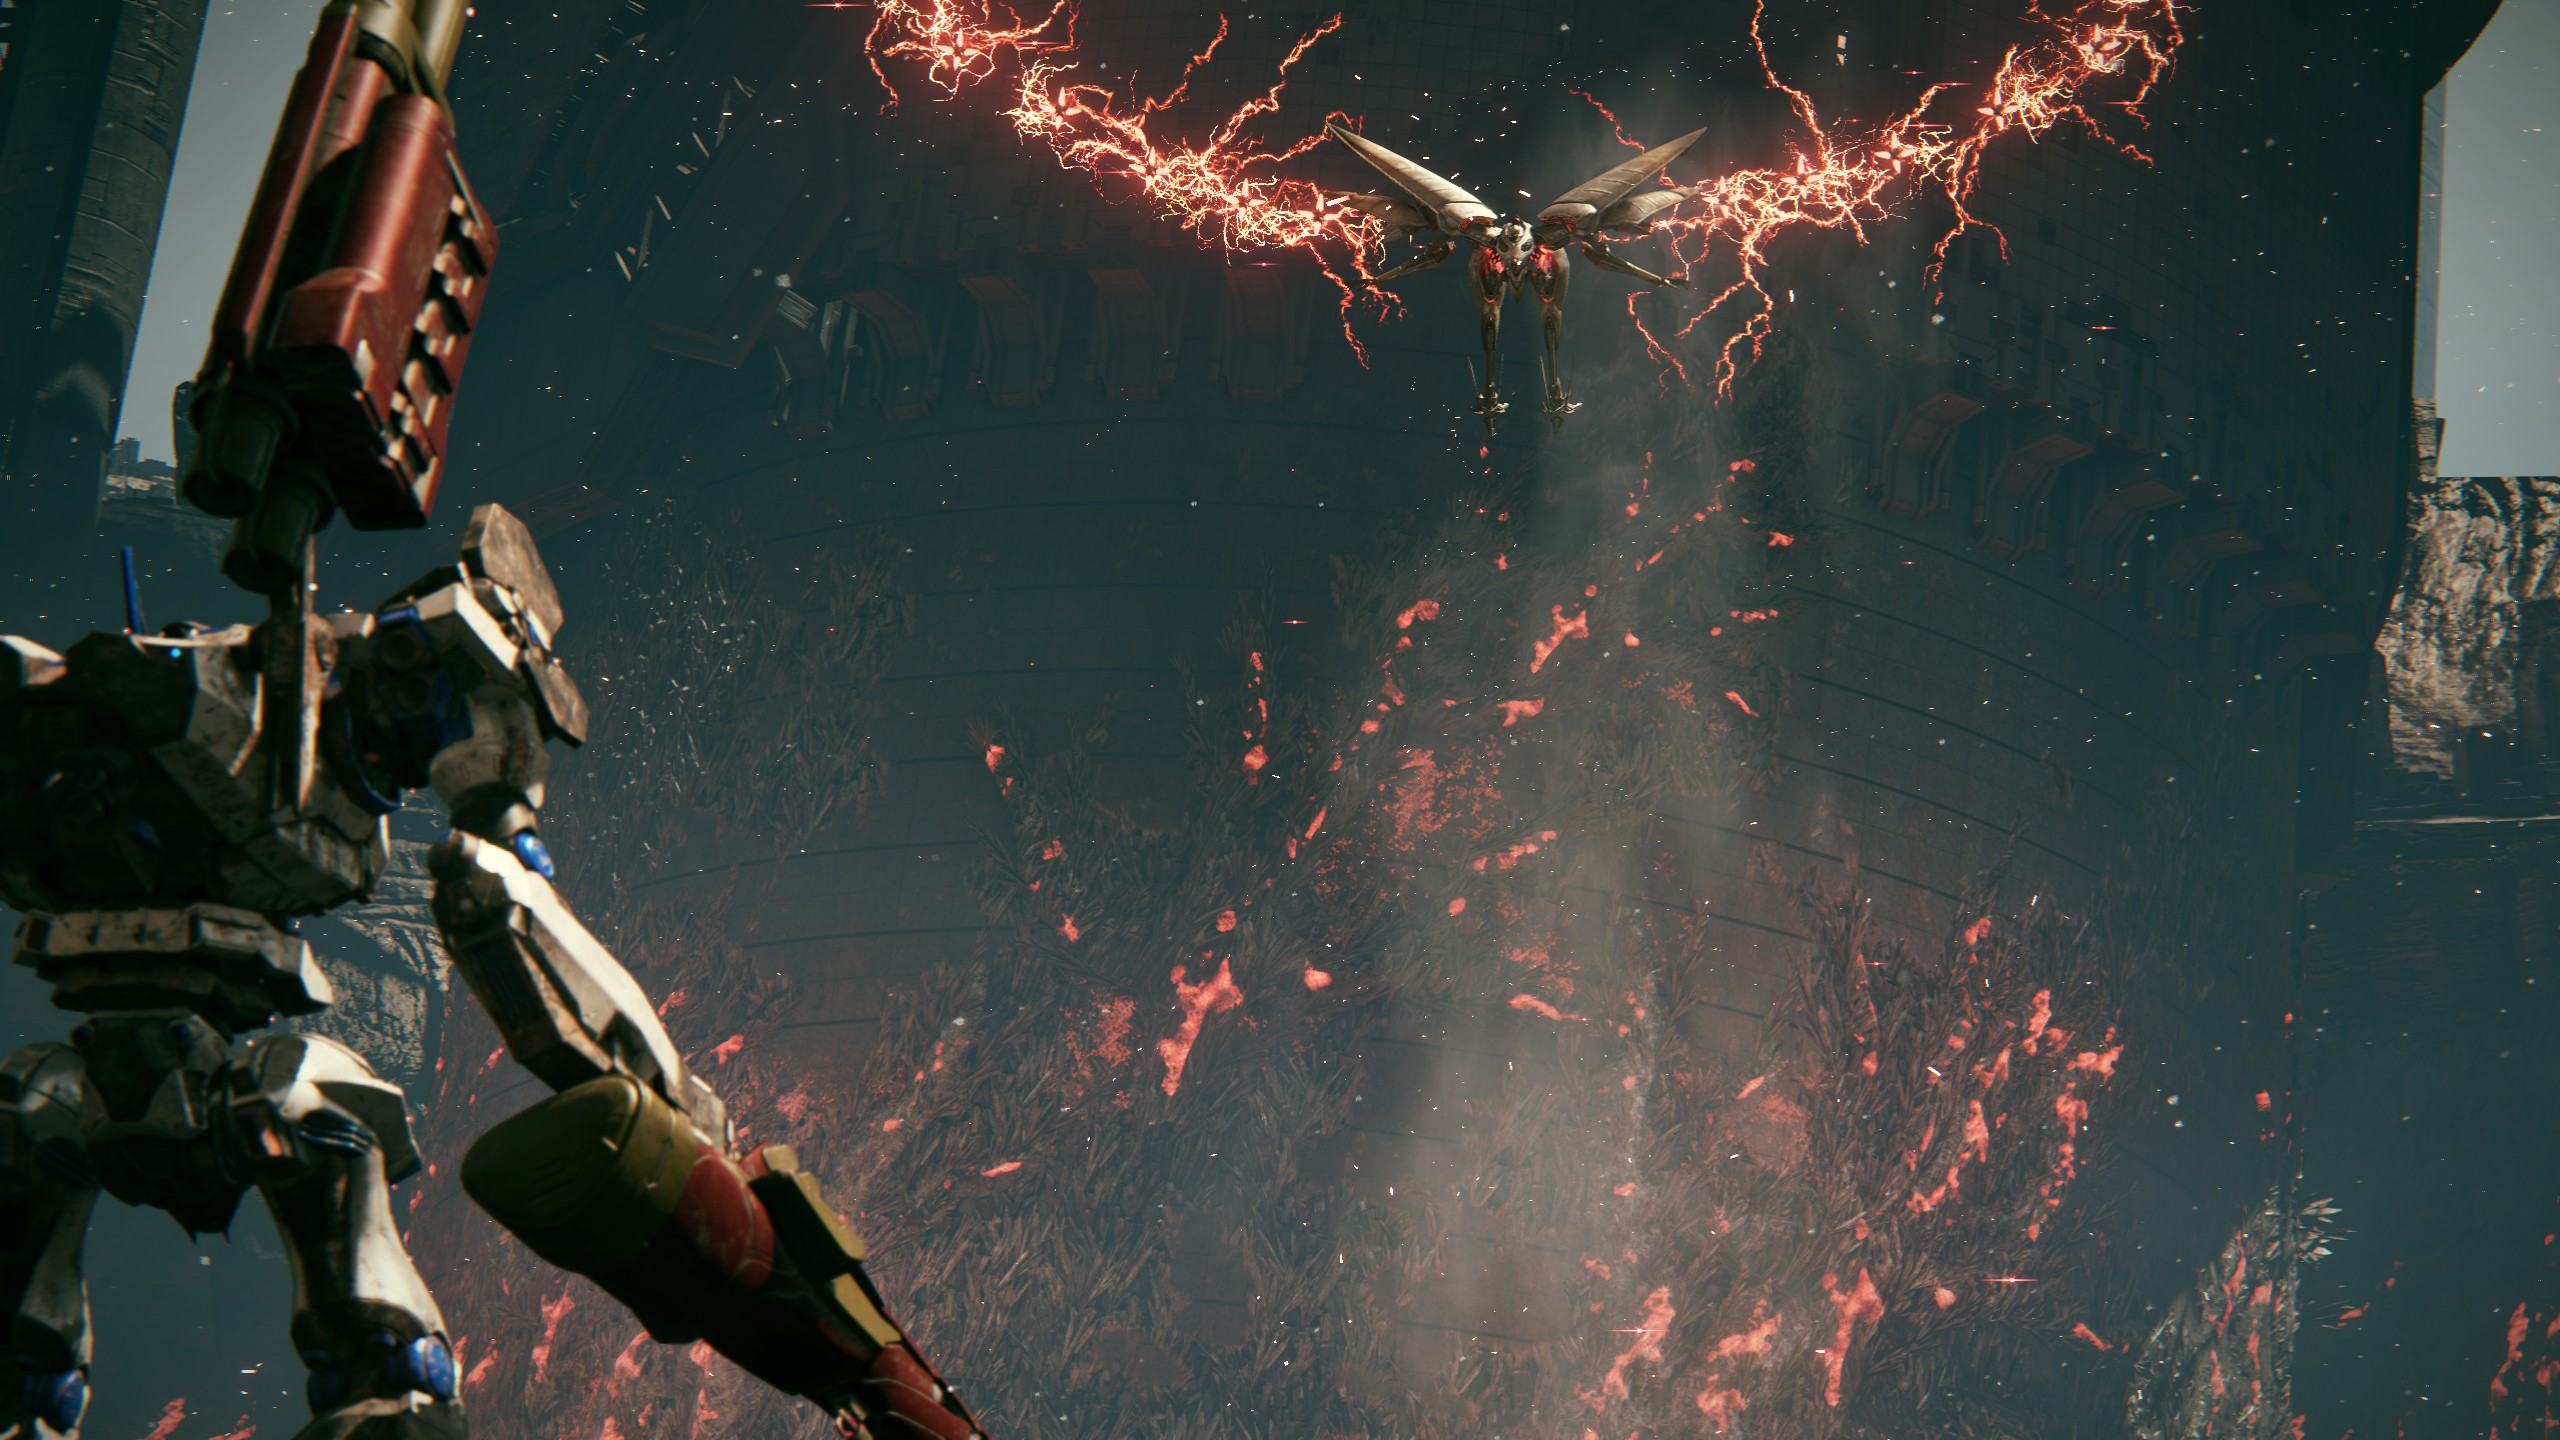
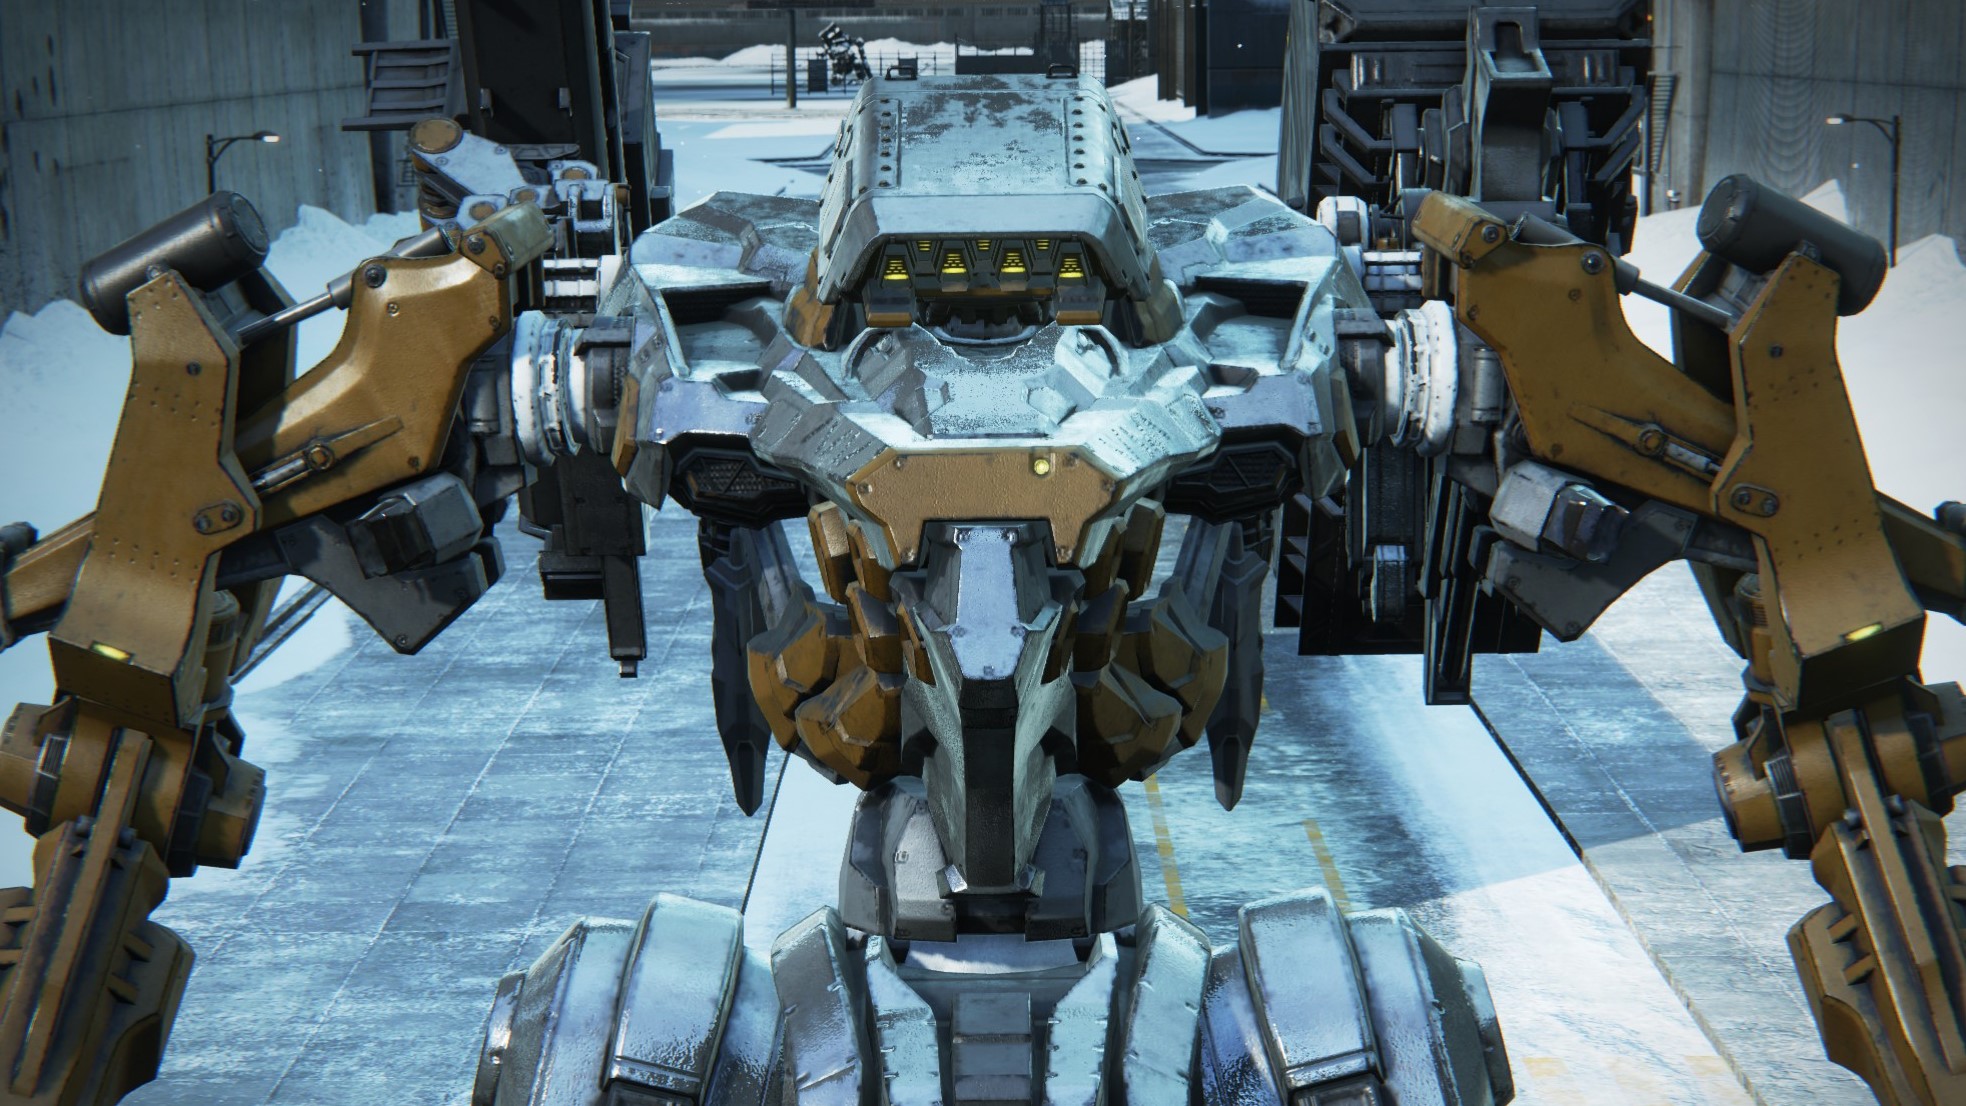
No boss in Armored Core 6 gave me more trouble than this one. The Coral-powered IB-01: CEL 240 boss waiting at the end of Chapter 4 finale "Reach the Coral Convergence" is incredibly fast and packs a punch unlike anything you've fought in Armored Core 6 up to this point. Worse, it pulls FromSoftware's favorite evil trick: it gets back up. If you just barely survived this boss's first form, its even more difficult second form probably had you ready to despair or toss your controller out the window. But I promise you: there's hope.
I experimented for hours with different tactics to figure out how best to take down the Ibis Series CEL 240 (at one point I literally named a mech build "HOPE" thinking I'd cracked the fight; I lost). At last I found an approach to this fight that I'm comfortable recommending to anyone who gets stuck on it. Here's the best build for the Coral Convergence boss—and how to beat it for that sweet, sweet catharsis.
Best AC build for the Ibis Series CEL 240
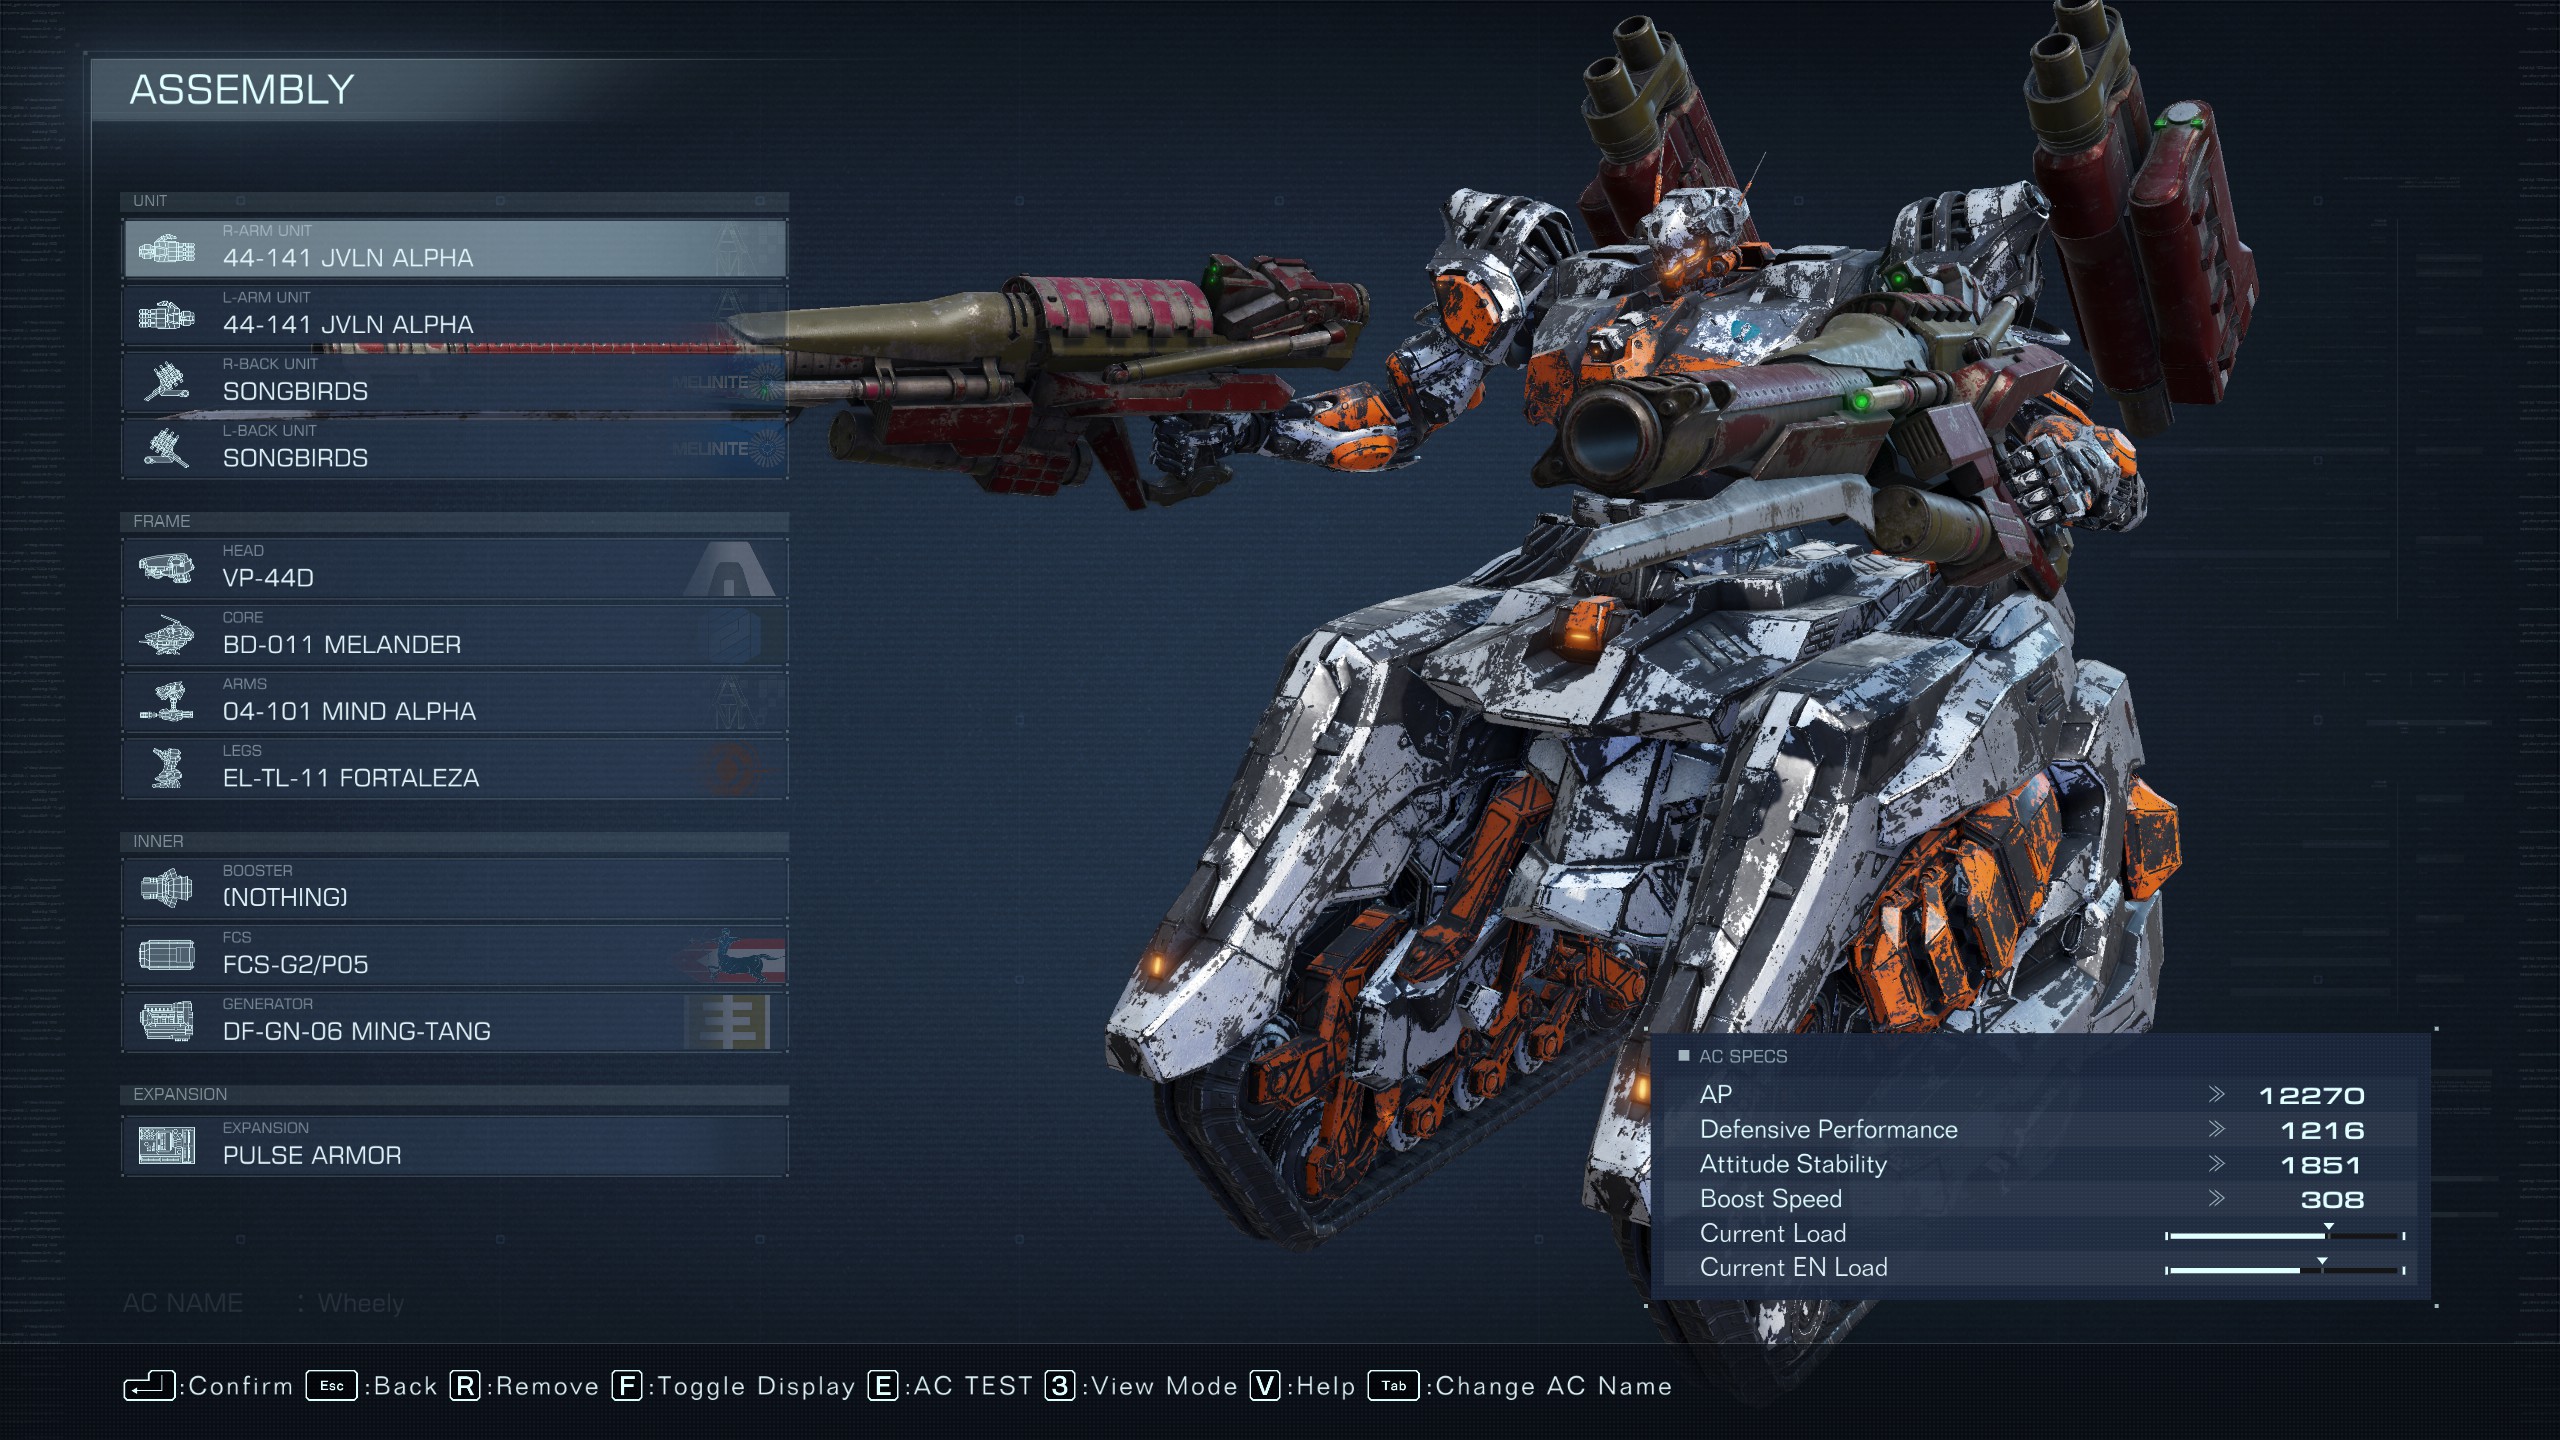
- Arm weapons: Detonating Bazooka
- Back weapons: Songbirds
- Head: VP-44D
- Core: BD-011 Melander
- Arms: 04-101 Mind Alpha
- Legs: EL-TL-11 Fortaleza
- FCS: FCS-G2/P05
- Generator: DF-GN-06 Ming-Tang
In my opinion, there are two ways to approach this fight. One is the classic FromSoftware Souls approach: Get good. Master your dodges, chip away with attacks in a few key safe moments, and win the long game. If you take that approach, use whatever AC build you want. Or you can take my advice and refuse to git gud, instead building an AC designed to burst down the Coral Convergence boss as fast as possible.
After hours of experimentation, I found this design the most effective against the Ibis Series CEL 240. The compact tank legs give you high mobility, lots of hit points, and the weight capacity for four very heavy explosive weapons. Those weapons aren't the easiest to land, but once you figure out the timing each volley is guaranteed to stagger the boss, opening it up to major damage. (If you're missing any of the above frame components, just cobble together whatever you can to field a mech that can hold two detonating bazookas and two Songbirds).
To give yourself the extra edge, I also recommend respeccing your OS Tuning to max out your repair kit, damage reduction, and explosive damage, while also getting two uses of Pulse Armor. The offensive Assault Armor is also effective in this fight, but extremely high risk; use at your own peril.
How to beat Coral Convergence boss Ibis Series CEL 240
Boss attacks to watch for (uhh… all of them 😬)
- First form: The boss will pause in mid-air to charge up a massive laser beam that deals about 2600 damage. This attack is very hard to dodge if you're close, but when you start to recognize when it's coming, you can use this narrow window to nail the boss with your Songbirds, stopping the attack.
- First form: Coral slashes—The first form's most dangerous attack, the boss launches a series of several aerial slashes that can delete your whole health bar. Circle strafe sideways as it launches these and Quick Boost between them. This attack gets even more dangerous in the second form.
- Second form: Coral fan—The boss creates a set of energy swords and swings them at you in a spinning arc. Quick Boost like hell to get out of there.
- Second form: Coral manta ray—When you get the boss down to below 50% health, it turns into a manta ray of pure Coral energy that will one-shot you if it hits you. Fortunately, it's very easy to dodge once you know it's coming: Just hold jump to boost high into the air, then go into a freefall after it passes below you. It's never managed to hit me in midair as it circles back, but you can quick boost to dodge for insurance.
Quick strategy tips
Keep up to date with the most important stories and the best deals, as picked by the PC Gamer team.
- Until you get a really good feel for the boss's movement patterns, stagger your Songbirds shots by a second or so—it's tempting to fire both at once, but a slight pause can help you get lucky with one or two shots connecting.
- With this build, stay on the ground as much as possible. The tank treads have poor mobility in air.
- A direct hit from one Songbirds and one detonating bazooka is enough to stagger the boss, letting you then do massive damage with the next two shots.
- Your most successful attacks will likely be drive-bys: just keep moving and cycling through your shots. You may often be able to make contact even if you've blasted past the boss and can't see it on screen.
- Don't be afraid to restart the fight in the first three seconds if you don't land a great initial volley.
Fighting this boss with explosive weapons is all about getting in the big hits—they're not easy to land, but when they do, they land hard. Your best openings will be when the boss has just repositioned, flying from one side of the arena to the other, or is briefly cooling off from its last attack.
Try the fight a few times not to win, but to get a feel for this timing; you should start to notice when it pauses and how it dodges your bazooka fire. Your best openings are often when it's high in the air just after firing at you.
If the boss isn't stuck in an attack animation it can dodge one or two of your attacks in a row, but if you stagger your shots, the third hit will almost certainly land. While getting close is risky, at point-blank range the splash damage from your explosives is almost guaranteed to hit. As soon as you see that ACS meter flash red, indicating the boss is staggered, unload with whatever isn't on cooldown.
Save your pulse armor for the boss's second form—about 10 seconds after it revives, pop the first one to give yourself a little breathing room as it restarts the fight faster and meaner than it was before. Then keep up the same strategy, being mindful to dodge its slashing attacks and nailing it when it pauses to charge up another big volley. When it exits its manta ray form, that's a big opening for you to unload with everything you've got.
As you can see in my video above, a clean win in this boss fight can be over really fast. Of course, this doesn't show the dozens and dozens of failed attempts I made, but it does speak to one advantage of my strategy: it's a lot less frustrating to restart when the fight takes only a couple minutes total.

Wes has been covering games and hardware for more than 10 years, first at tech sites like The Wirecutter and Tested before joining the PC Gamer team in 2014. Wes plays a little bit of everything, but he'll always jump at the chance to cover emulation and Japanese games.
When he's not obsessively optimizing and re-optimizing a tangle of conveyor belts in Satisfactory (it's really becoming a problem), he's probably playing a 20-year-old Final Fantasy or some opaque ASCII roguelike. With a focus on writing and editing features, he seeks out personal stories and in-depth histories from the corners of PC gaming and its niche communities. 50% pizza by volume (deep dish, to be specific).

 Join The Club


