I lost thousands of soldiers in The Great War: Western Front because I forgot my balloon
Hands-on with Petroglyph's brutal WWI RTS.
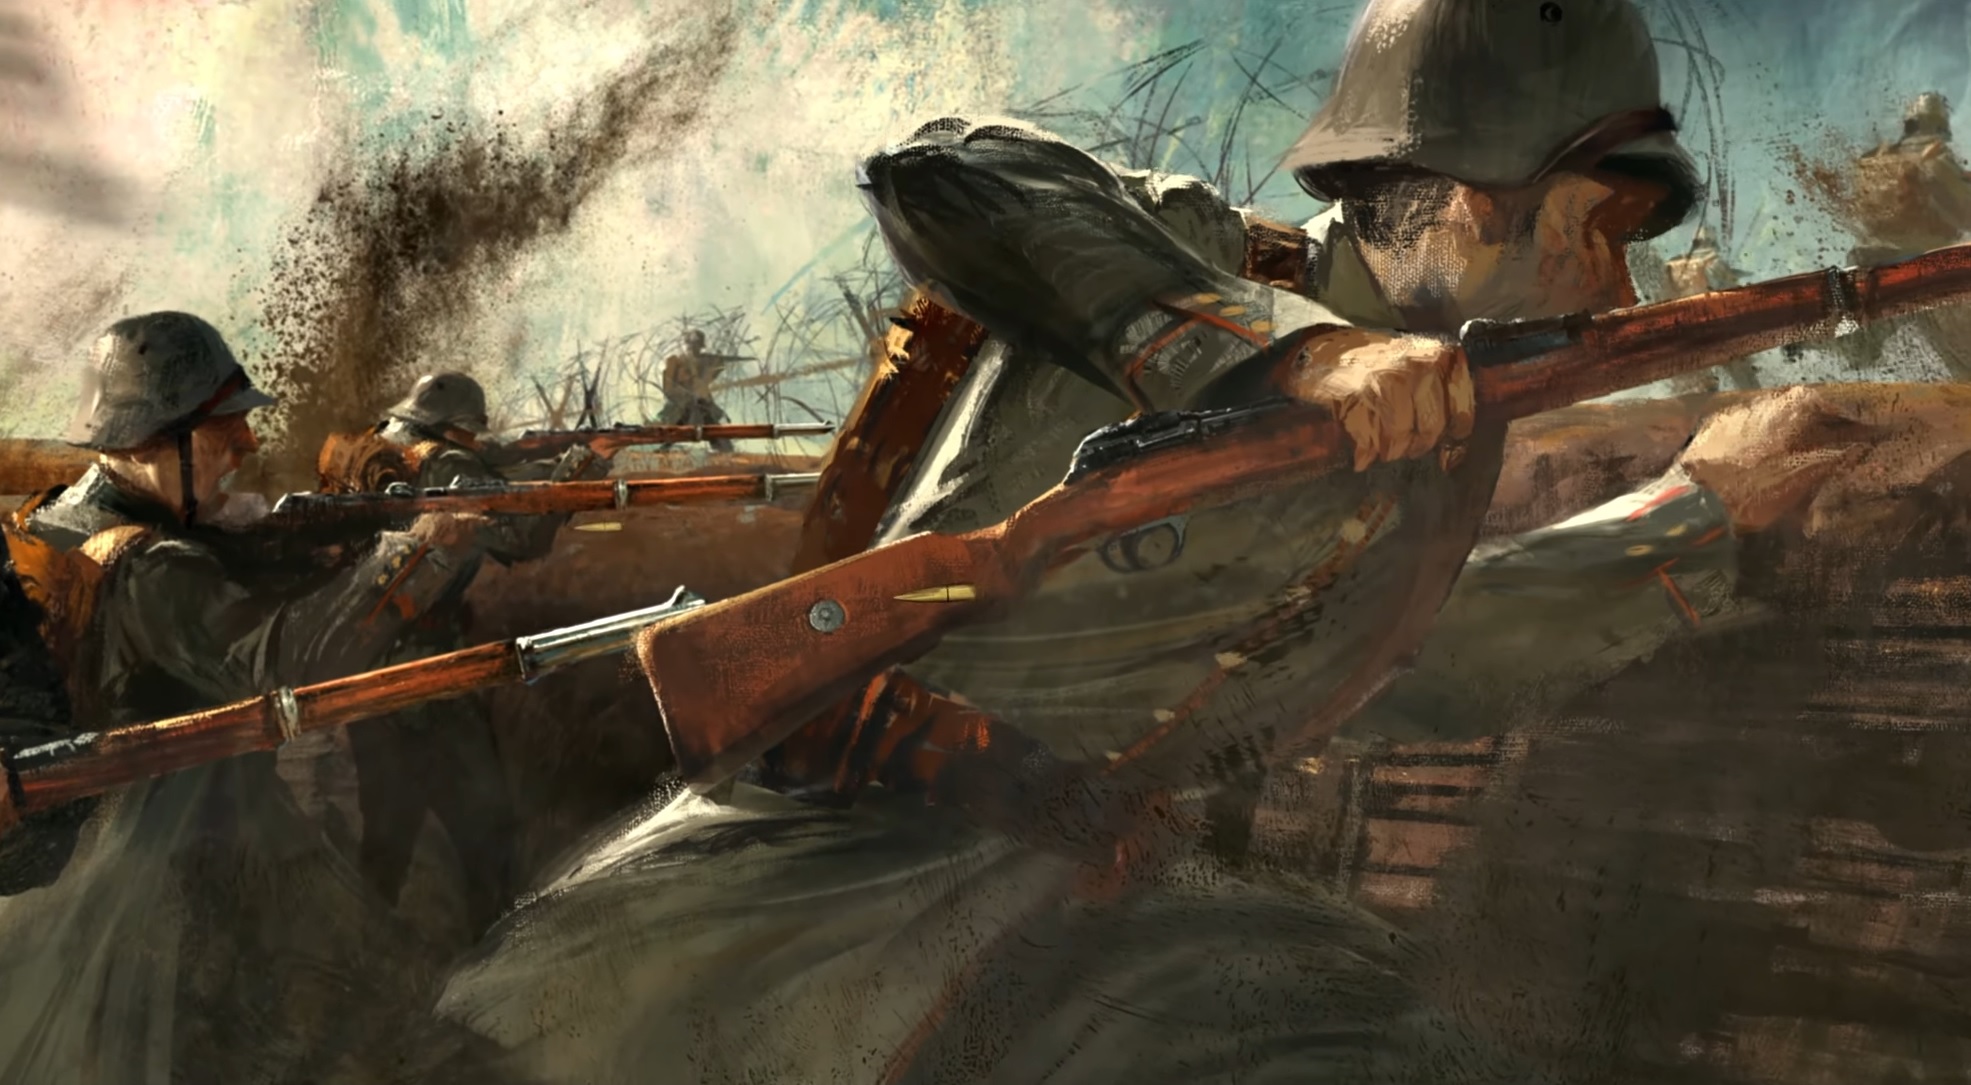
As I sent my eager soldiers into battle against our German adversaries in The Great War, Petroglyph's World War I RTS, I was confident we were about to change the shape of the Western Front. Or at least the top part, around the border between France and Belgium. I didn't know the exact troop composition of the force we were about to meet, but I knew we vastly outnumbered them. It turns out that all this meant was I had more soldiers to lose—all because I'd forgotten my bloody balloon.
I'd just finished The Great War's extensive tutorial—which does a good job of untangling what is a rather complex blend of turn-based wargame and trench-filled RTS—and it made a big point of emphasising the importance of visibility. What is a concern in pretty much every RTS is even more of a priority here, thanks to the conflict's penchant for artillery. You need to be able to see a great distance if you're going to hammer the enemy until there's nothing left but craters. And that's where the balloons come in.
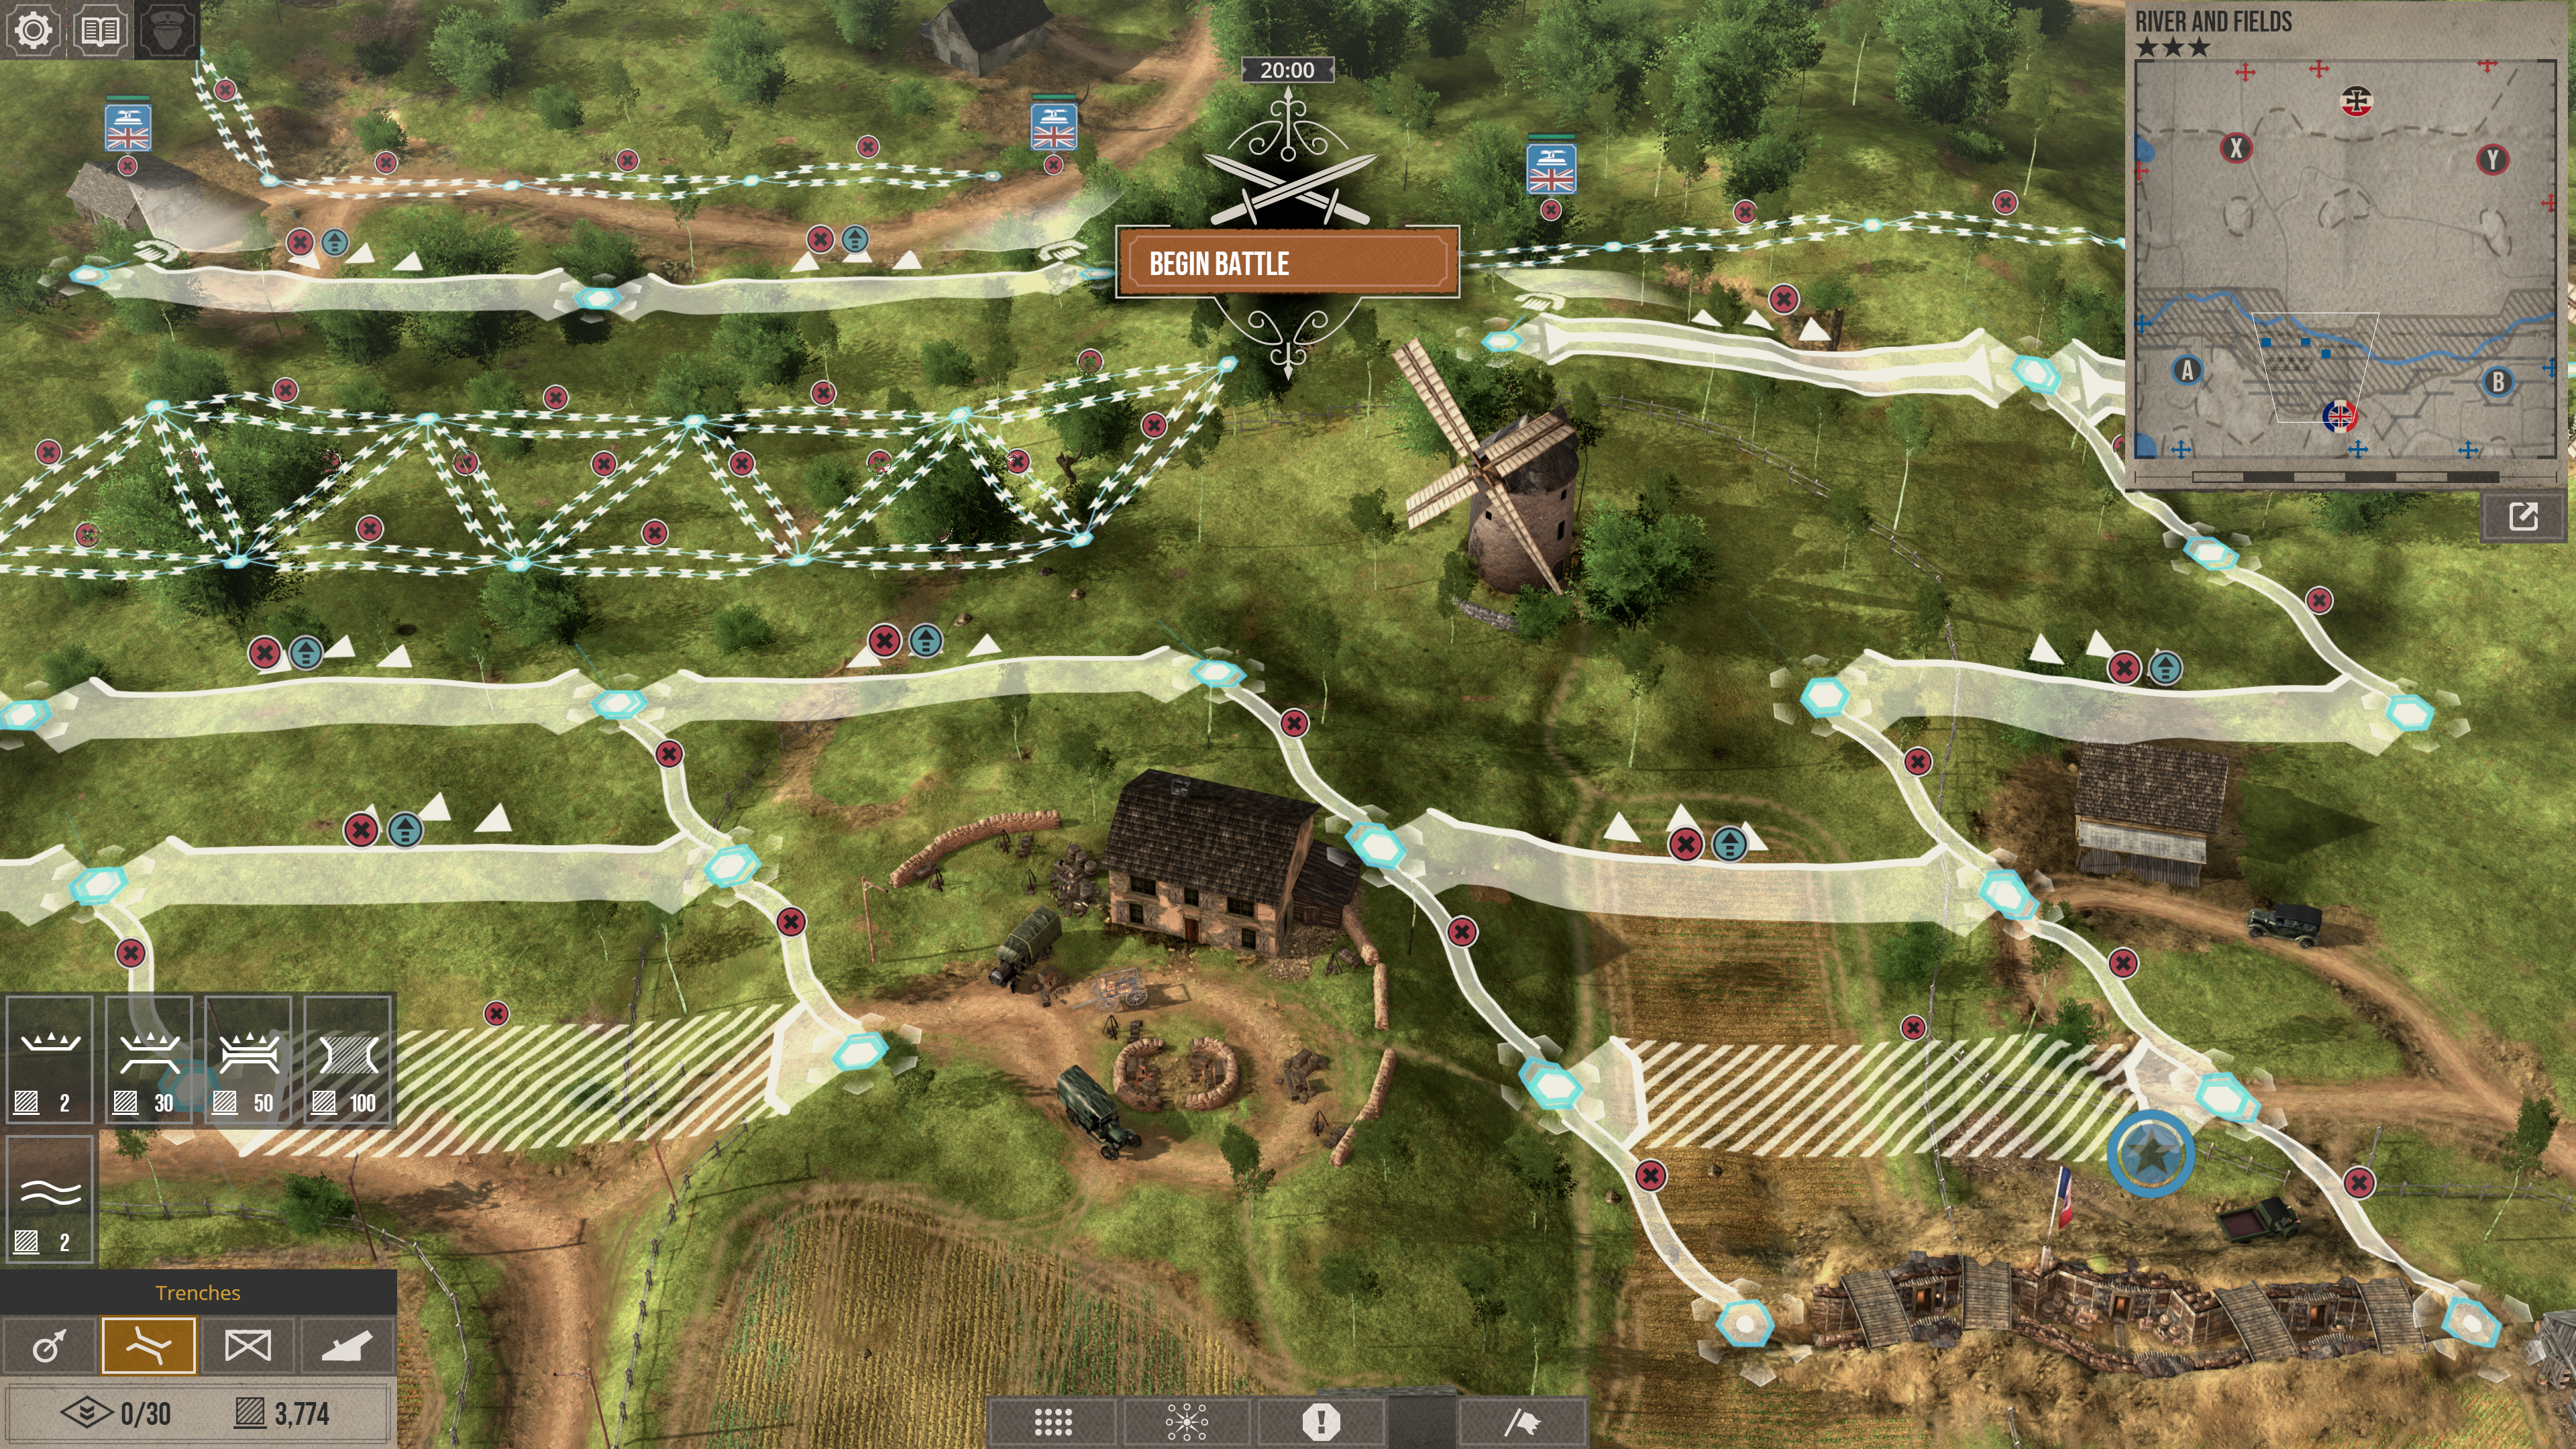
During the planning phase of the RTS battles, you lay down trenches, barbed wire and machine gun emplacements, building grim fortifications out of mud and twisted metal, but if you can't see, they won't save you. Bringing in some balloons, and then sending them up in the air, will open your eyes to the world around you, pushing back the fog so that you can see the enemy charging or find choice targets for an artillery bombardment.
These balloons unfortunately attract pests, with enemy planes and artillery attempting to take them out and blind you. You can lower the balloons to protect them, but that means temporarily reducing your vision dramatically. Not that I had to worry about any of this in that cold, snow-covered field, tragically devoid of balloons as I was.
Modern warfare
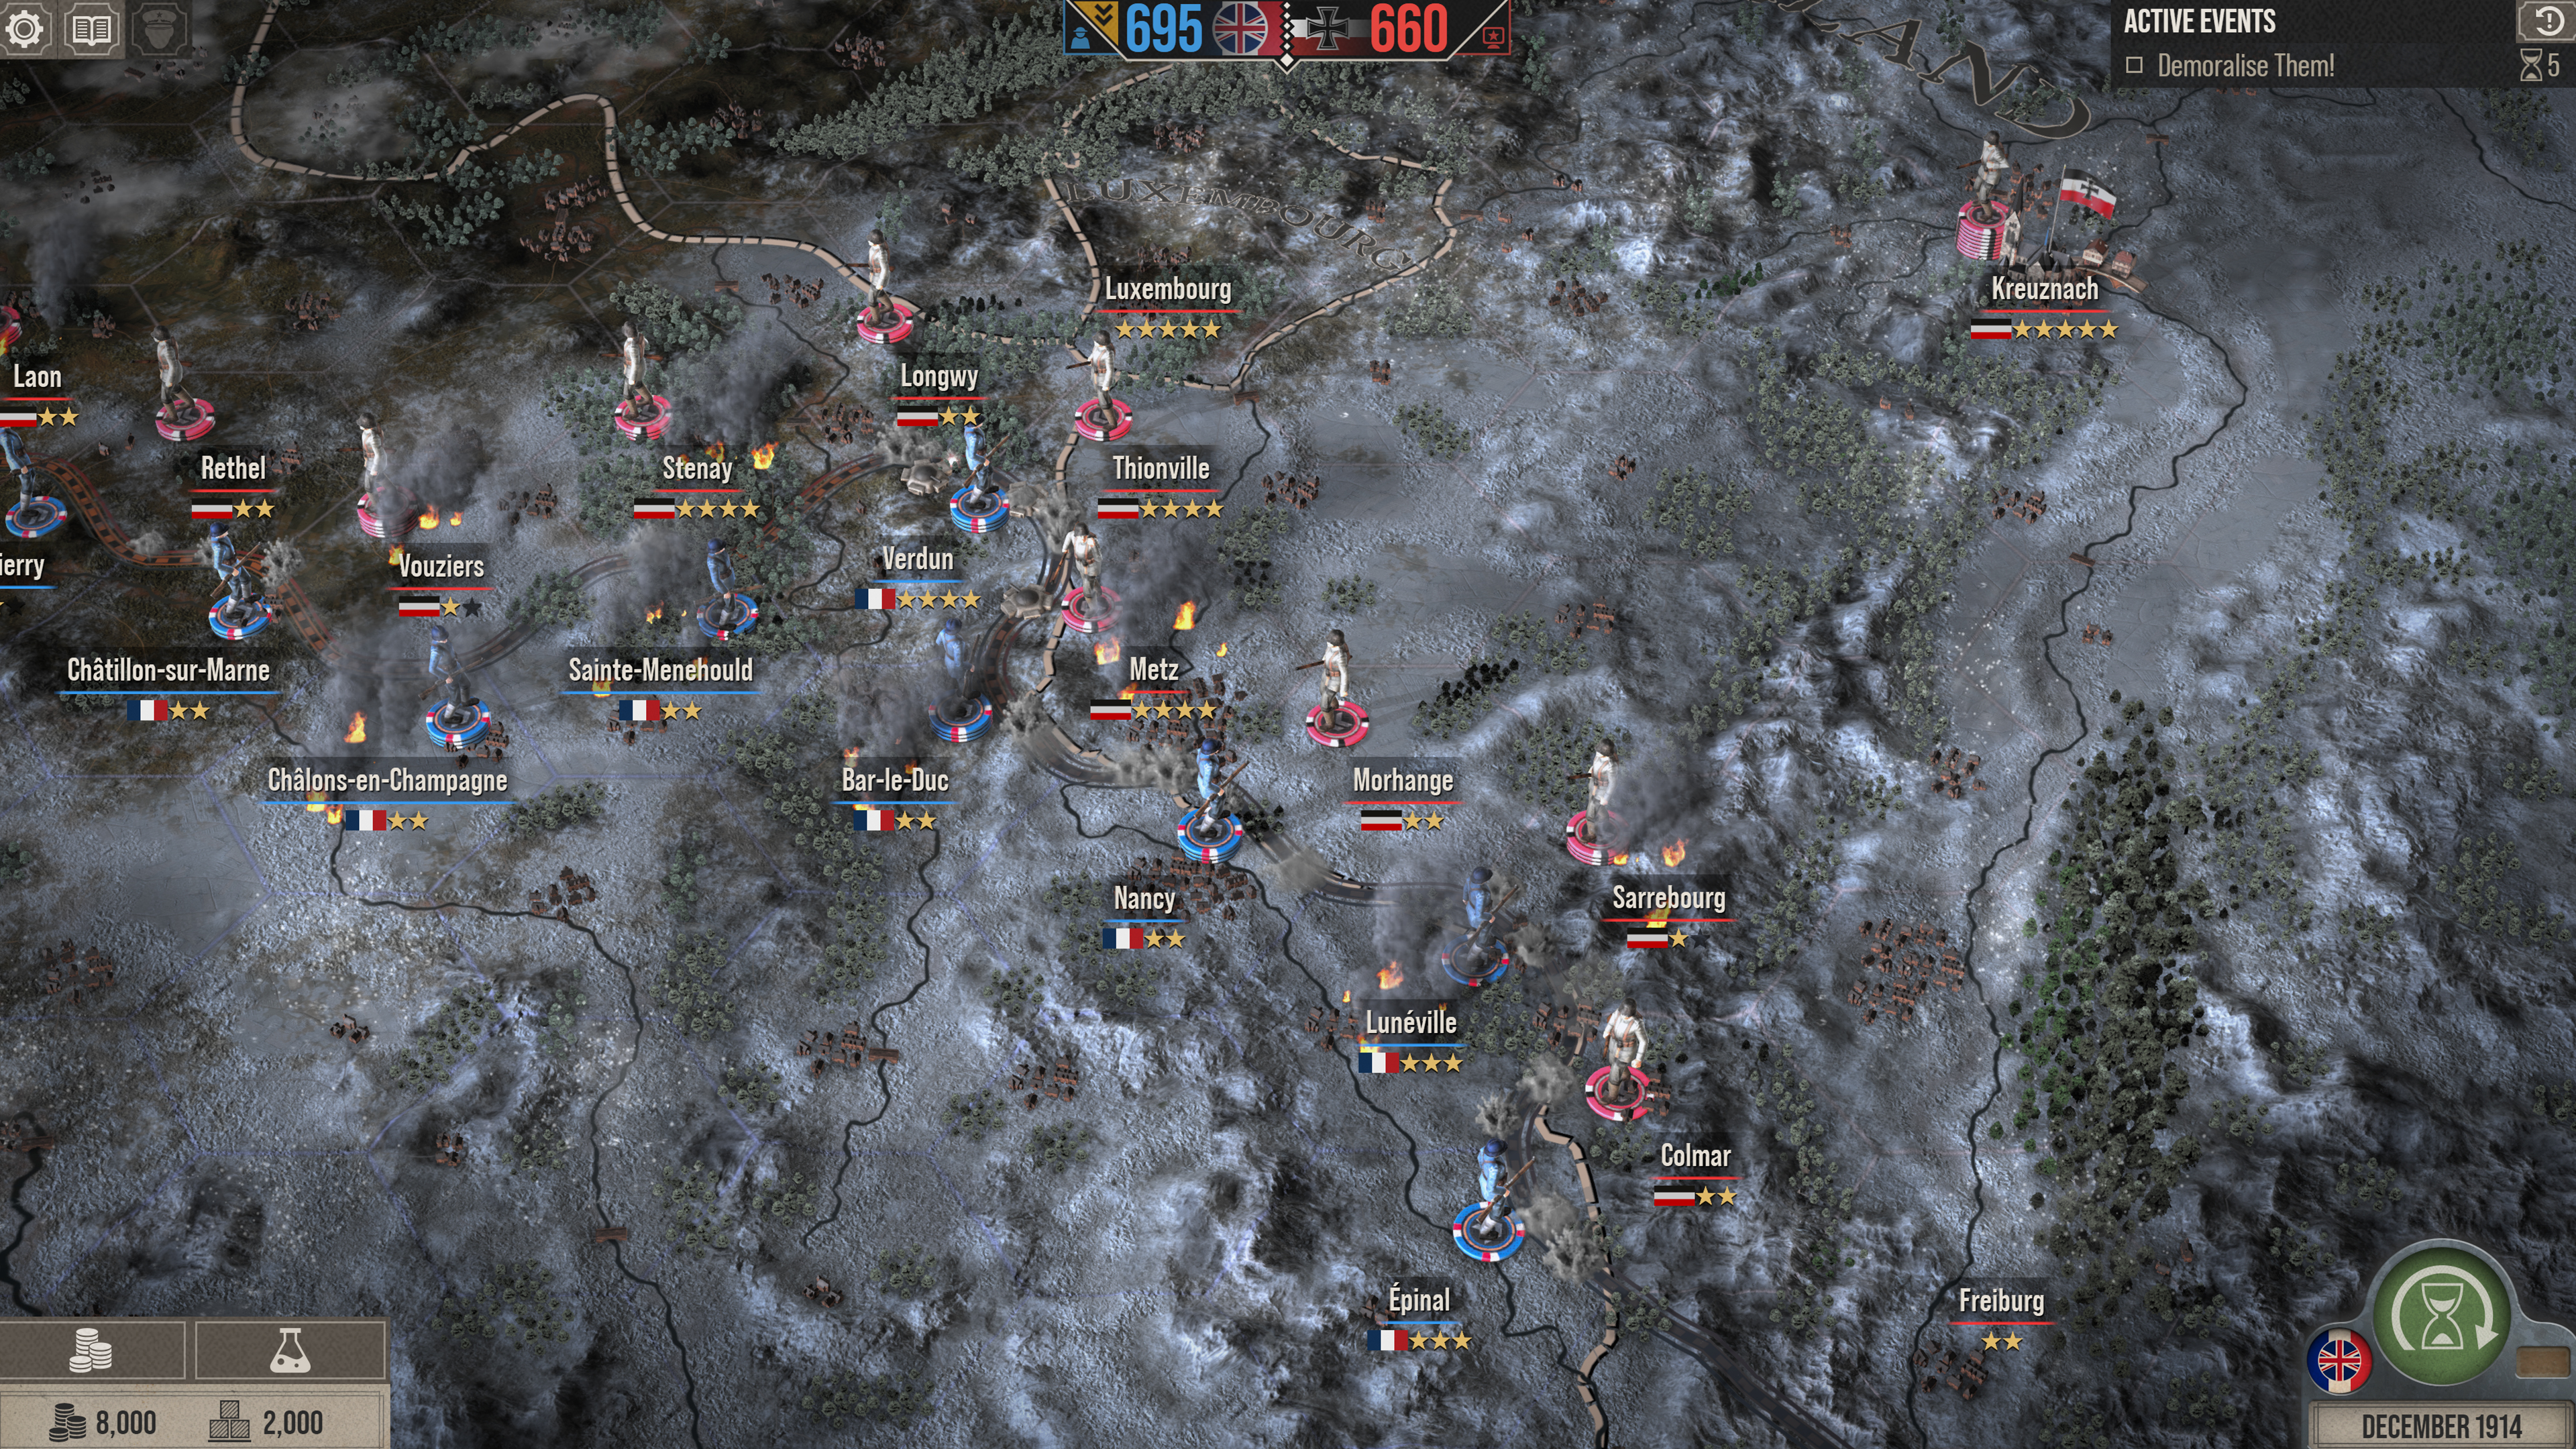
See, while the tutorial gives you a lot of toys to play with right away, the campaign begins with only the absolute basic techs. We're just past the point where horses are no longer a feature on the battlefield, but to start filling the skies with balloons and planes some more work is required. As the campaign progresses, you'll be fighting a war of technological advances, with both sides pushing through new ideas and inspiring the opposition to develop countermeasures, like new kinds of trenches, and then new kinds of tanks that are better suited to driving over those trenches. Eventually you'll be using techniques like undermining, where your sappers will dig beneath the enemy and lay nasty, explosive traps for them.
I was so eager to rout the Germans, however, that I spent hardly any time exploring the research screen before rushing in, guns blazing. But when the fight started, my guns proved to be mostly useless.
Two points on opposite sides of the map were waiting to be captured, but I had absolutely no idea what would be waiting for my men. To make matters worse, the Germans did have a balloon, so they could see me coming straight away. Obviously I should have used my artillery to take it out, but no, instead I spent the next 10 minutes impotently throwing unit after unit at a wall of bullets.
Keep up to date with the most important stories and the best deals, as picked by the PC Gamer team.
It was a massacre. For a moment, you could hardly see the snow, with a rug of corpses covering everything—at least until the game did me a solid and made them dissolve into the terrain. I lost so many men that I quickly became numb, and dropped all pretence of using a strategy. There were no control groups, no flanking manoeuvres, just meat charging into the grinder. But then—progress! While the machine guns were cutting through my troops like they were made of one-ply tissue paper, all that time my artillery was bombarding the emplacements and the trenches they were protecting. My men were effectively being sacrificed just so I could get a glimpse of new targets for the big guns.
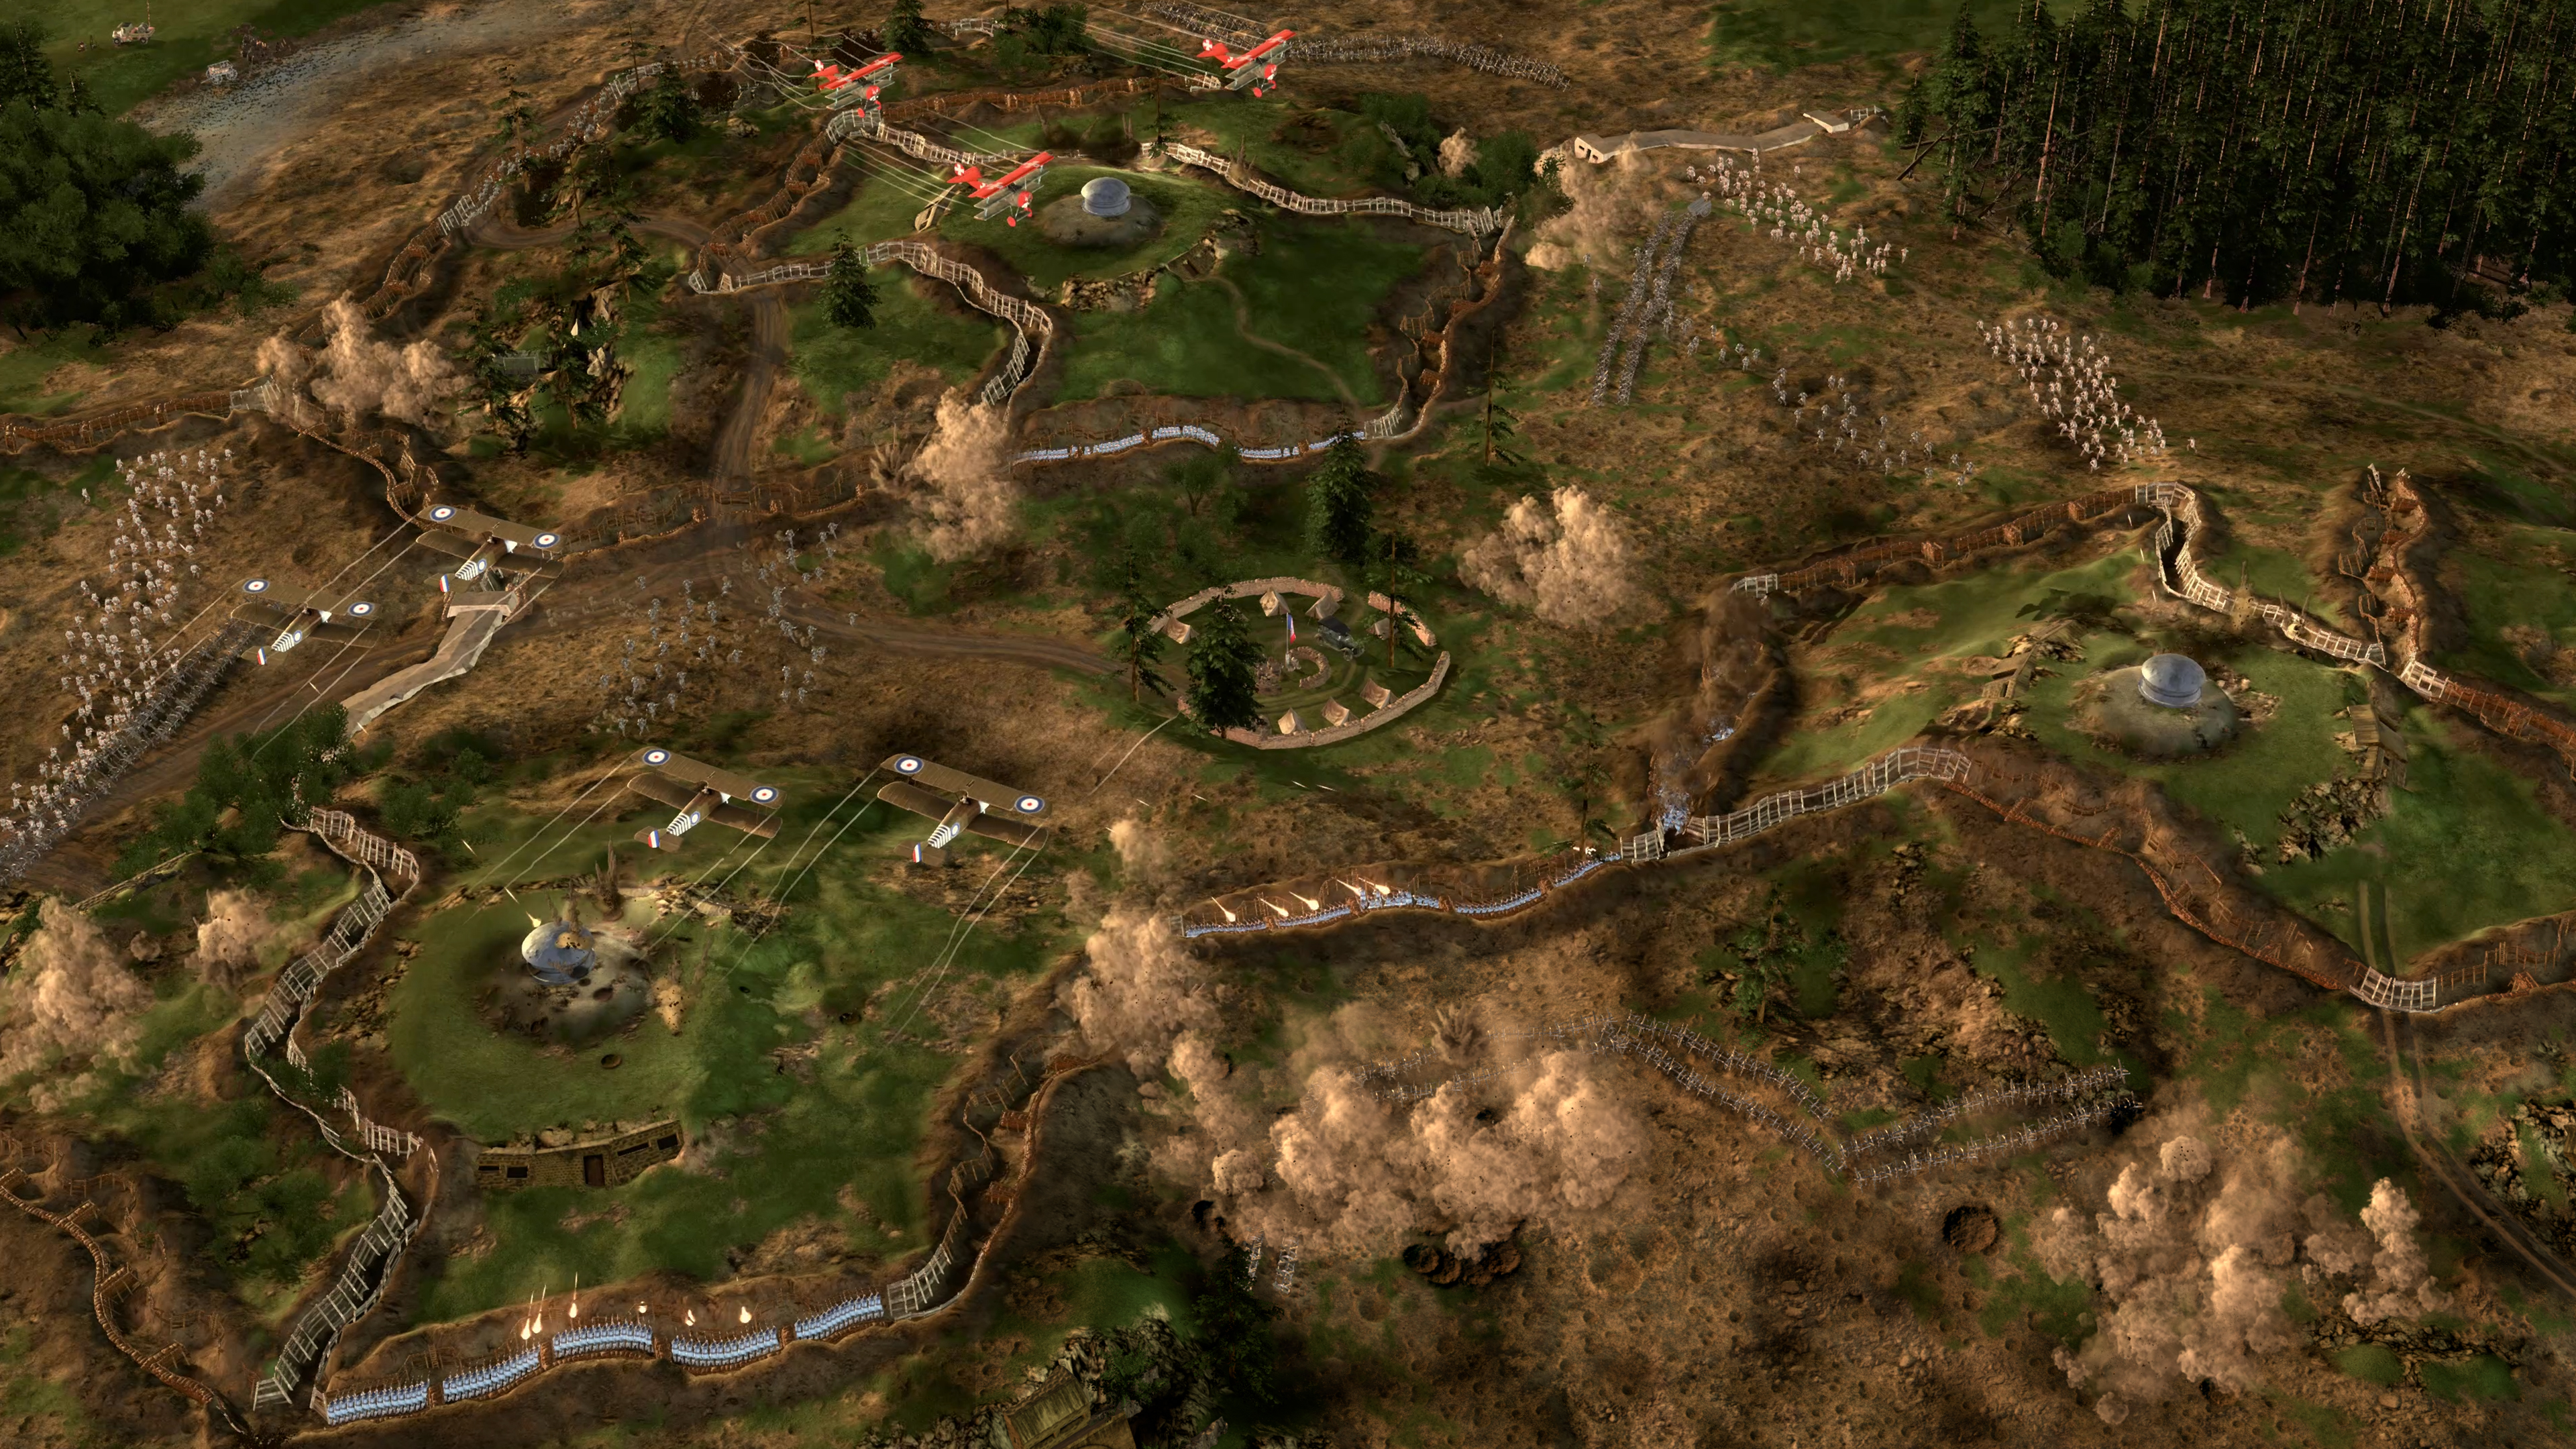
It was slow going, but it was working, and when that first line of defences fell, my men poured into the trenches and claimed them. I also remembered, finally, to take out the enemy balloon. With both of us blind, things were a bit more level, and since the second row of trenches wasn't as well fortified, we were soon upon the point, ready to capture it.
Trench combat can be a bit tricky to read. Out in the open, you can see the impact of a hail of bullets pretty clearly, and understand why the fight is going one way or the other, but inside the trenches, amid the throng of dying men, you just have to rely on the unit health and morale bars, which don't always feel like they're telling you the whole story. Broadly, though, I'm quite keen on The Great War's take on this era of warfare. Trenches are more than just places for soldiers to hide or fight over, and you can create whole networks of them, connected by communication trenches, allowing your men to scurry across the battlefield without having to show the enemy their ripe melons, much to the chagrin of snipers.
You can cram two units inside each trench section, placing one on the firing step and using the other as back-up. It's the unit on the firing step who'll be peppering charging foes with bullets, so you'll want to make sure to figure out which of your two units is best suited to the role. But when that firing unit starts to take a beating, you swap it for the other one, extending the amount of time you can deal with enemy assaults.
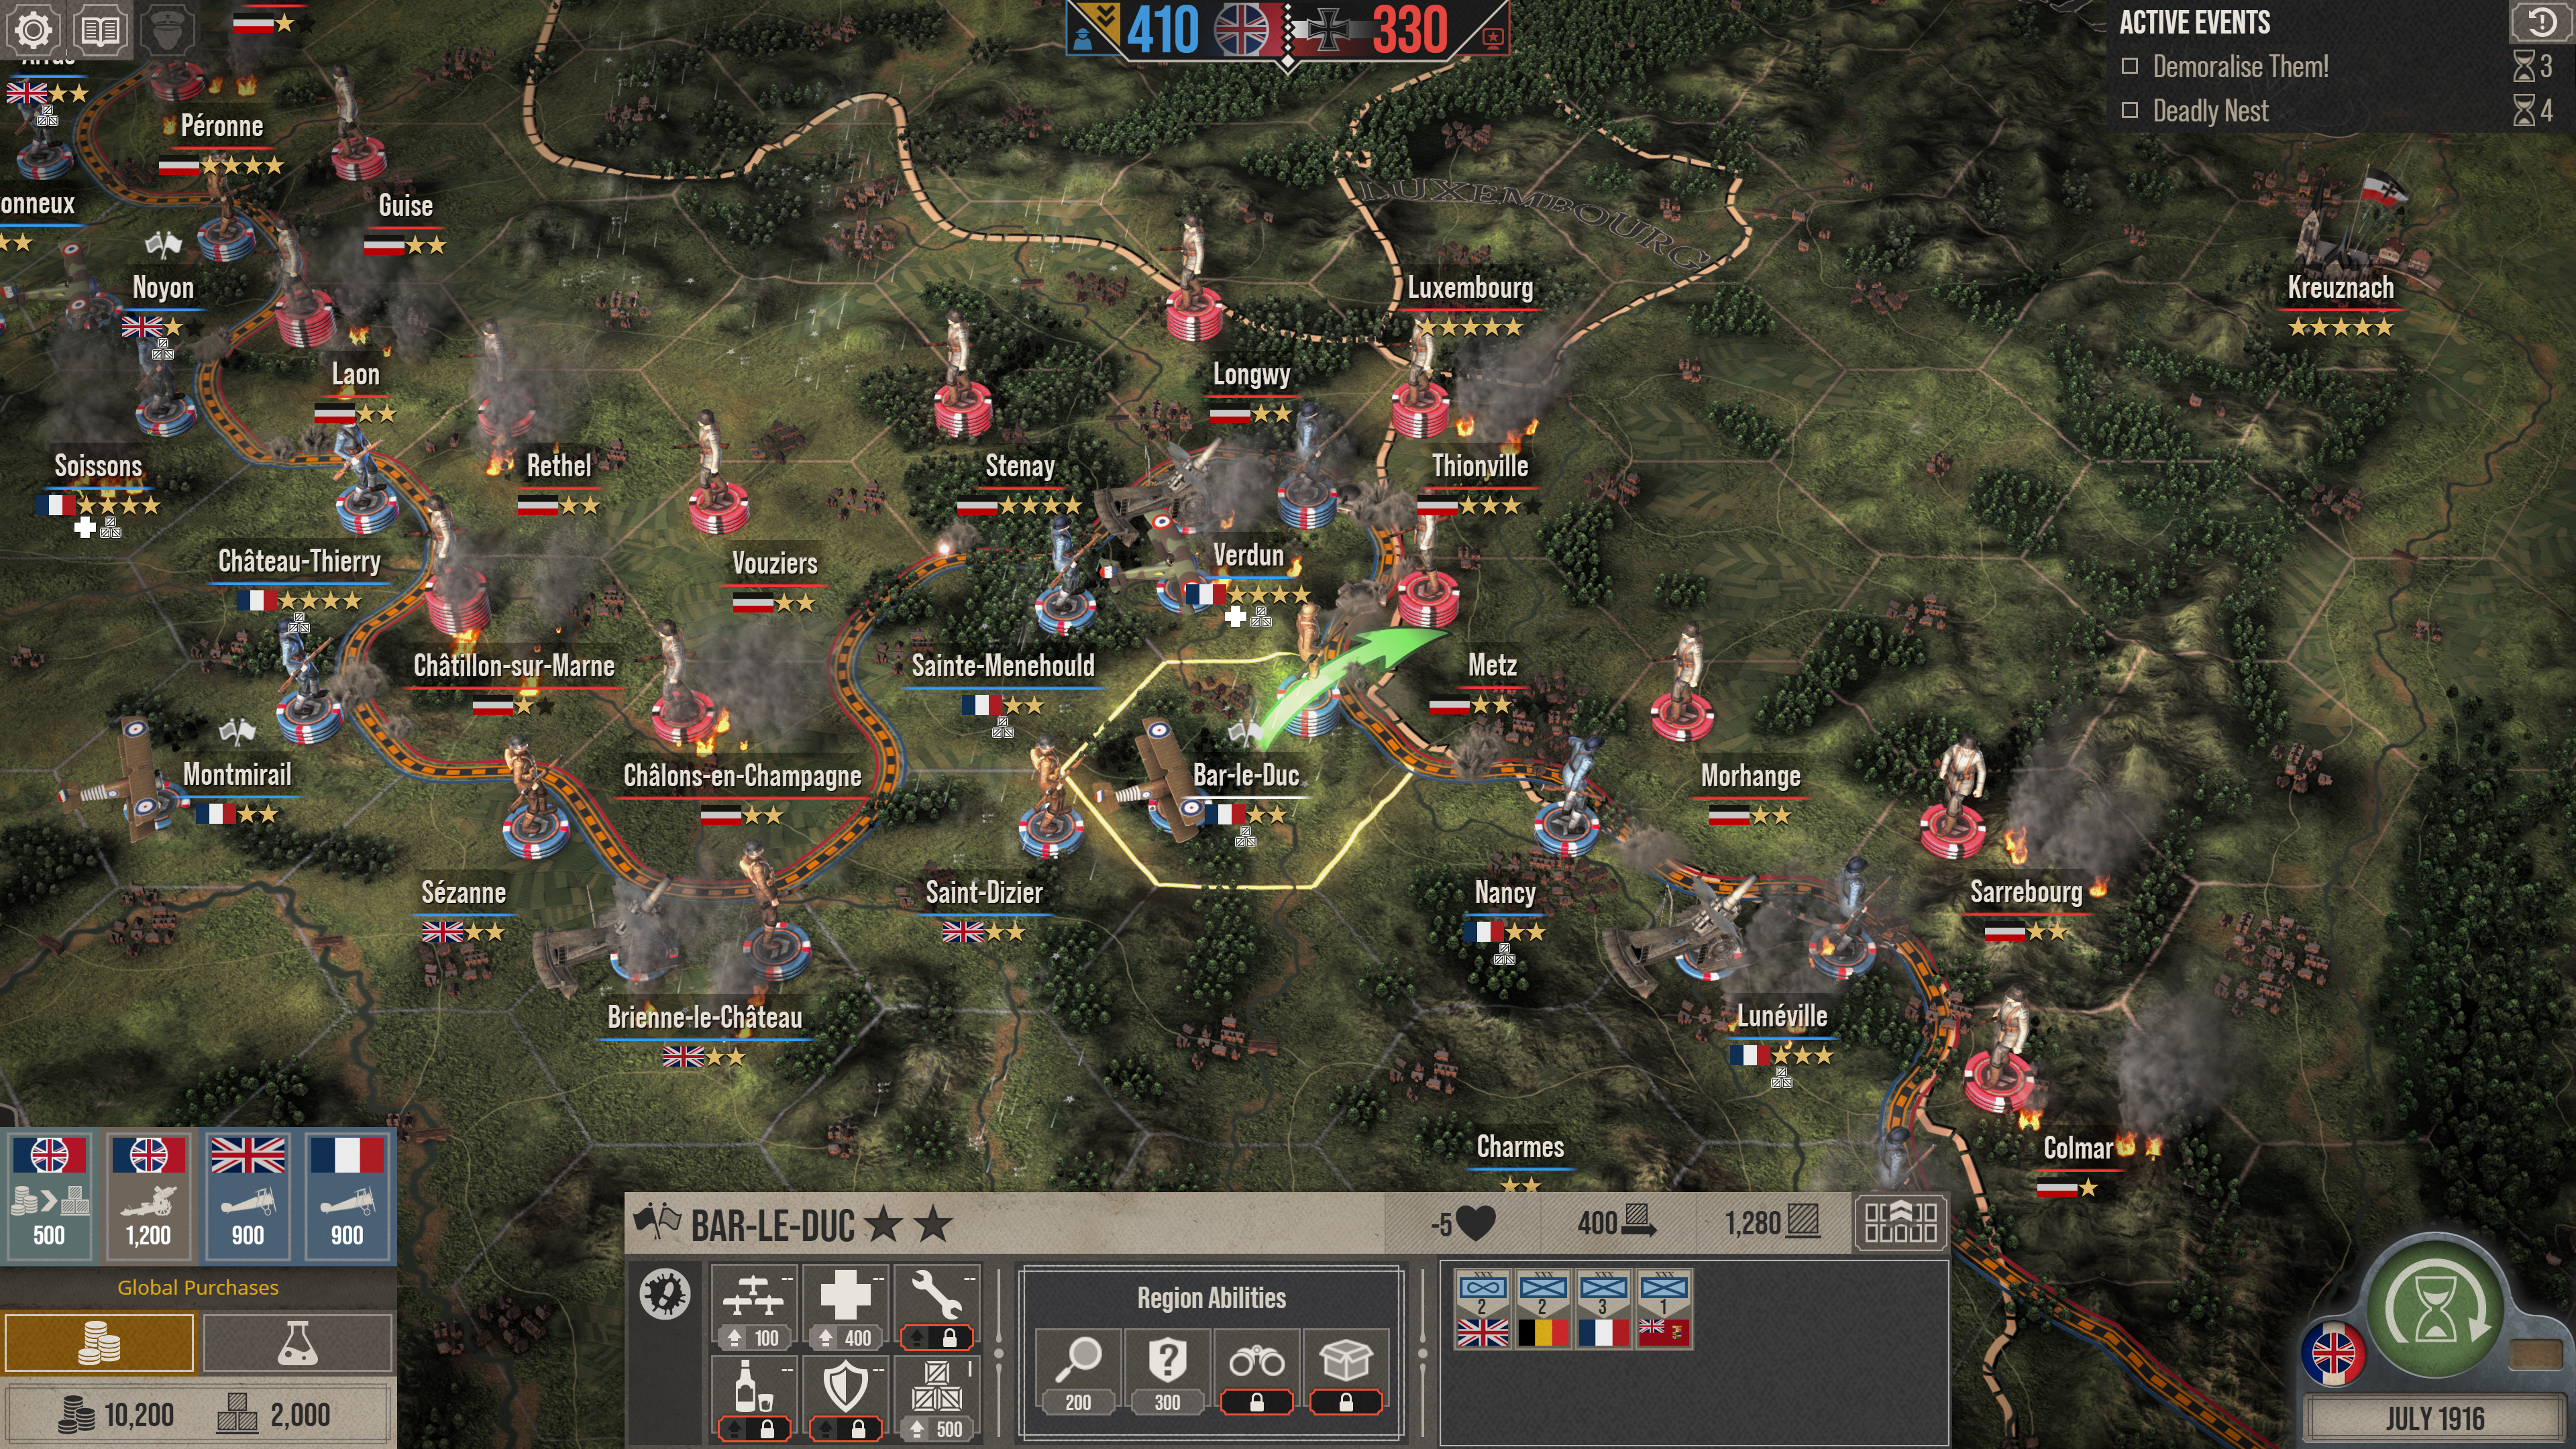
With the point ours, I could reinforce from that position, so I brought in new troops to defend it just in case. Then I turned my attention to the second point. I already had a few units to the south, so I brought them up. Then I noticed all the lads I'd brought in to protect the other point either dying or legging it. I was foiled by low visibility yet again, not realising that just to the north was another machine gun emplacement. On the other side of the map, my troops had met the enemy and were desperately trying to make it to an empty trench where they could hunker down. A few more seconds and they would have made it. Thinking I should save at least some troops for the rest of the war, I finally offered a ceasefire.
Will they or won't they?
There's a lot of nuance to how The Great War handles victory and defeat, and it's one of the things that makes WWI such an unusual proposition for an RTS. It's not a simple binary where you either win or lose, and you have to change your expectations a lot. This was a war where a great victory could sometimes mean just pushing forward a few miles, or even just a few inches. There are different categories of victory and defeat, but battles can also end in stalemates, as this one did. I'd been unable to break the Germans' hold over the area, despite all the bodies I threw into the mess. Successfully taking that one capture point, however, put me in a better position for the next attack, but the cost was huge, and reduced my National Will—meaning that the folks back home were hearing bad stuff about how things were going and losing their appetite for war.
National Will is one way you can win or lose the entire war, so it's critically important, but Petroglyph hasn't designed it to punish players. The penalties are mild enough so that you can still fight and maybe even turn things around even if your National Will is approaching zero. There's always got to be this chance for a comeback, which couldn't happen if your forces had been rendered completely ineffective.

My next scrap was a scripted historical battle where I was given control over the Central Powers, specifically the Germans. This fight, the infamous Battle of the Somme, couldn't have been more different from the last, starting out as a predominantly defensive battle with Allied troops hurling themselves at my trenches. And I had much fancier toys to play with, including flamethrowers and artillery with a variety of firing modes, including the rolling barrage, where rows of explosions provide cover for advancing troops thanks to all the smoke. Above the battlefield, meanwhile, planes were dropping bombs or getting into dogfights. Nowhere was safe.
Historical battles have a variety of mission objectives and bonuses that give the conflicts some narrative flavour, along with a welcome, varied pace. There are some explicit choices that you can make during in-battle events that also allow you to take slightly different approaches, but which can also have knock-on effects that you might be less pleased with. So when I asked for some reinforcements that would have otherwise been sent to another battle, I soon learned that there was a cost. That other battle started going badly for the Central Powers, so the Allies didn't need as many troops to take us on, and sent them over to the Somme instead.
These enemy reinforcements only proved to be a minor wrinkle, at least, and the Allies soon found themselves on the back foot. It was time for the Central Powers to go on the offensive. Under the cover of explosions and smoke my men charged out of their trenches and into No Man's Land, while my pilots above chased down the enemy bombers trying to thwart our attack. I had the advantage now, but some bombs got through and many of my units took a beating in enemy trenches. It was still a costly attack, but one that put victory within reach.
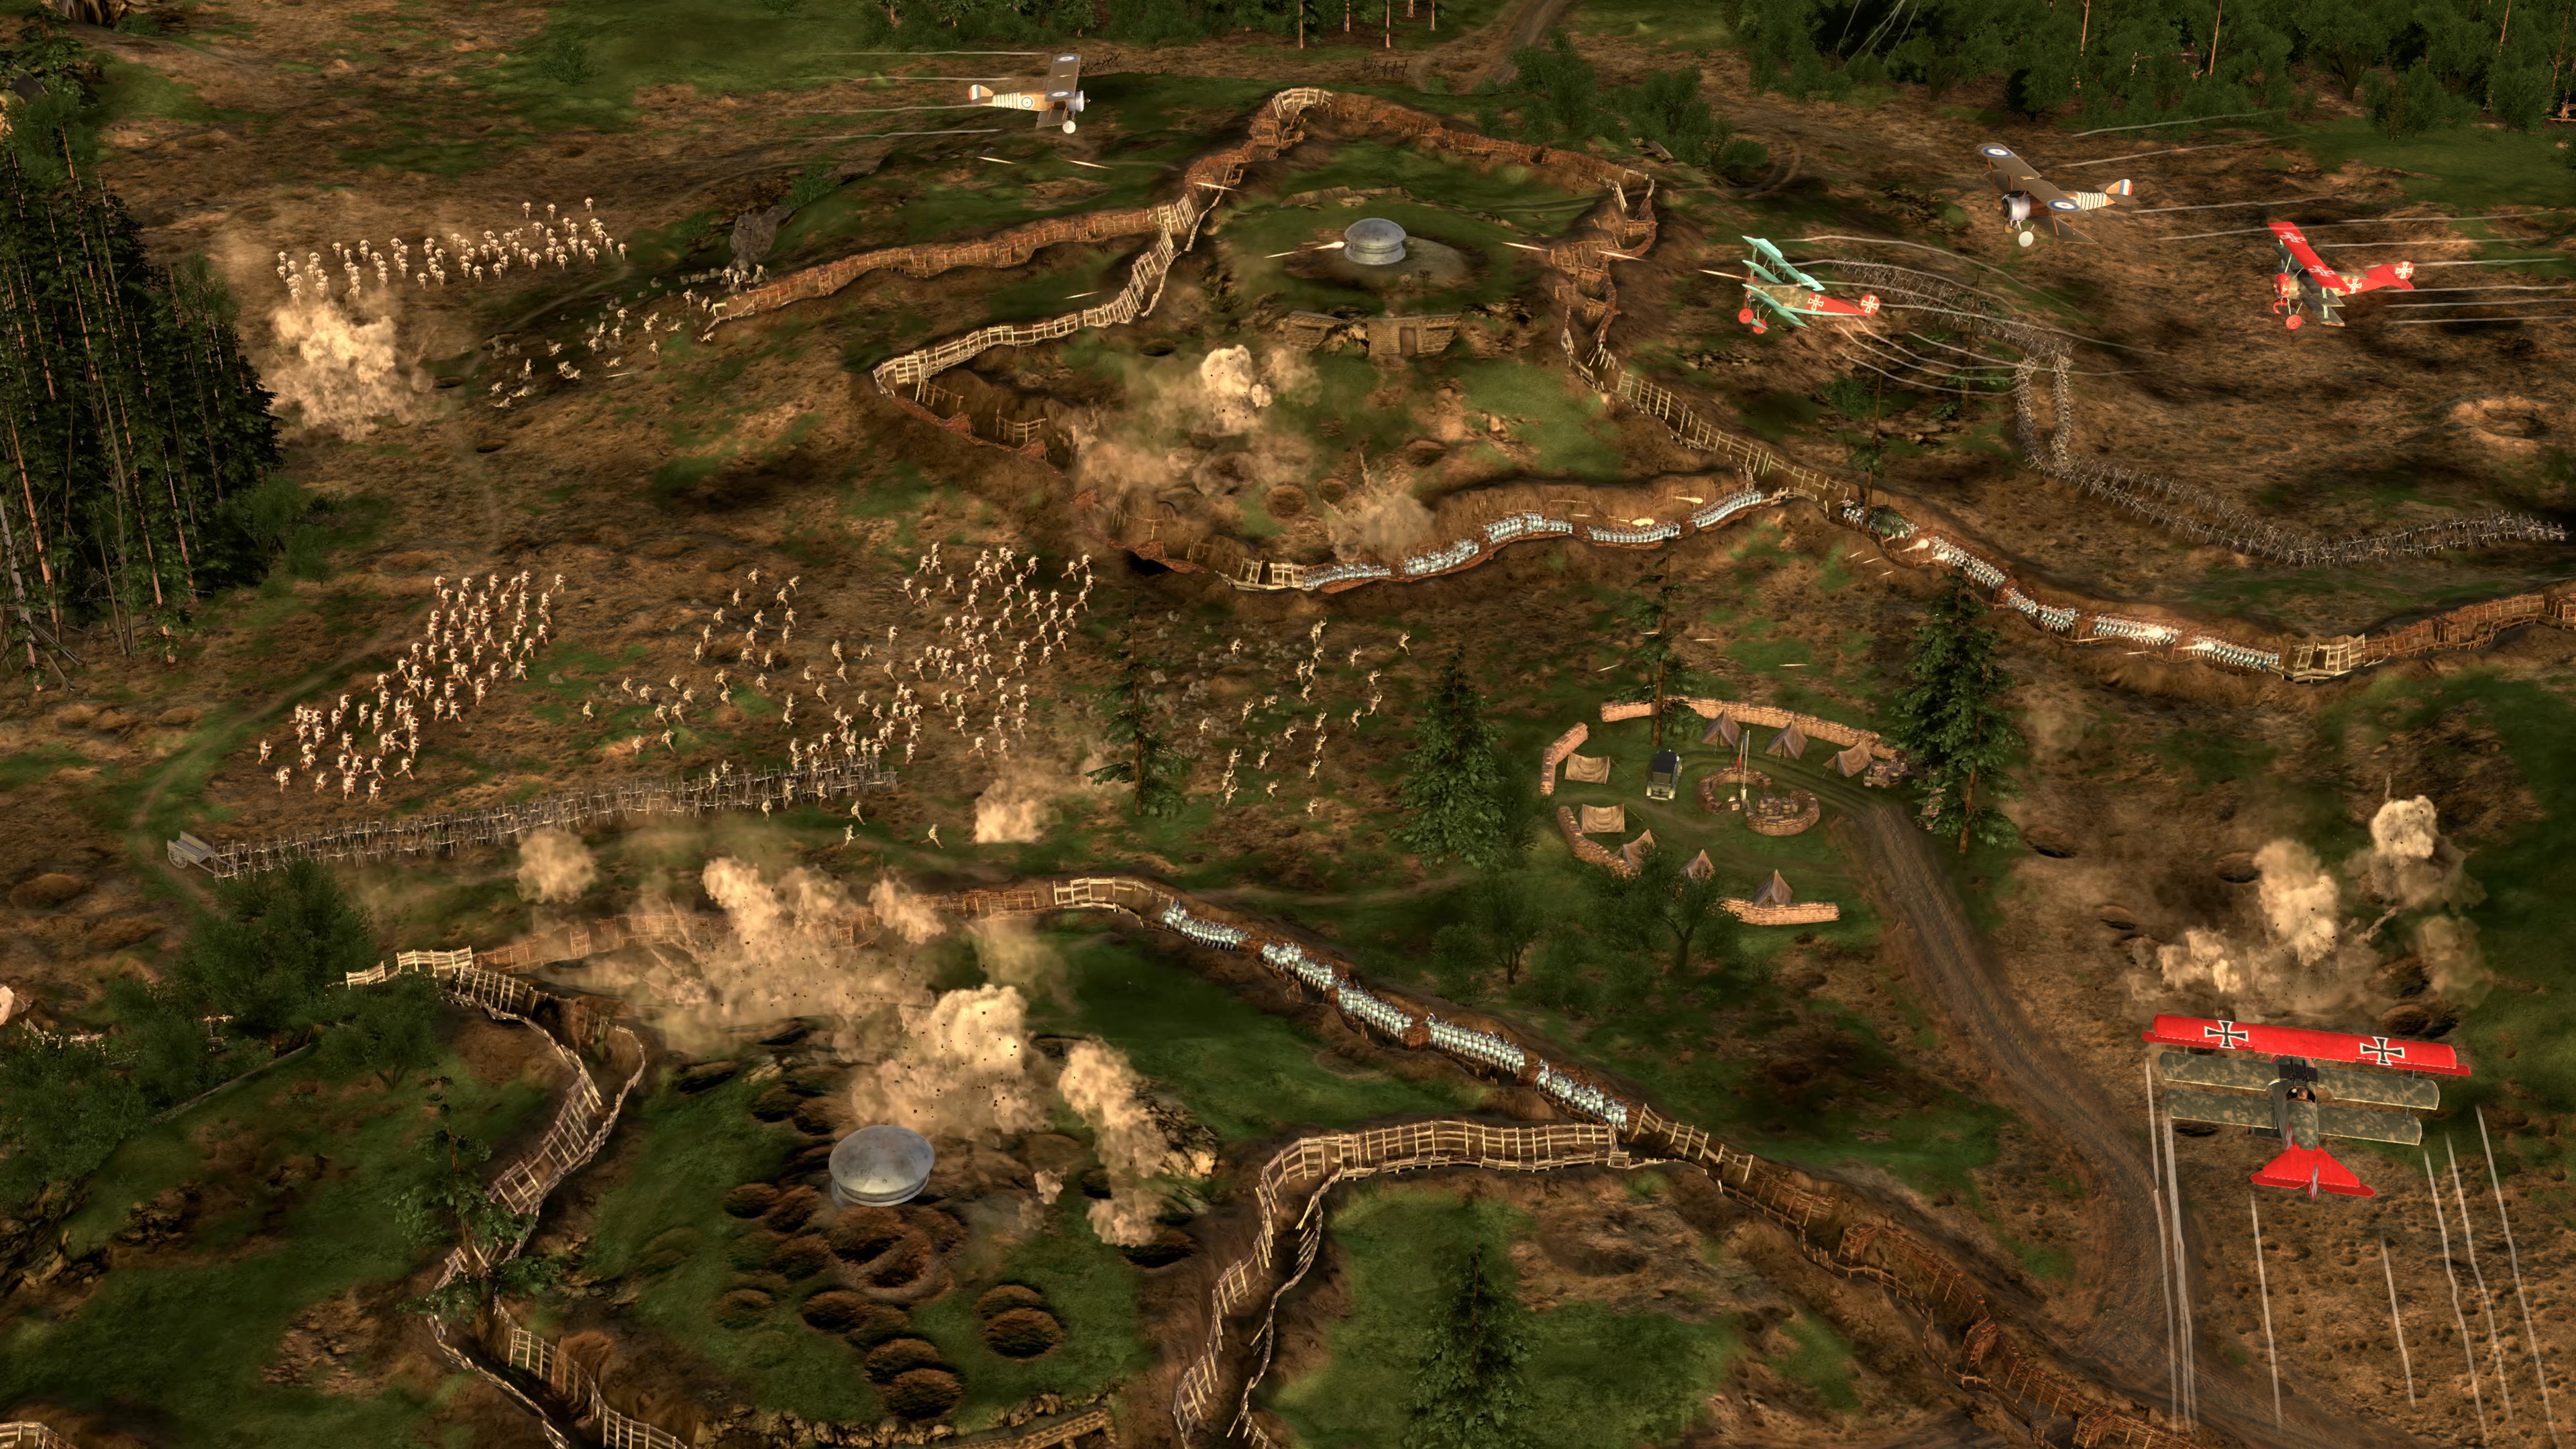
Despite these bespoke battles boasting some additional complexity, I found the structure of the Somme slightly easier to manage as a first-time player. The objectives gave me a clearer idea of what I needed to do to win, and the moves I made across the battlefield were more effective as a result. And this time, thank God, I actually had some balloons.
The Great War: Western Front arrives on PC on March 30, but you'll be able to experience a slice of the war early, during Steam Next Fest. You'll be able to play through the tutorial (which I highly recommend, because there's quite a lot to take in) and part of the campaign, as well as one historical battle: Battle of Passchendaele. The demo will be available from February 6.

Fraser is the UK online editor and has actually met The Internet in person. With over a decade of experience, he's been around the block a few times, serving as a freelancer, news editor and prolific reviewer. Strategy games have been a 30-year-long obsession, from tiny RTSs to sprawling political sims, and he never turns down the chance to rave about Total War or Crusader Kings. He's also been known to set up shop in the latest MMO and likes to wind down with an endlessly deep, systemic RPG. These days, when he's not editing, he can usually be found writing features that are 1,000 words too long or talking about his dog.

