How to get the Tesla Gun in Call of Duty: WWII's zombies mode
Follow these steps to find one of the best weapons in the Nazi Zombies mode.
Keep up to date with the most important stories and the best deals, as picked by the PC Gamer team.
You are now subscribed
Your newsletter sign-up was successful
Want to add more newsletters?
Join the club
Get full access to premium articles, exclusive features and a growing list of member rewards.
The Tesla Gun has the privilege of heralding the first line of Wonder Weapons in WWII Zombies, a set of special firearms that typically required solving certain puzzles or completing item hunts to obtain them. The Tesla Gun won't deliver the immense firepower as a regular gun enhanced by the upgrade station (check out this guide for help), but its capability to stun clumps of zombies on one blast is a great form of crowd control available to anyone.
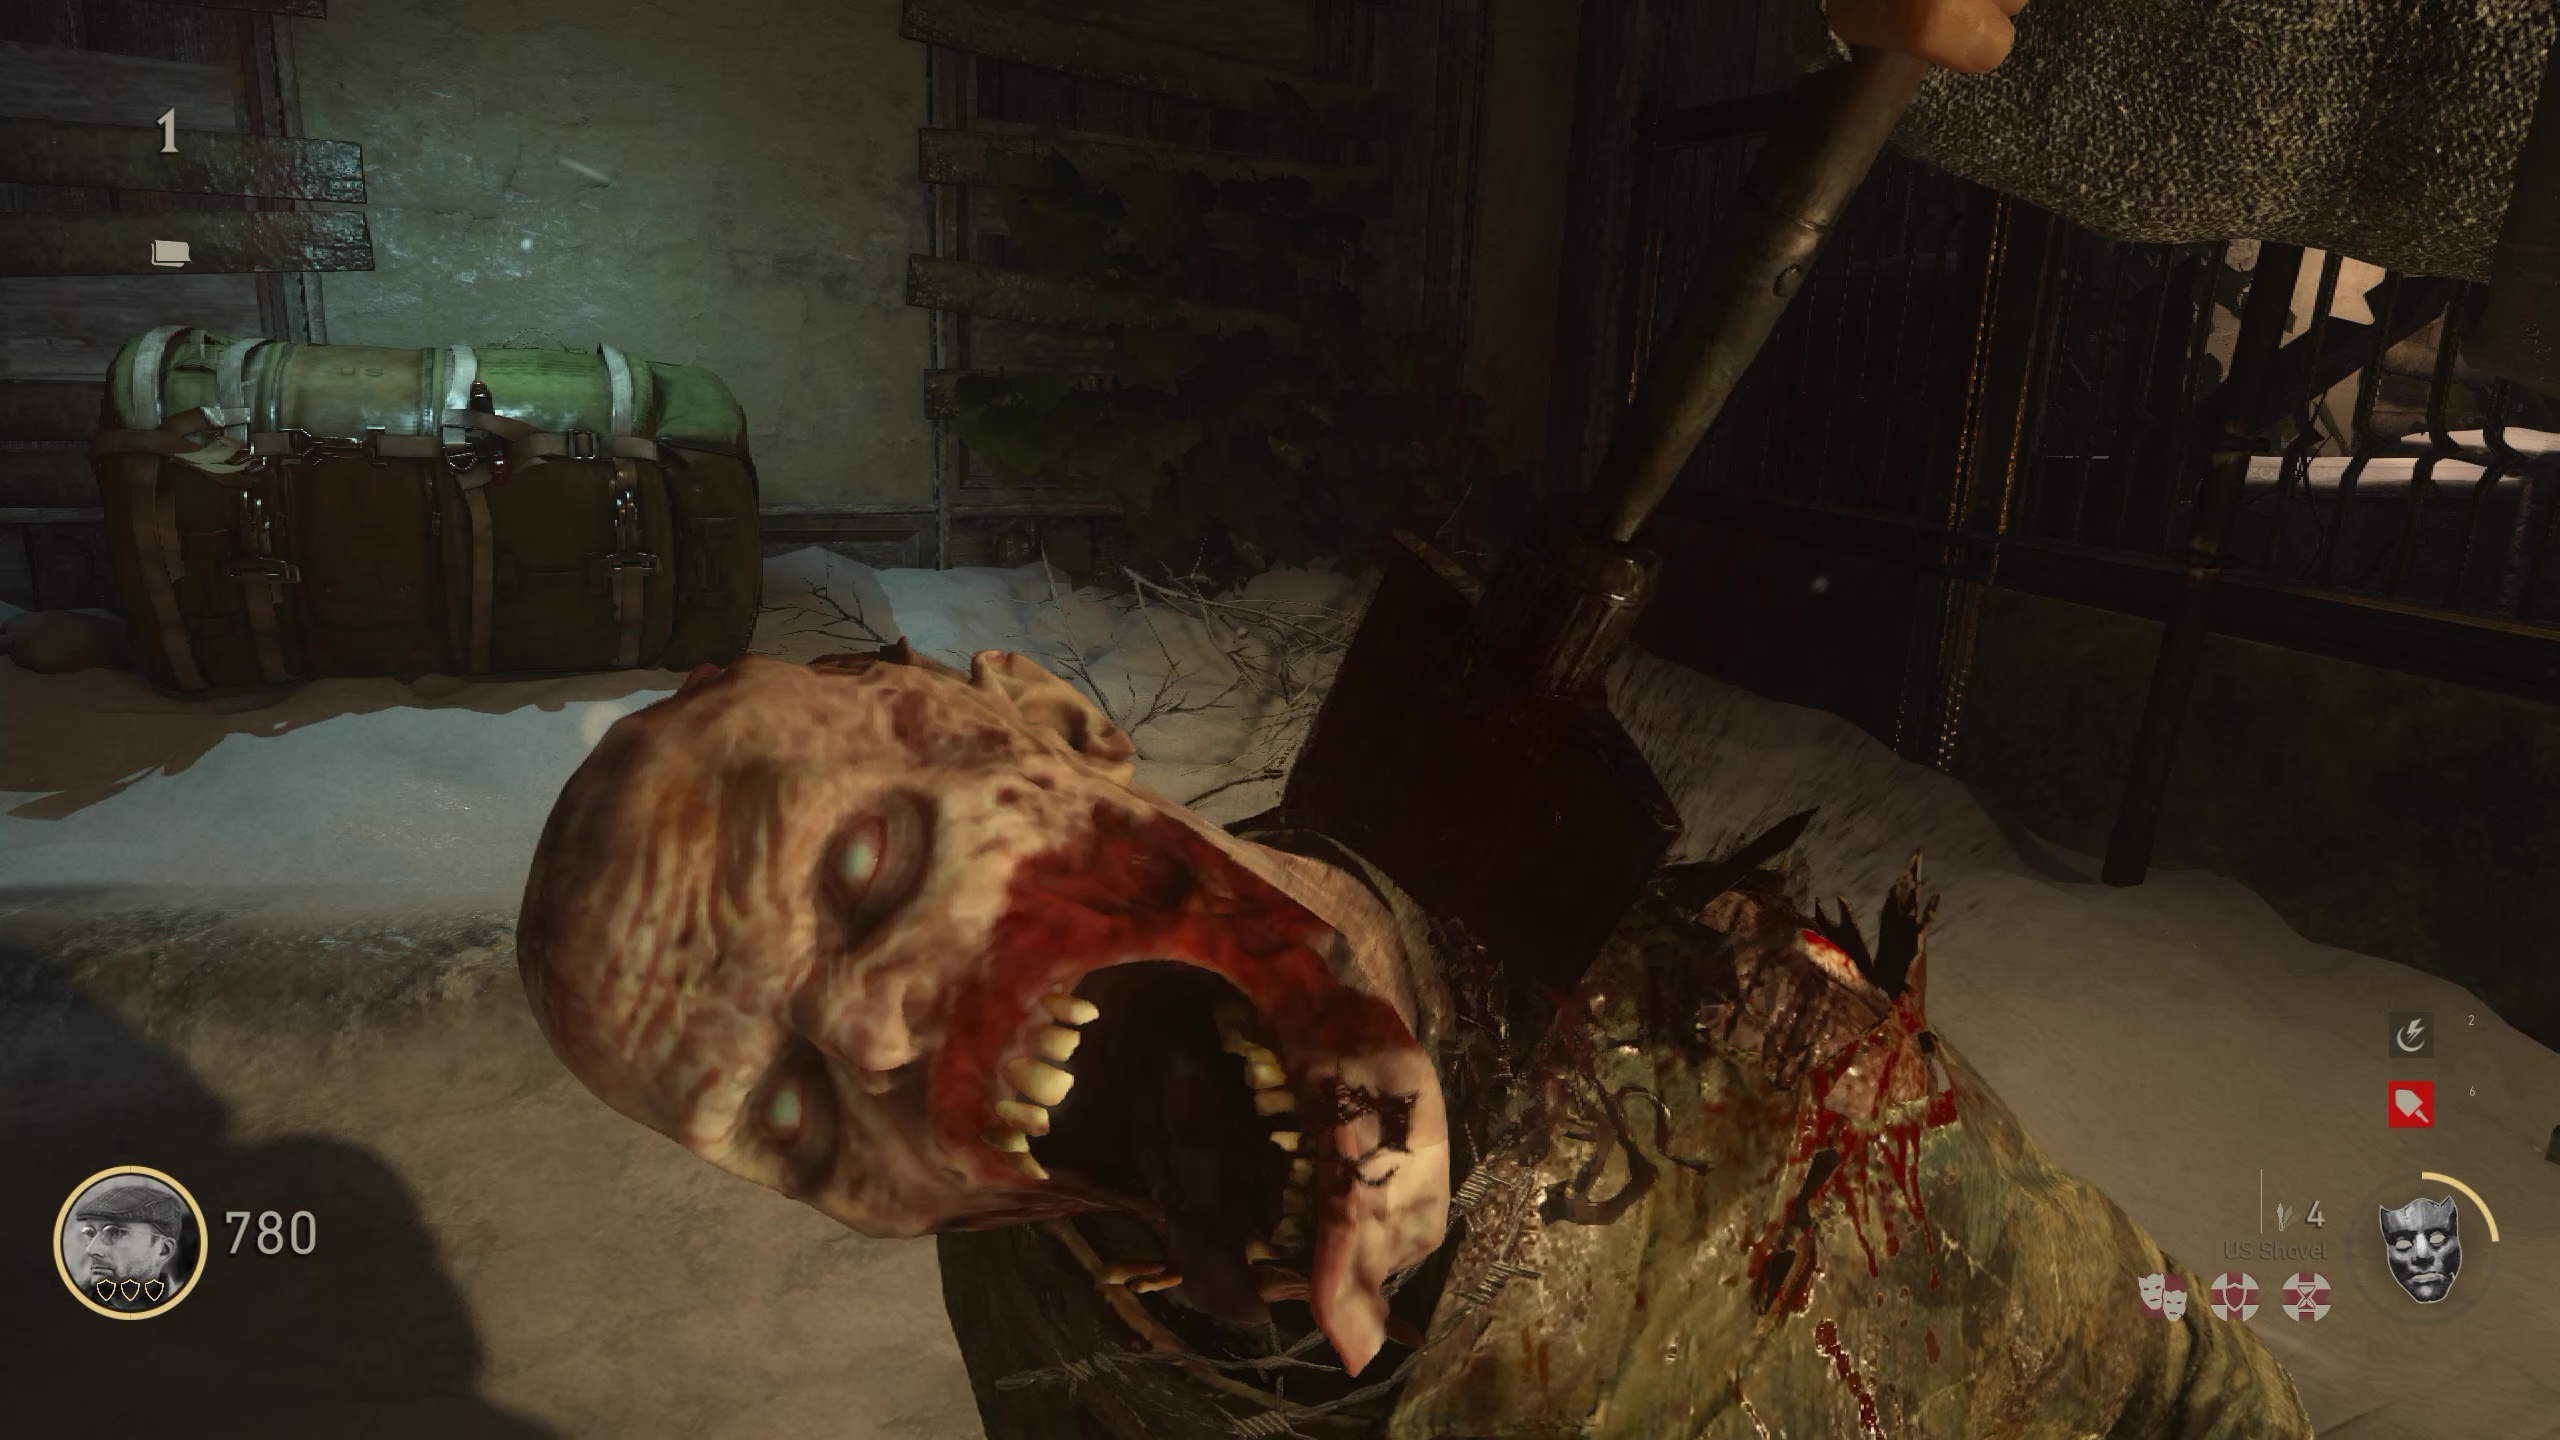
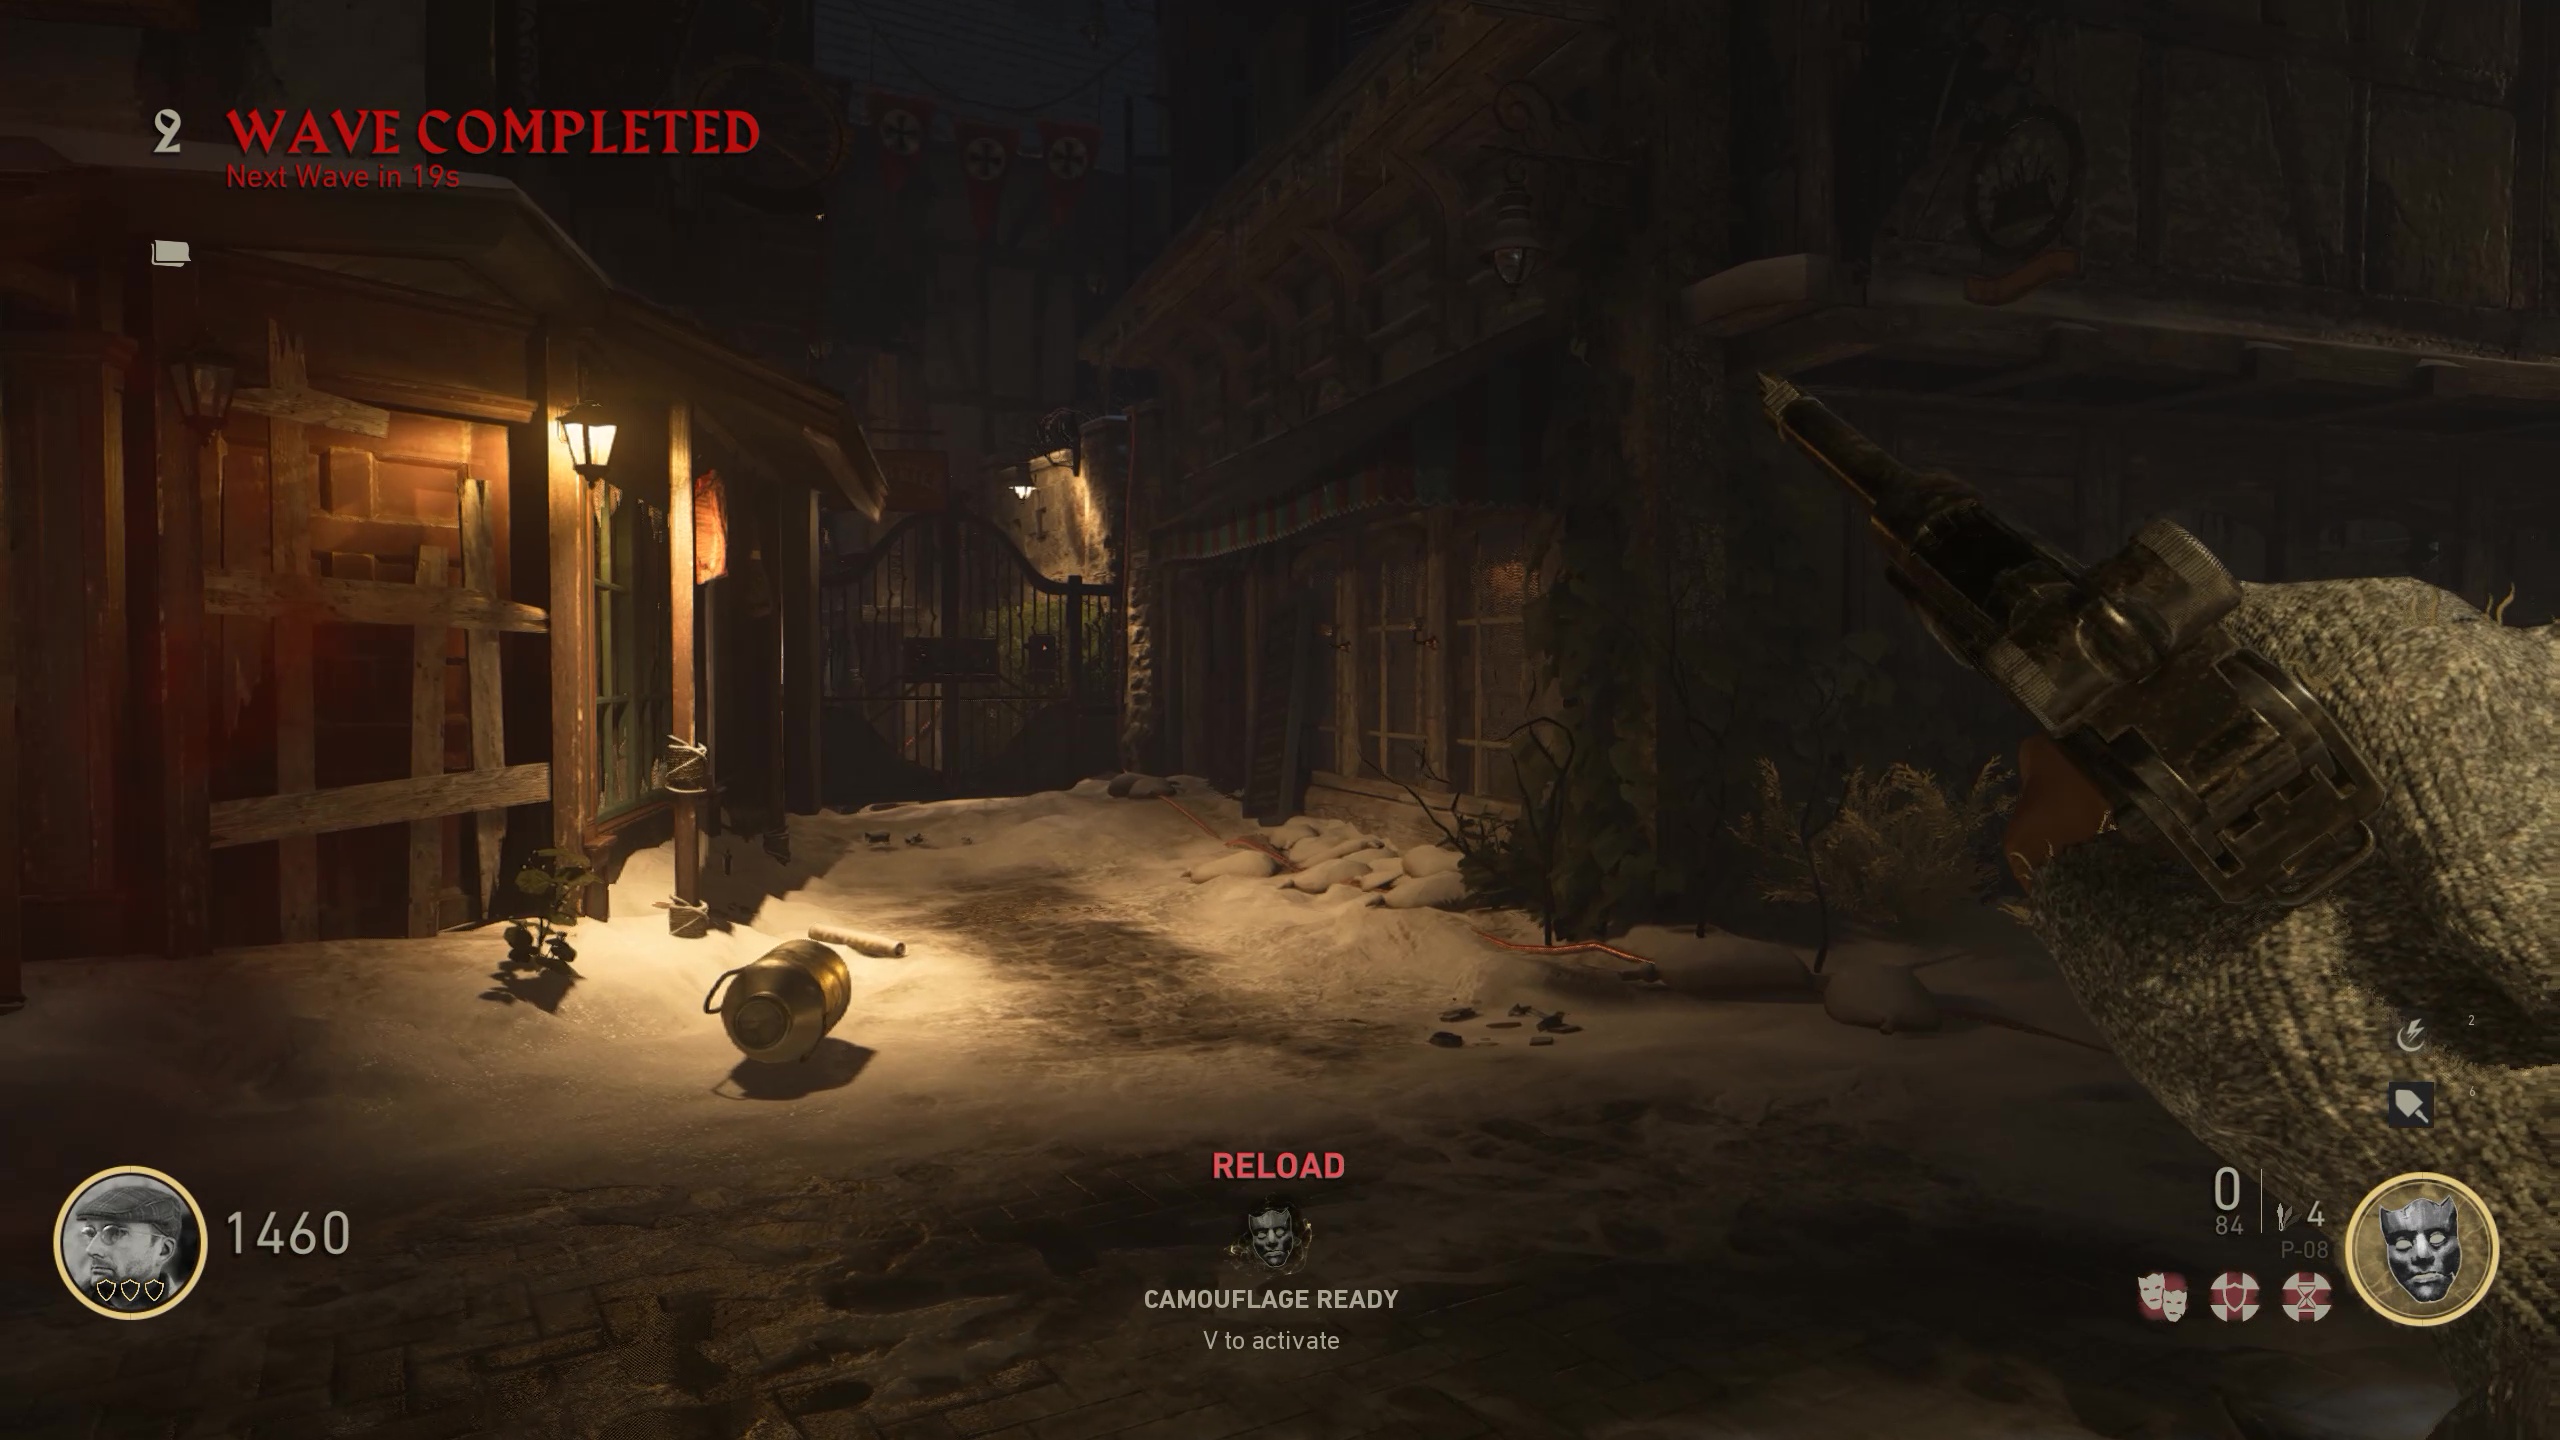
1. On the initial wave, amass 750 Jolts to unlock the far gate leading to the main Village Square. You can easily gather the toll you’ll need by shoveling zombies in the face and skipping on purchasing weapons or Blitz passives (for now, at least).
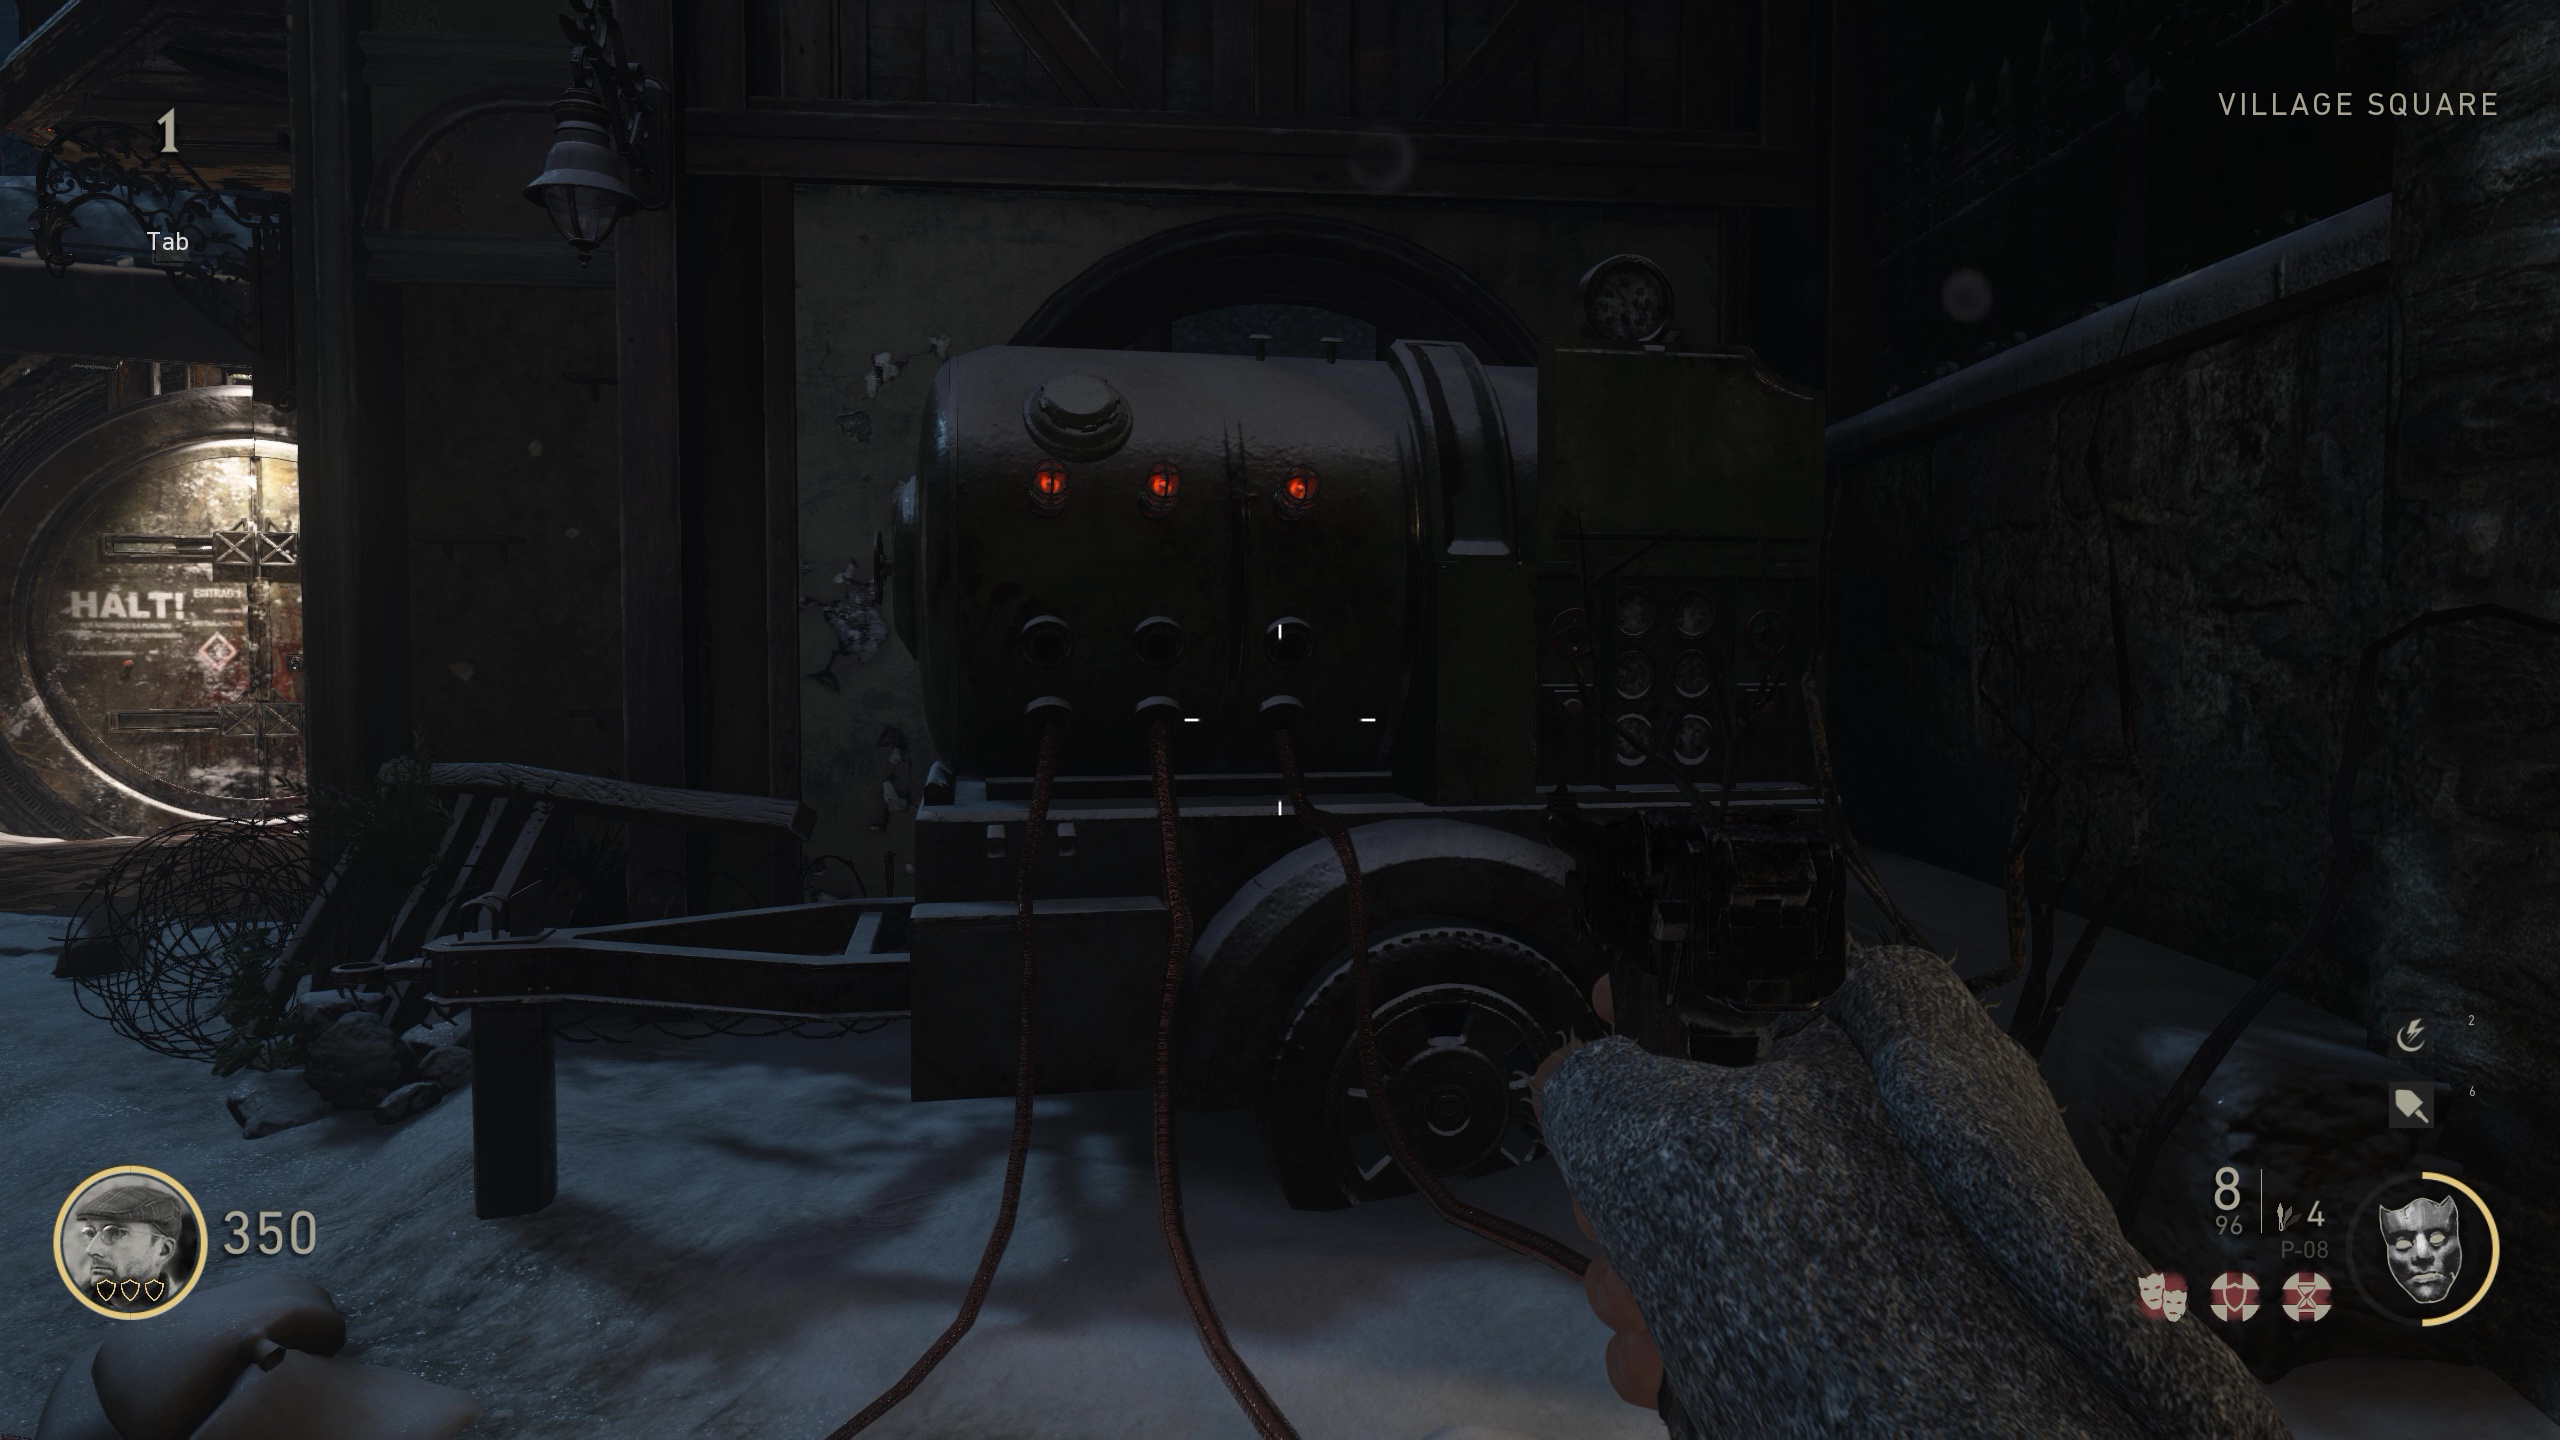
2. Once in the square, you’ll notice a large generator nearby a well-lit and sealed circular door. Red lights on generators aren’t as cheerful as green lights, so let’s fix that. You’ll need to follow each of the three cables trailing from the generator to a valve controlling gas flow in three separate pipes and turn them until they’re fully active. You’re not entirely vulnerable while spinning a valve, as you can swivel around (but don’t move!) and fend off incoming threats with either shots or shovel.
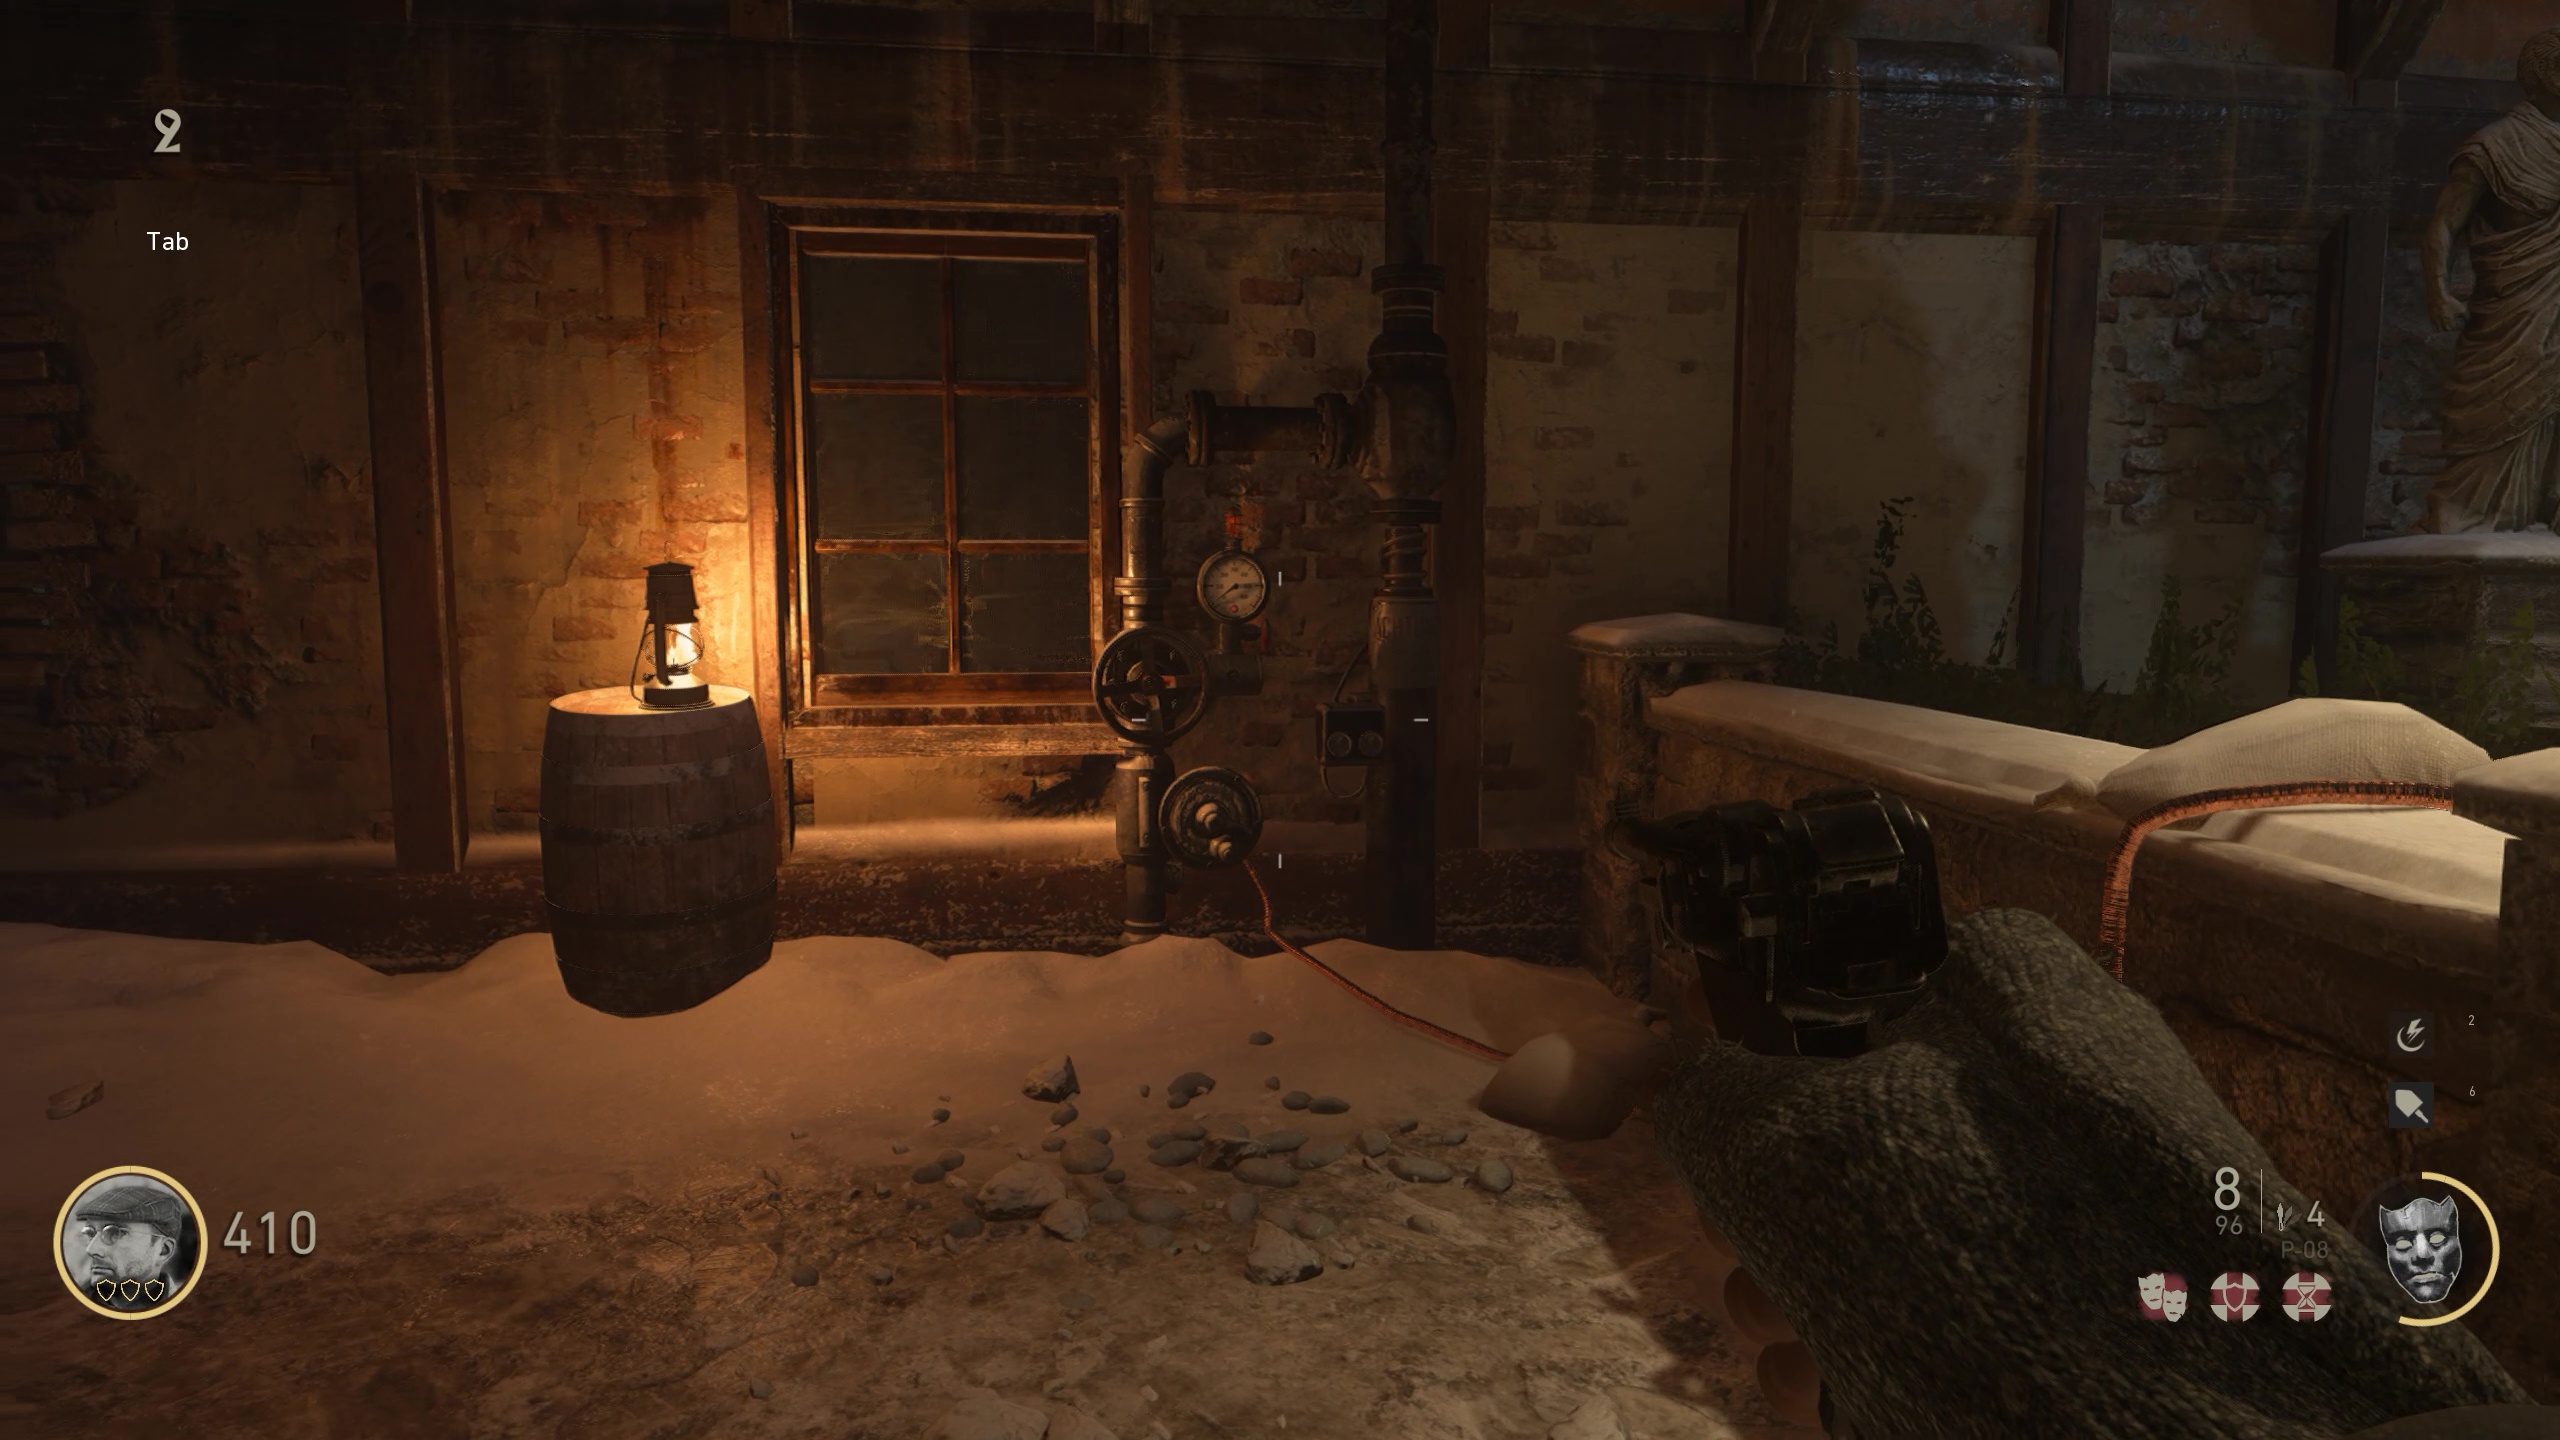
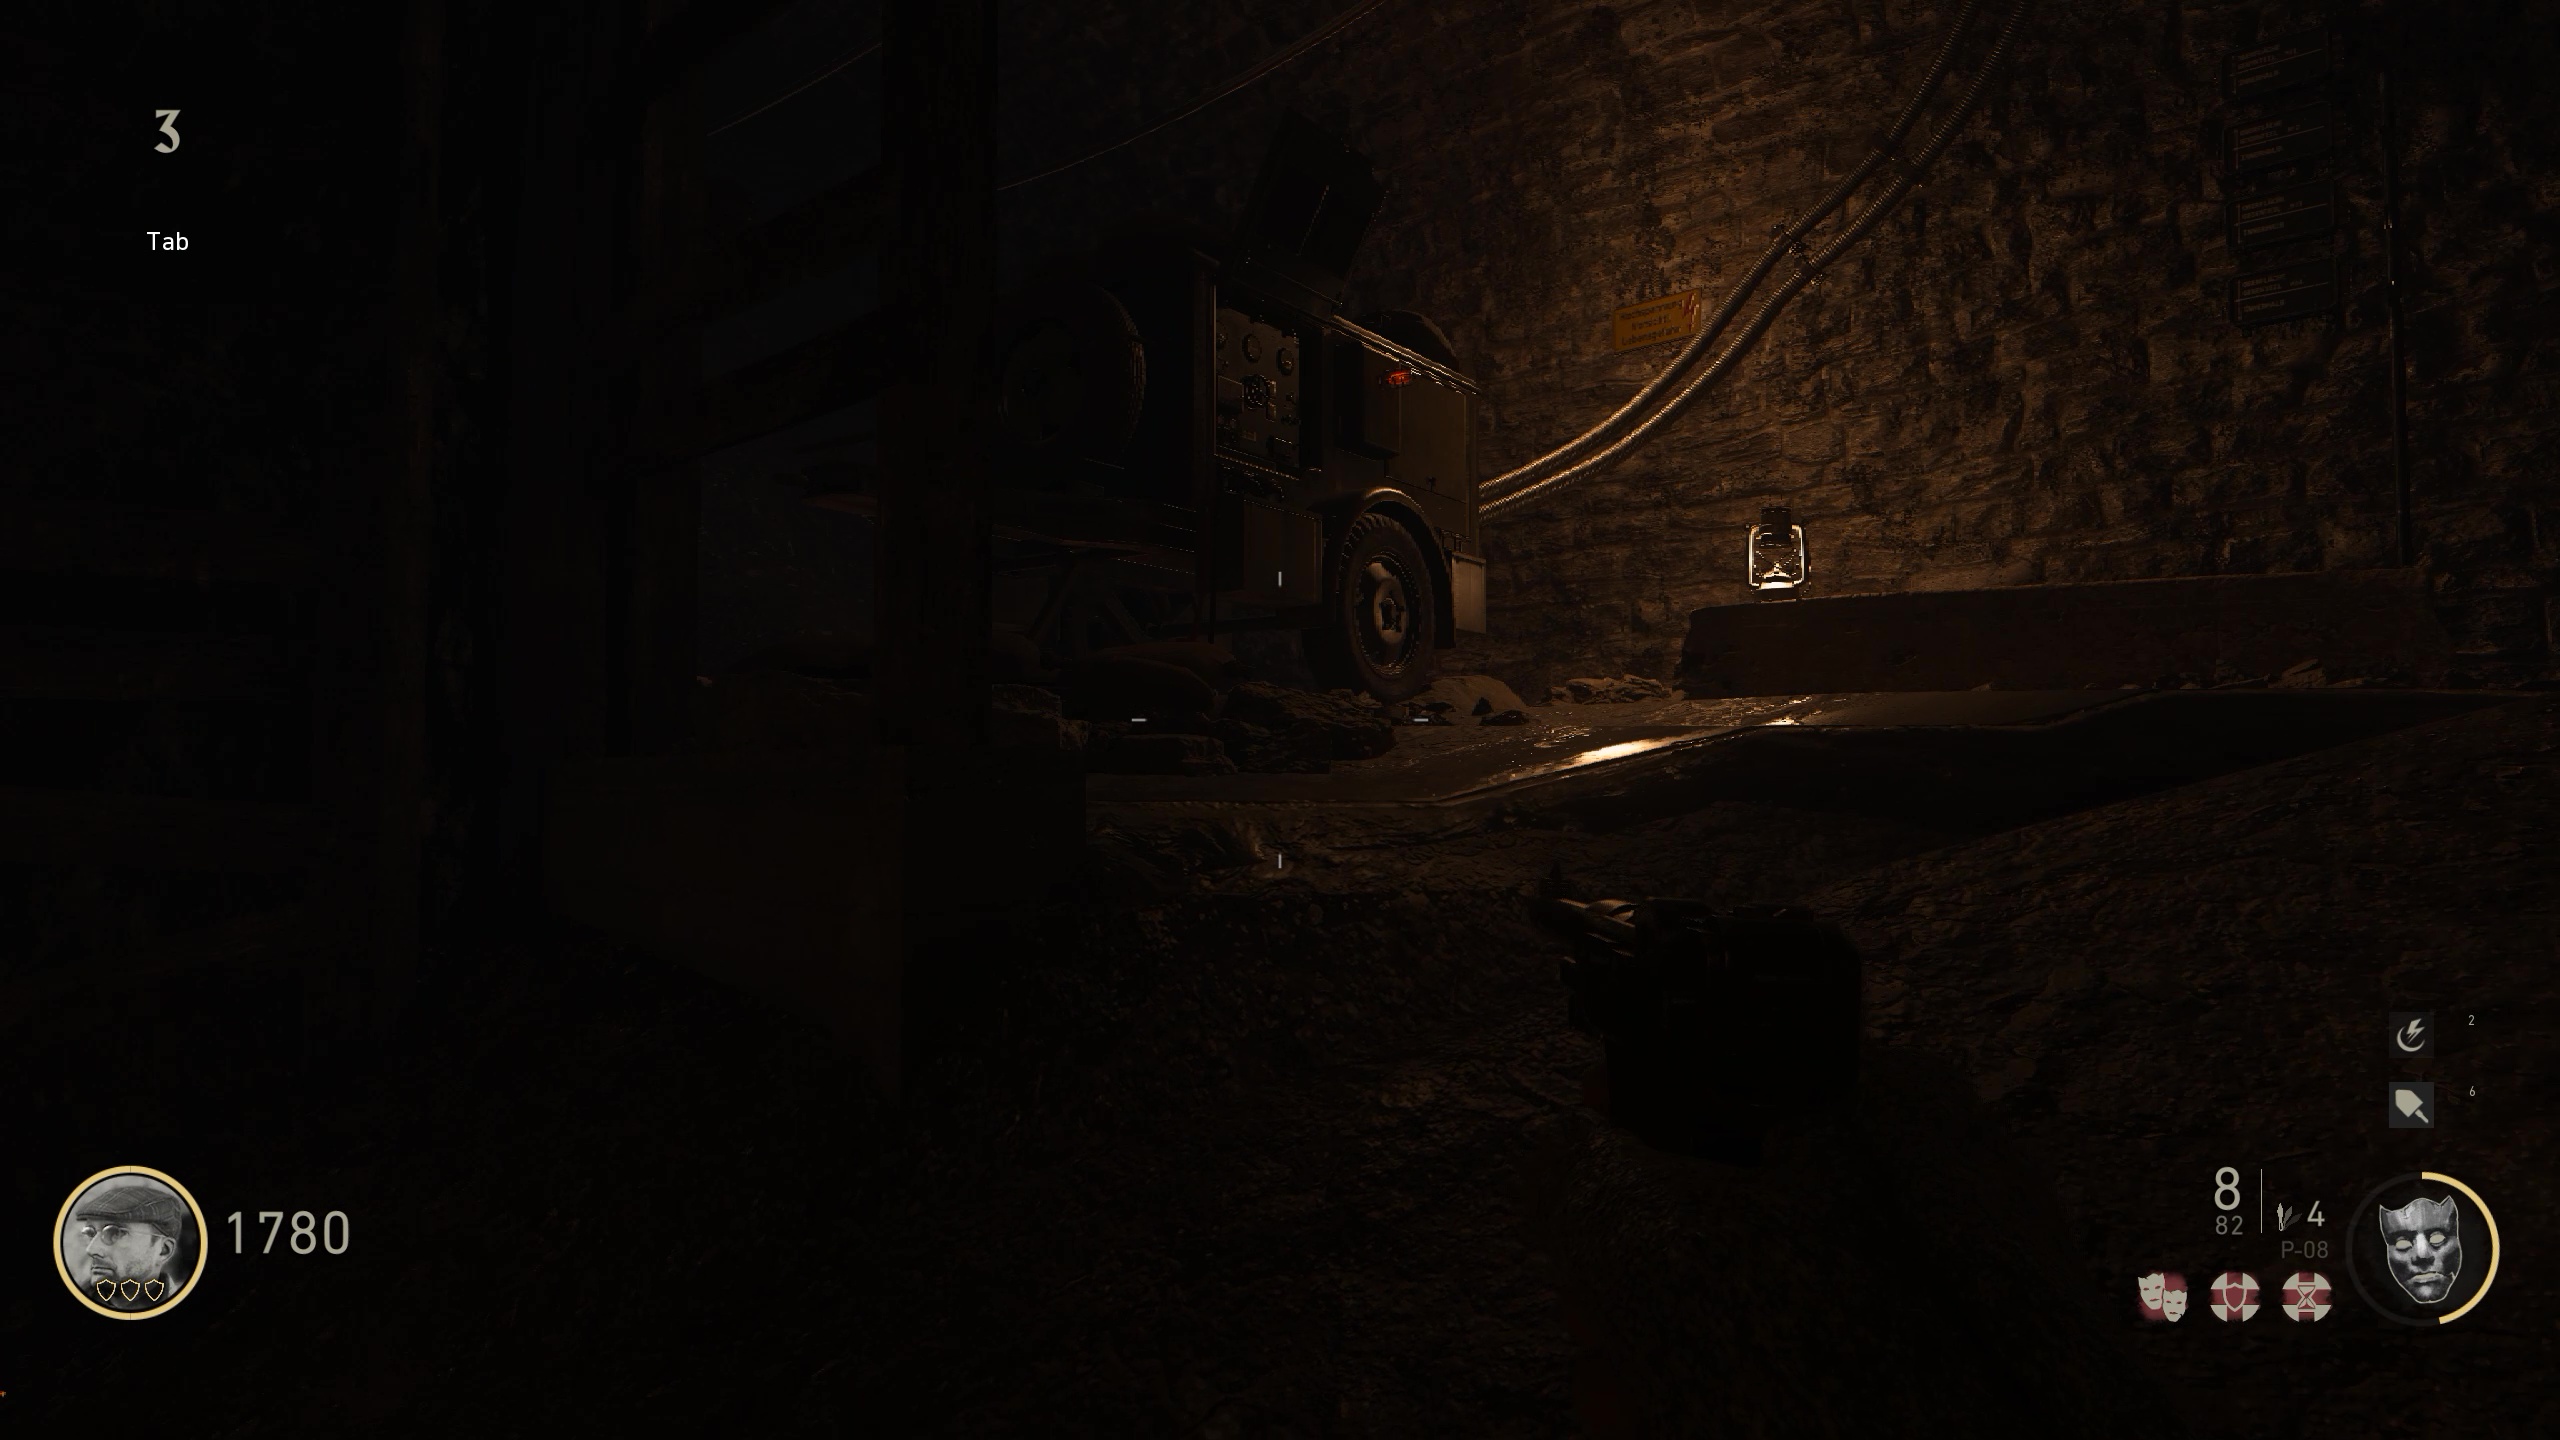
Article continues below3. The closest valve sits opposite the generator in a small lot behind the Geistchild armor station. Spot a glowing lantern atop a barrel nearby a parked truck if you need a more precise landmark.
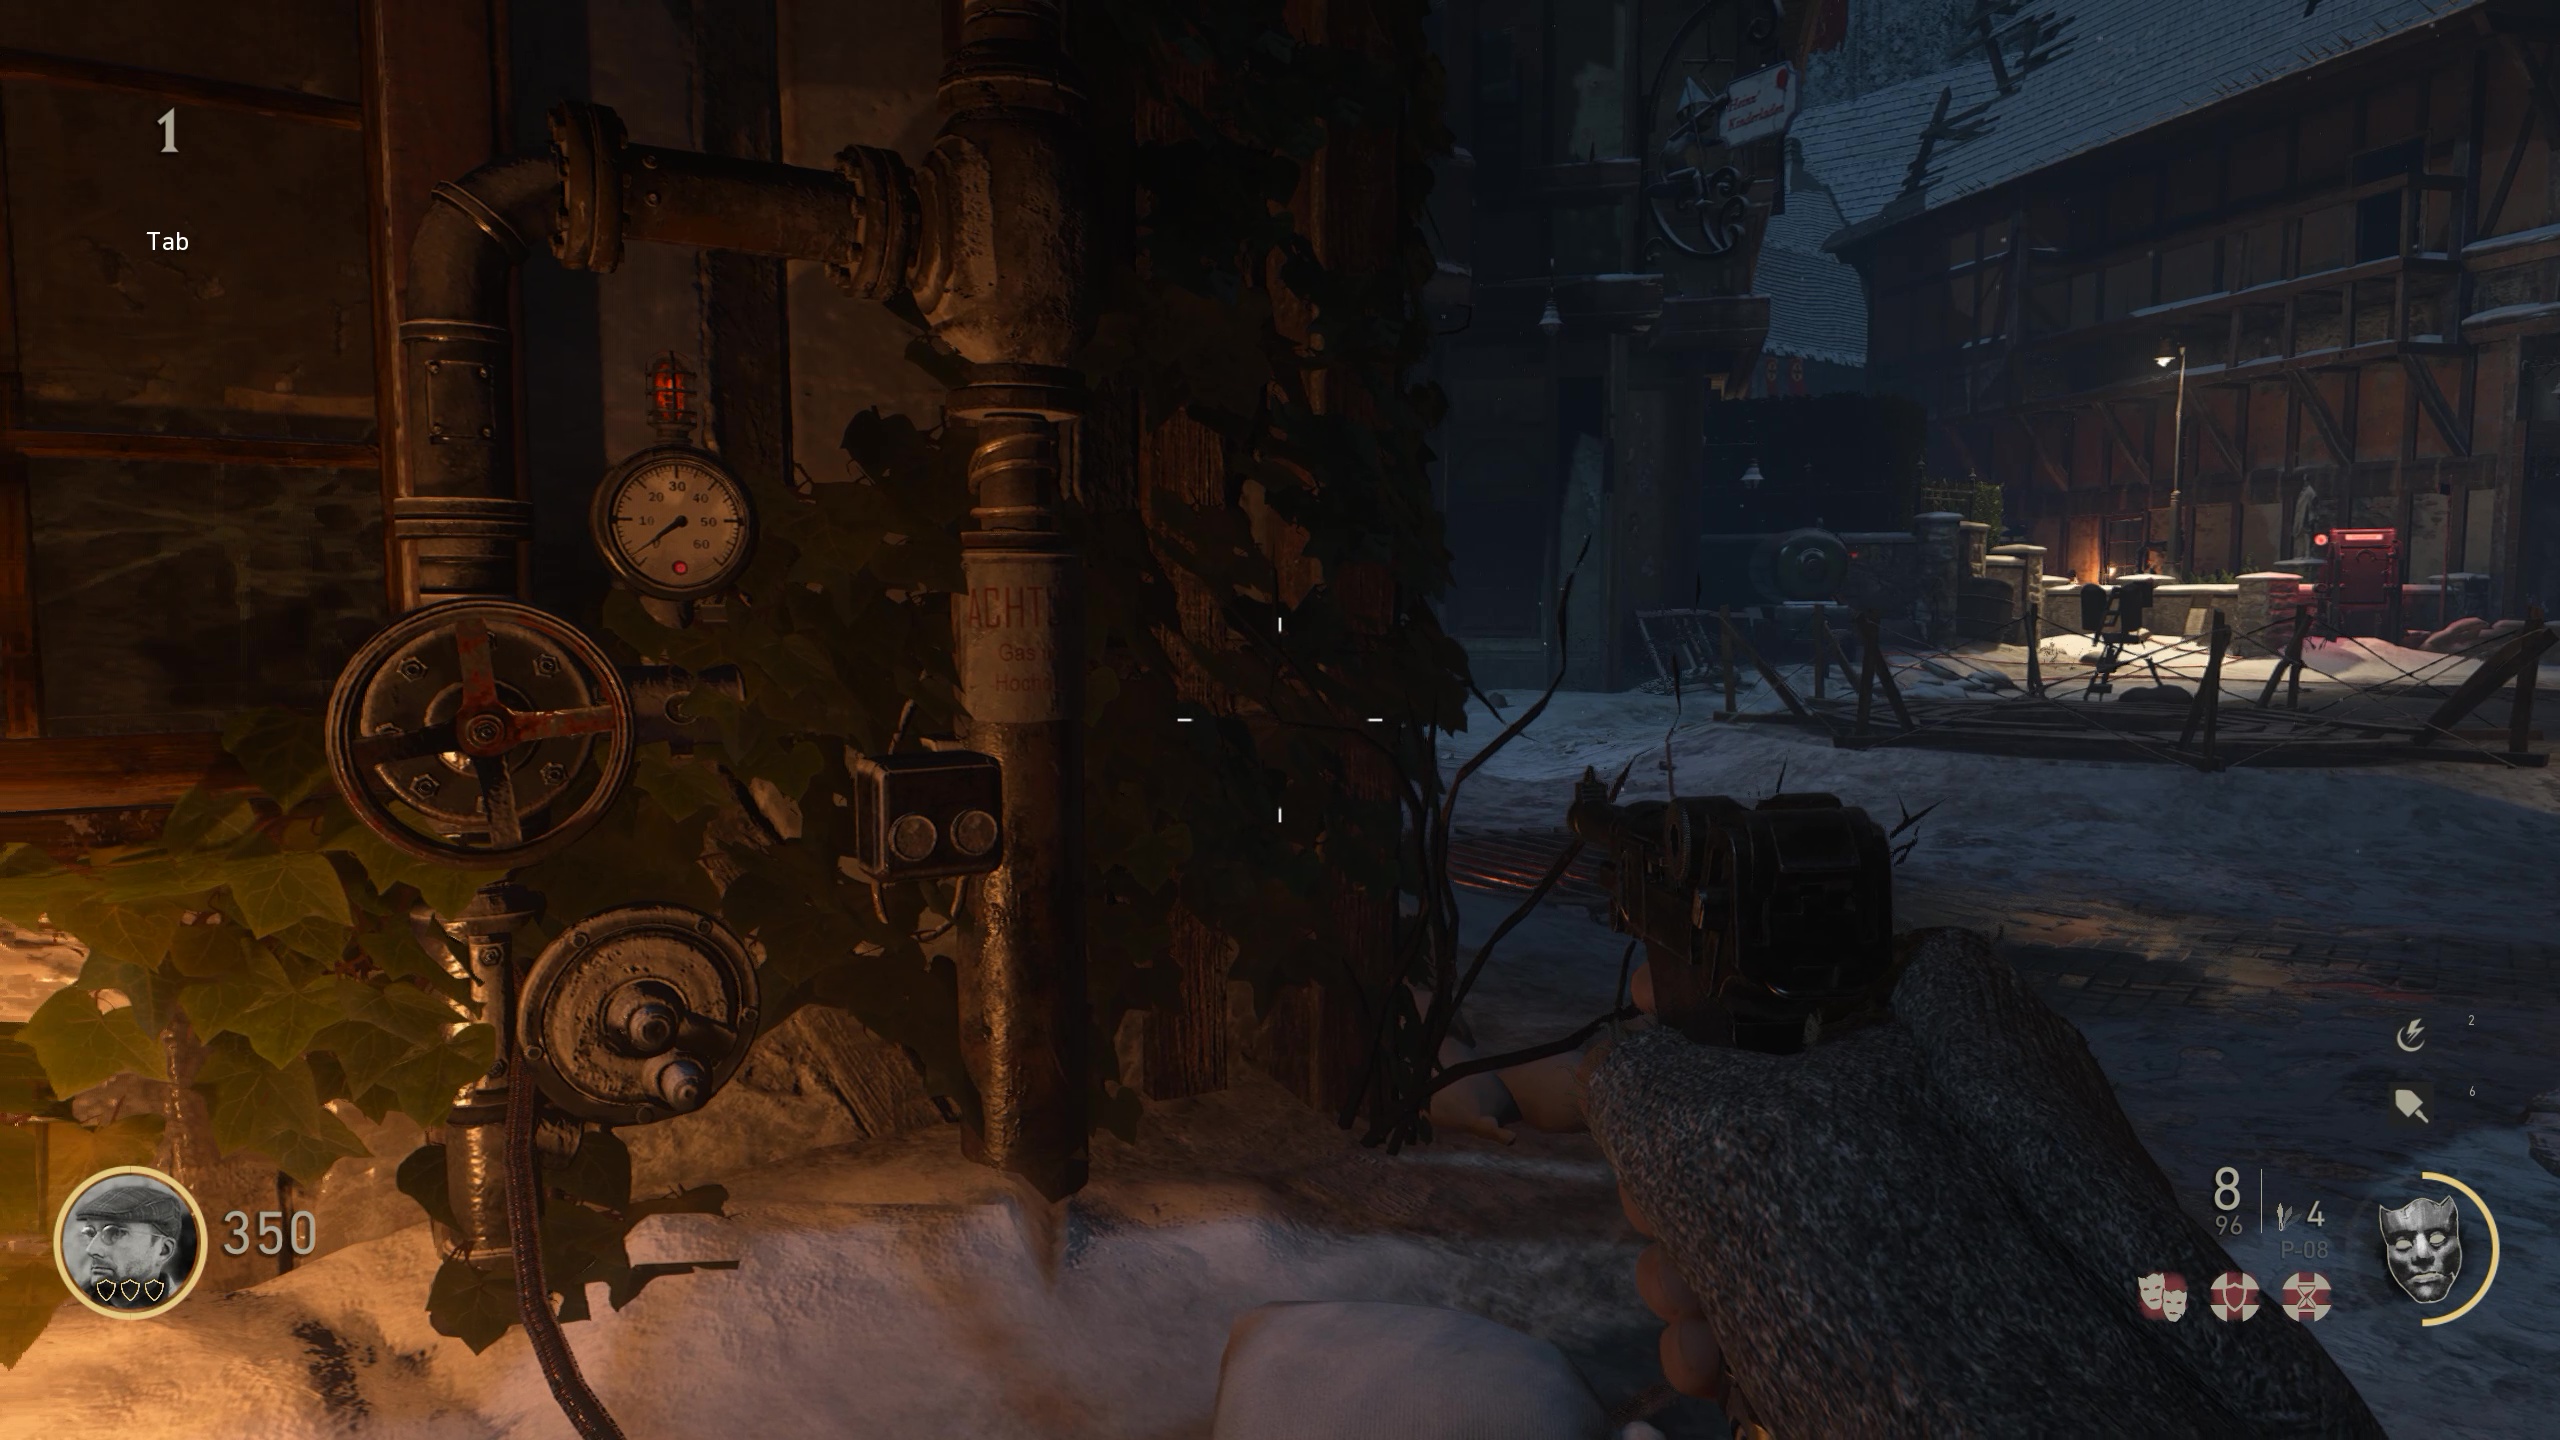
4. Another nearby valve is across the square and to the left of the sealed circular door in a small nook between two buildings.
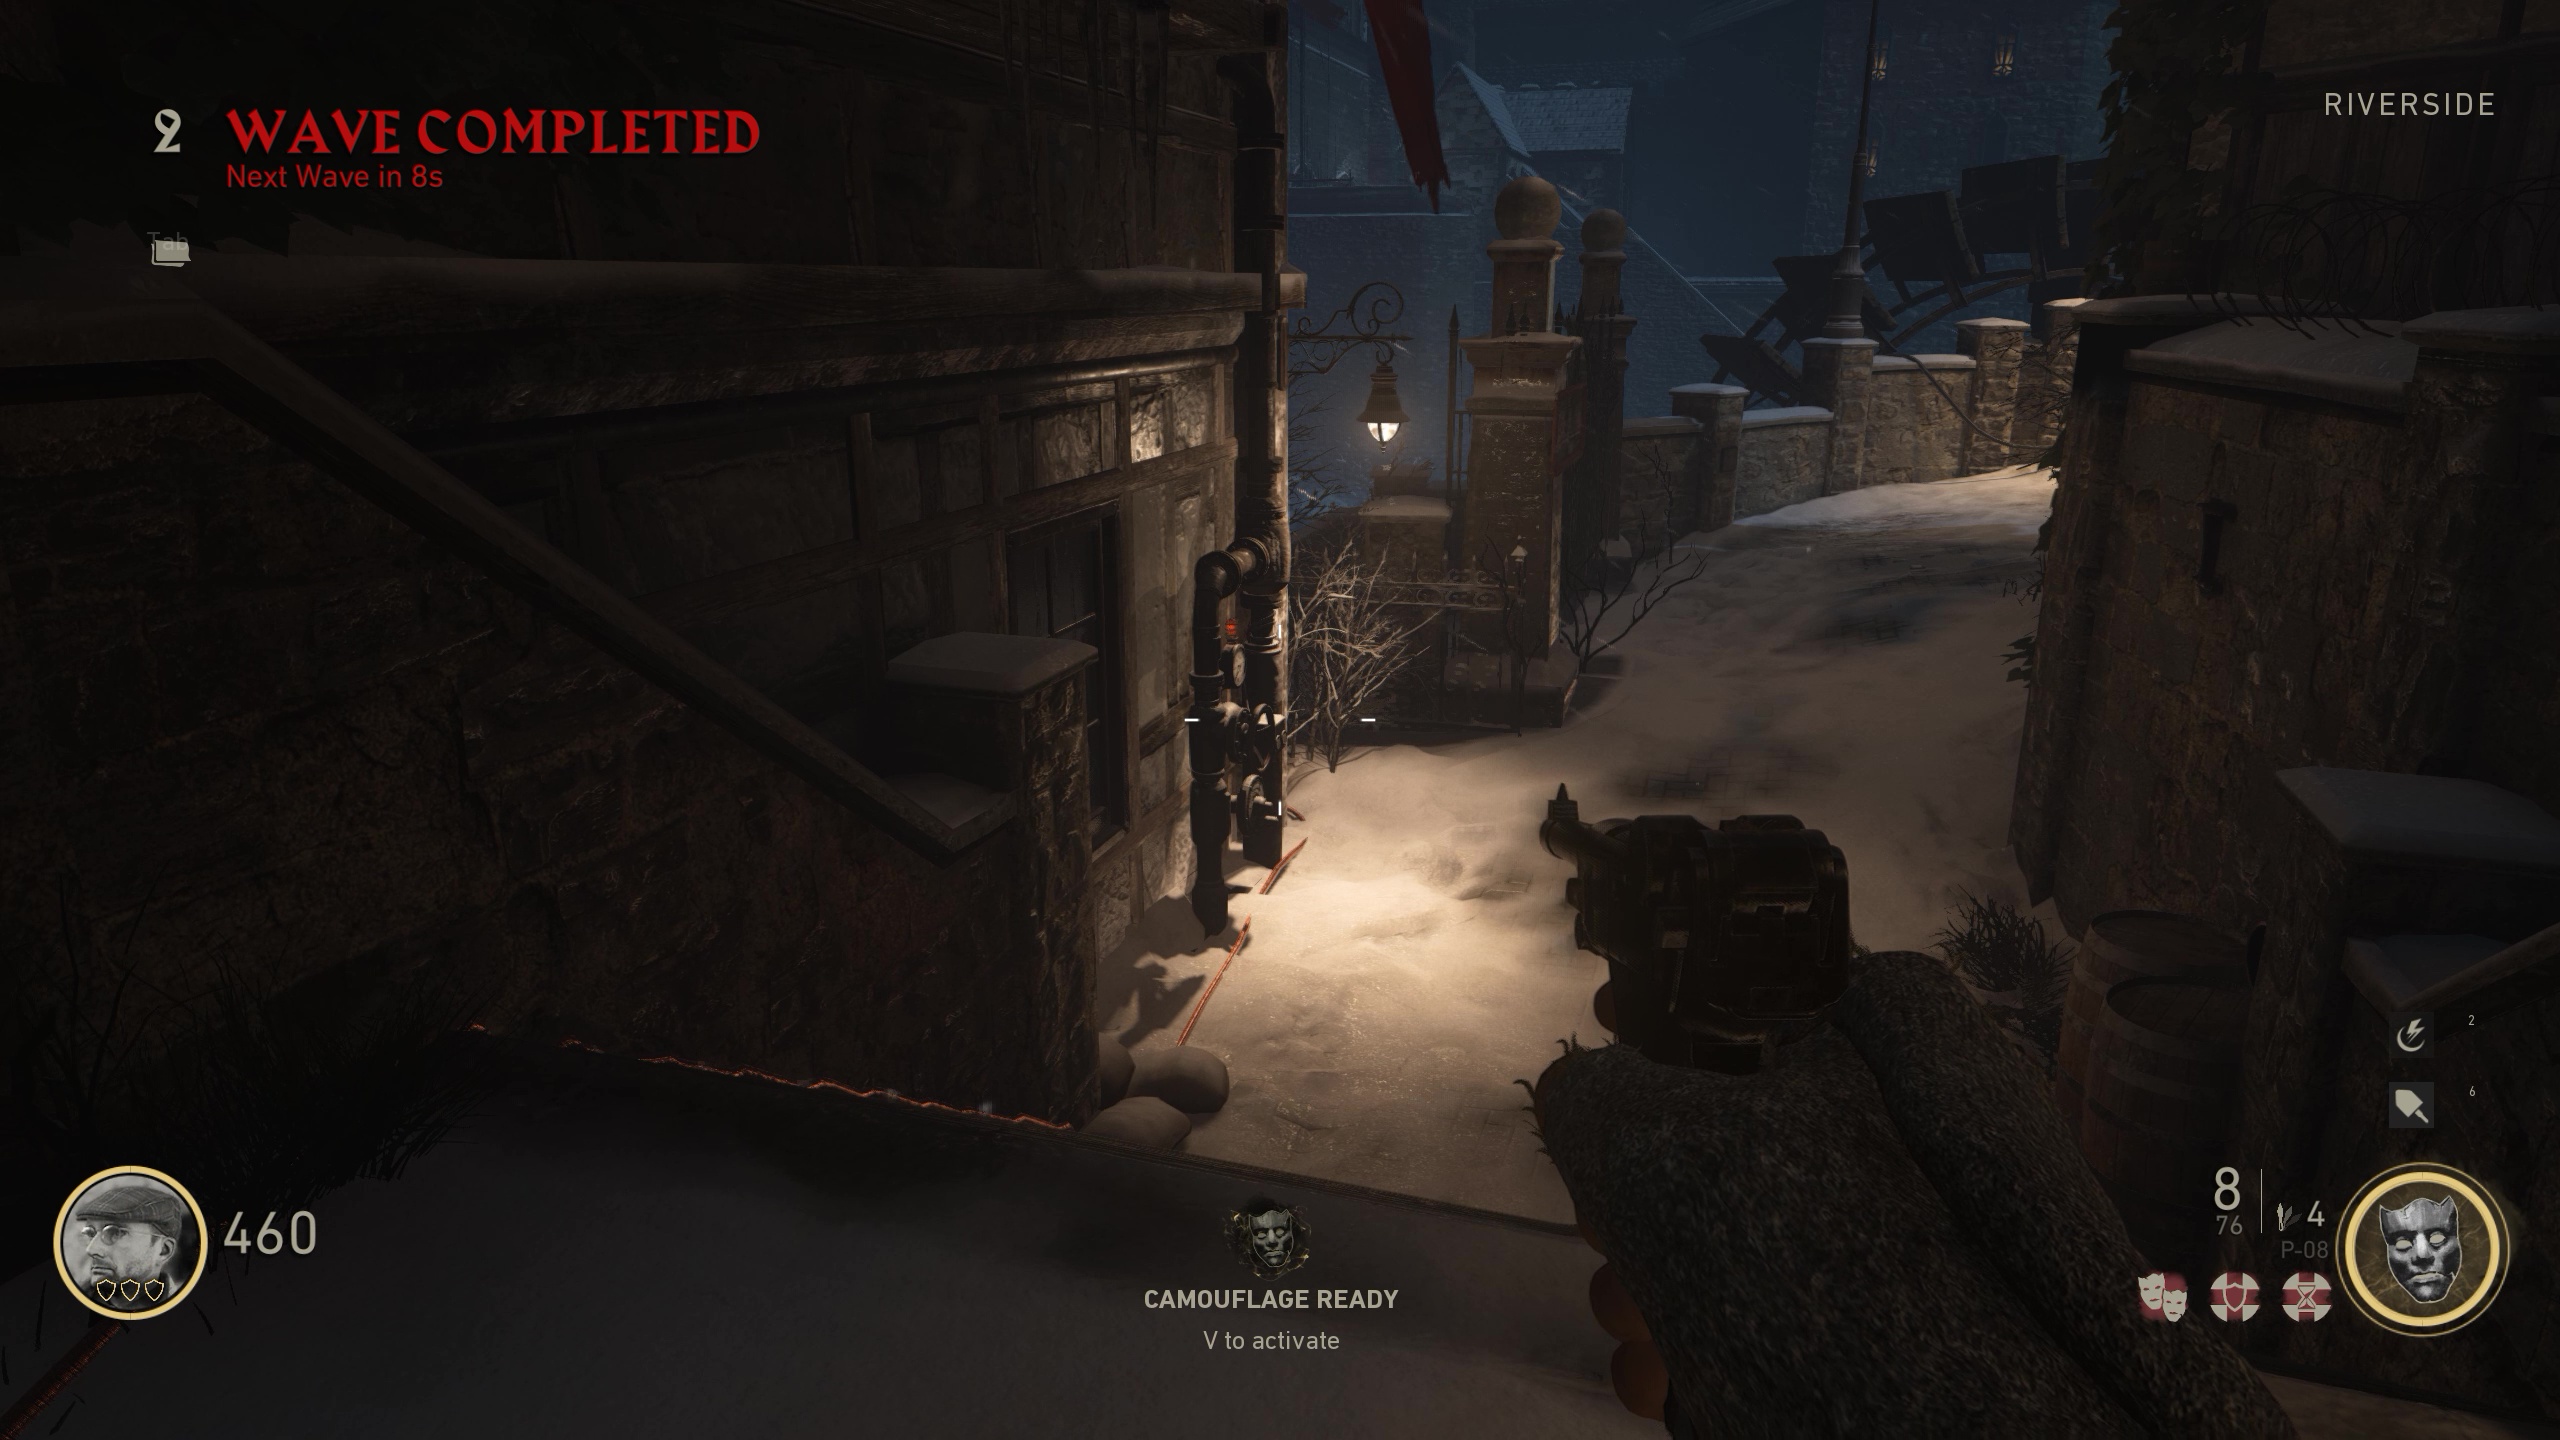
5. Accessing the third valve requires a bit more work. Chop and drop zombies until you’re carrying at least 1,000 Jolts. You should still be in the early single-digit waves, so comboing a few pistol shots with a shovel finale works well and will earn you enough Jolts in no time. When you have enough zombiedollars, bribe the gate barring the way to the village’s Riverside area which you can find by taking the first left from the Village Square gate you unlocked in step one. Lost? Head back to the generator and follow the cable you haven’t tracked yet. It’ll lead you right to the gate.
6. Descend down a short slope and a set of stairs straight ahead of you to find the third valve bolted against the left building’s wall at the bottom of the stairs. Crank it to max and hustle back to the square.
Keep up to date with the most important stories and the best deals, as picked by the PC Gamer team.
7. Approach the circular scaffolding on the ground in front of the sealed door and find the curious contraption sitting on a tripod. Press the large, friendly-looking button. Well, the power is definitely back. Handle the flaming Pests while staying on the move so you won’t get swarmed. When you’re clear, jump down into the totally safe hole to access the Tunnel.
8. Pass by the red Blitz machine (feel free to cash in extra Jolts for a nifty boost to sprint speed and stamina if you have enough) and climb the curving slope to its left. At the top, you’ll meet the generator’s long-lost brother—another generator! Luckily, this one has all the juice it needs from your gas-scapades outside, so simply press the red button on its side panel to open a gate behind you that provides a quick shortcut back to the square.
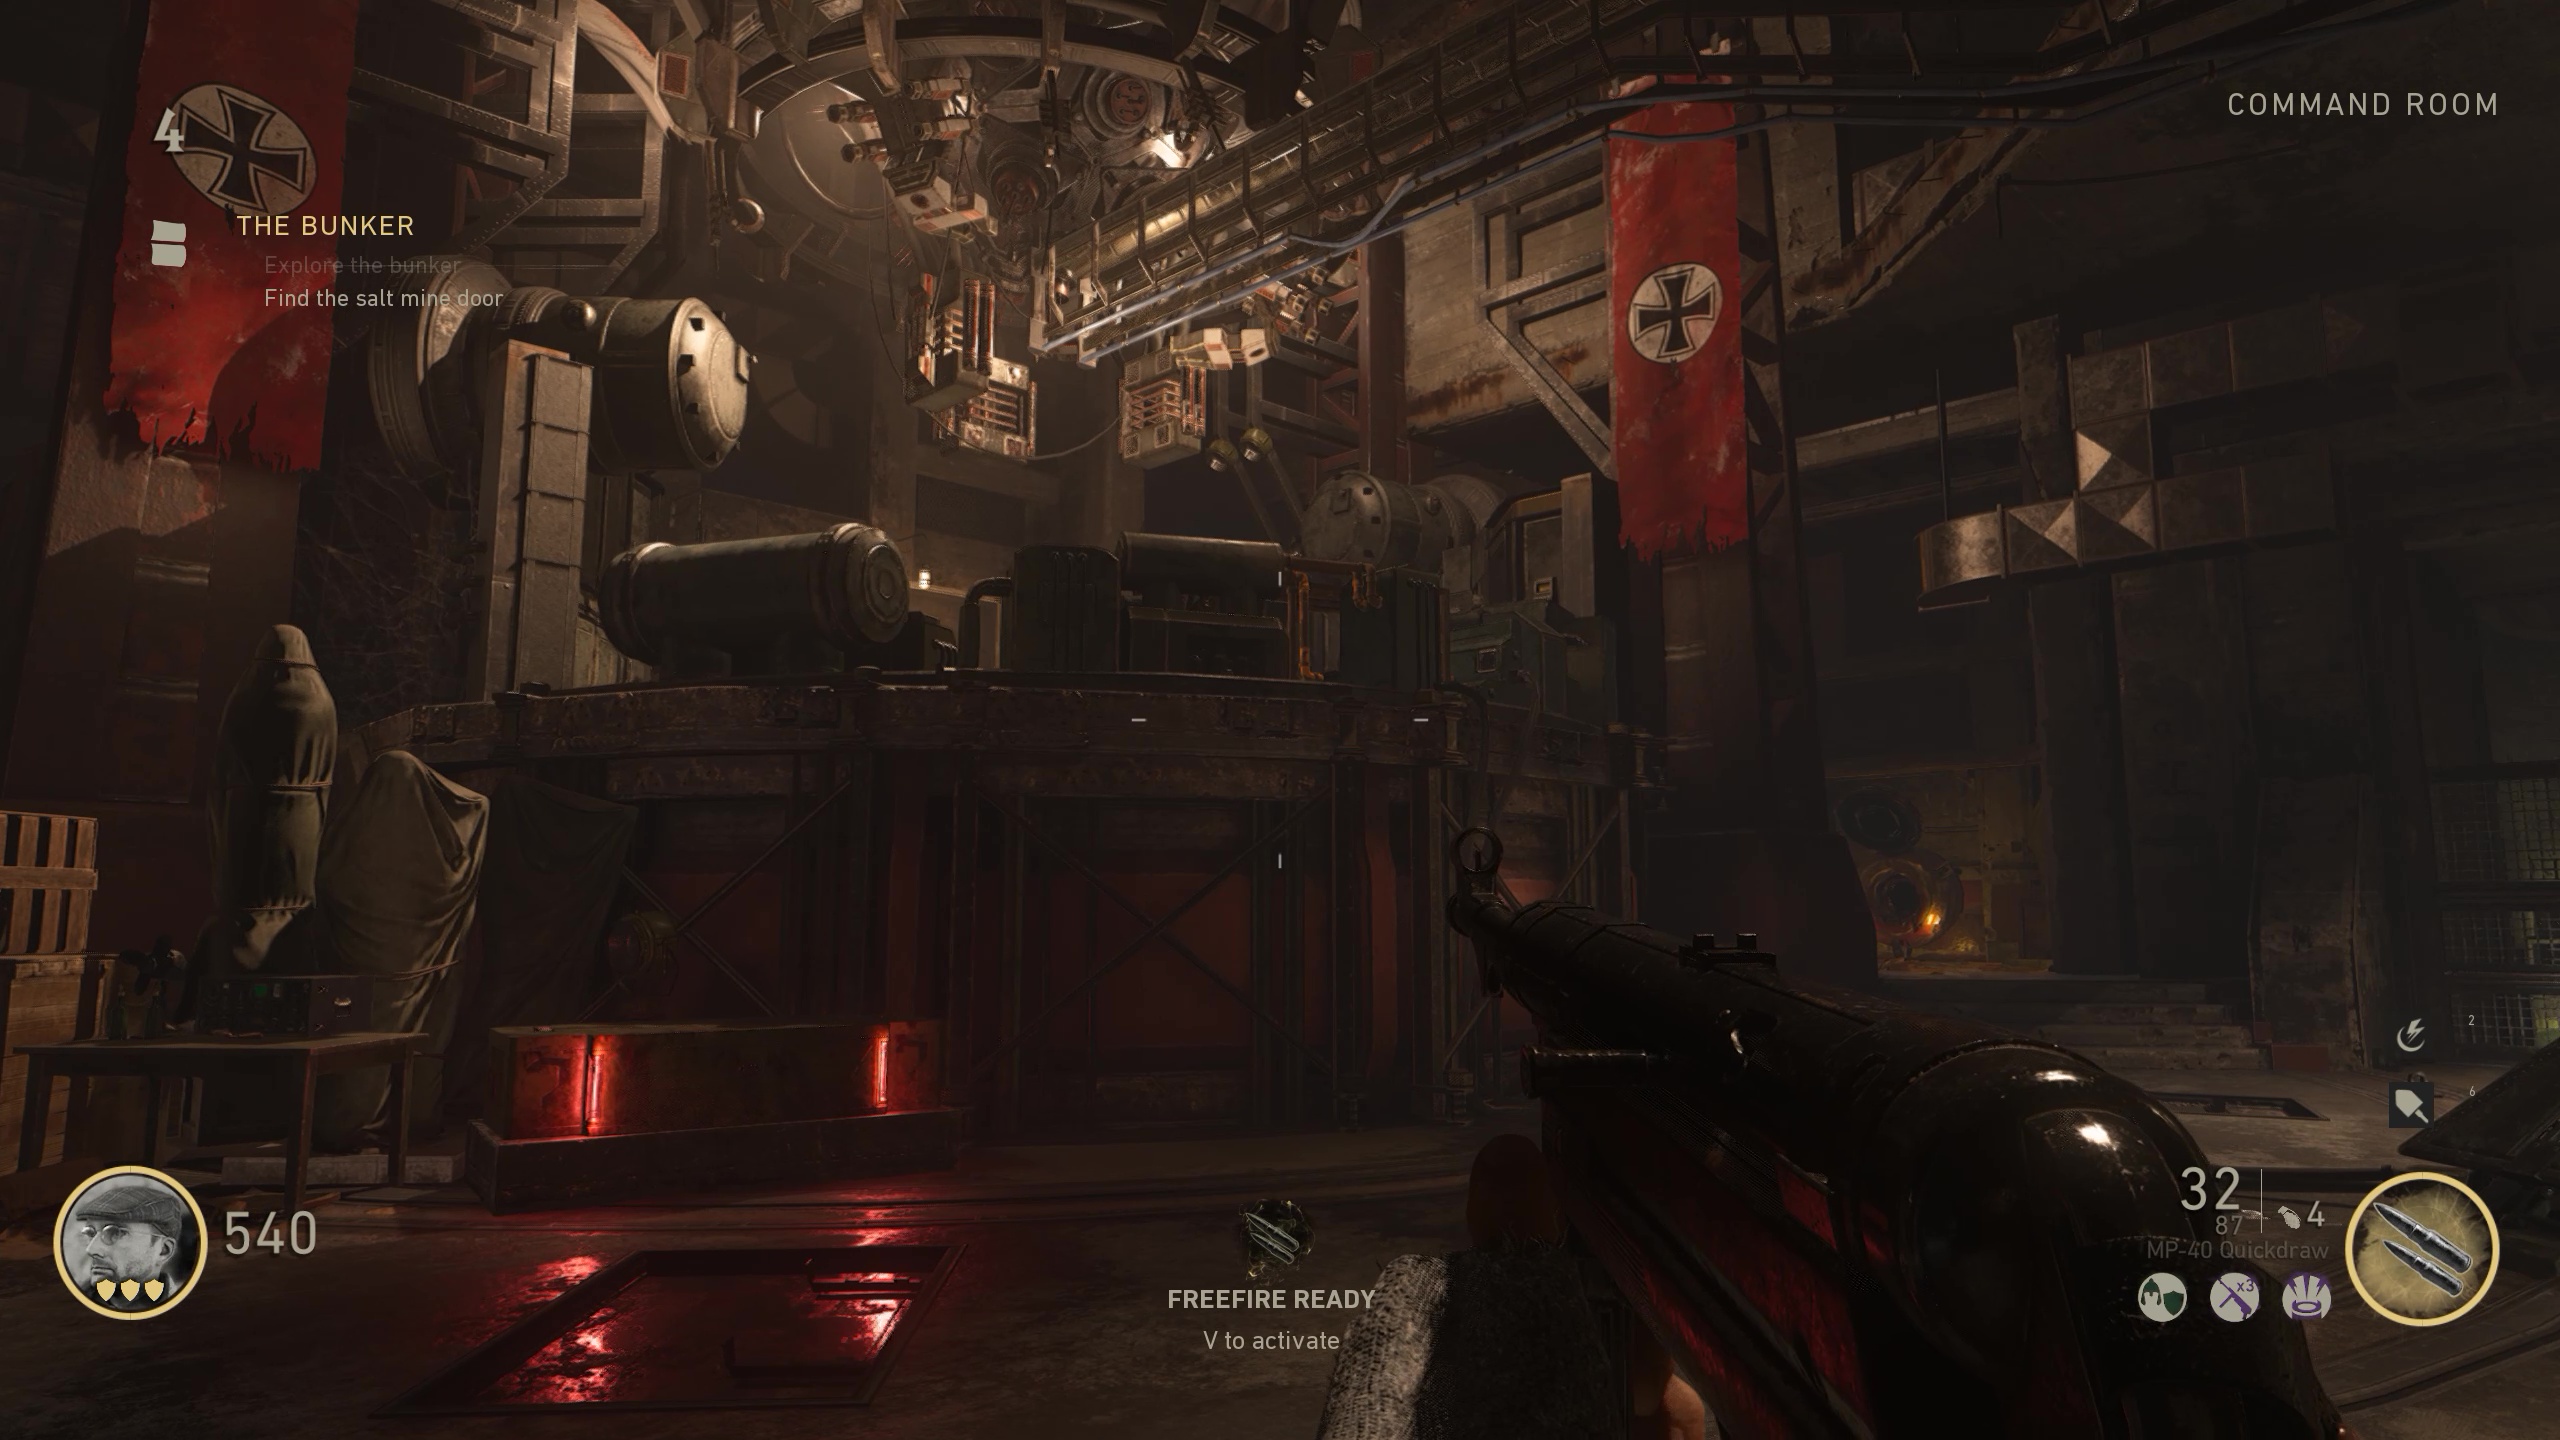
9. You’re ready to enter the Bunker. Your price is 1,250 Jolts. Slay the undead until you have enough, then open the large circular door that’s been taunting you since the beginning and head inside to the central Command Room. You’re about a third of the way to nabbing the Tesla Gun, but you’re rewarded for your ongoing efforts with a Mystery Box resting below the circular central platform beside some sheet-covered machinery.
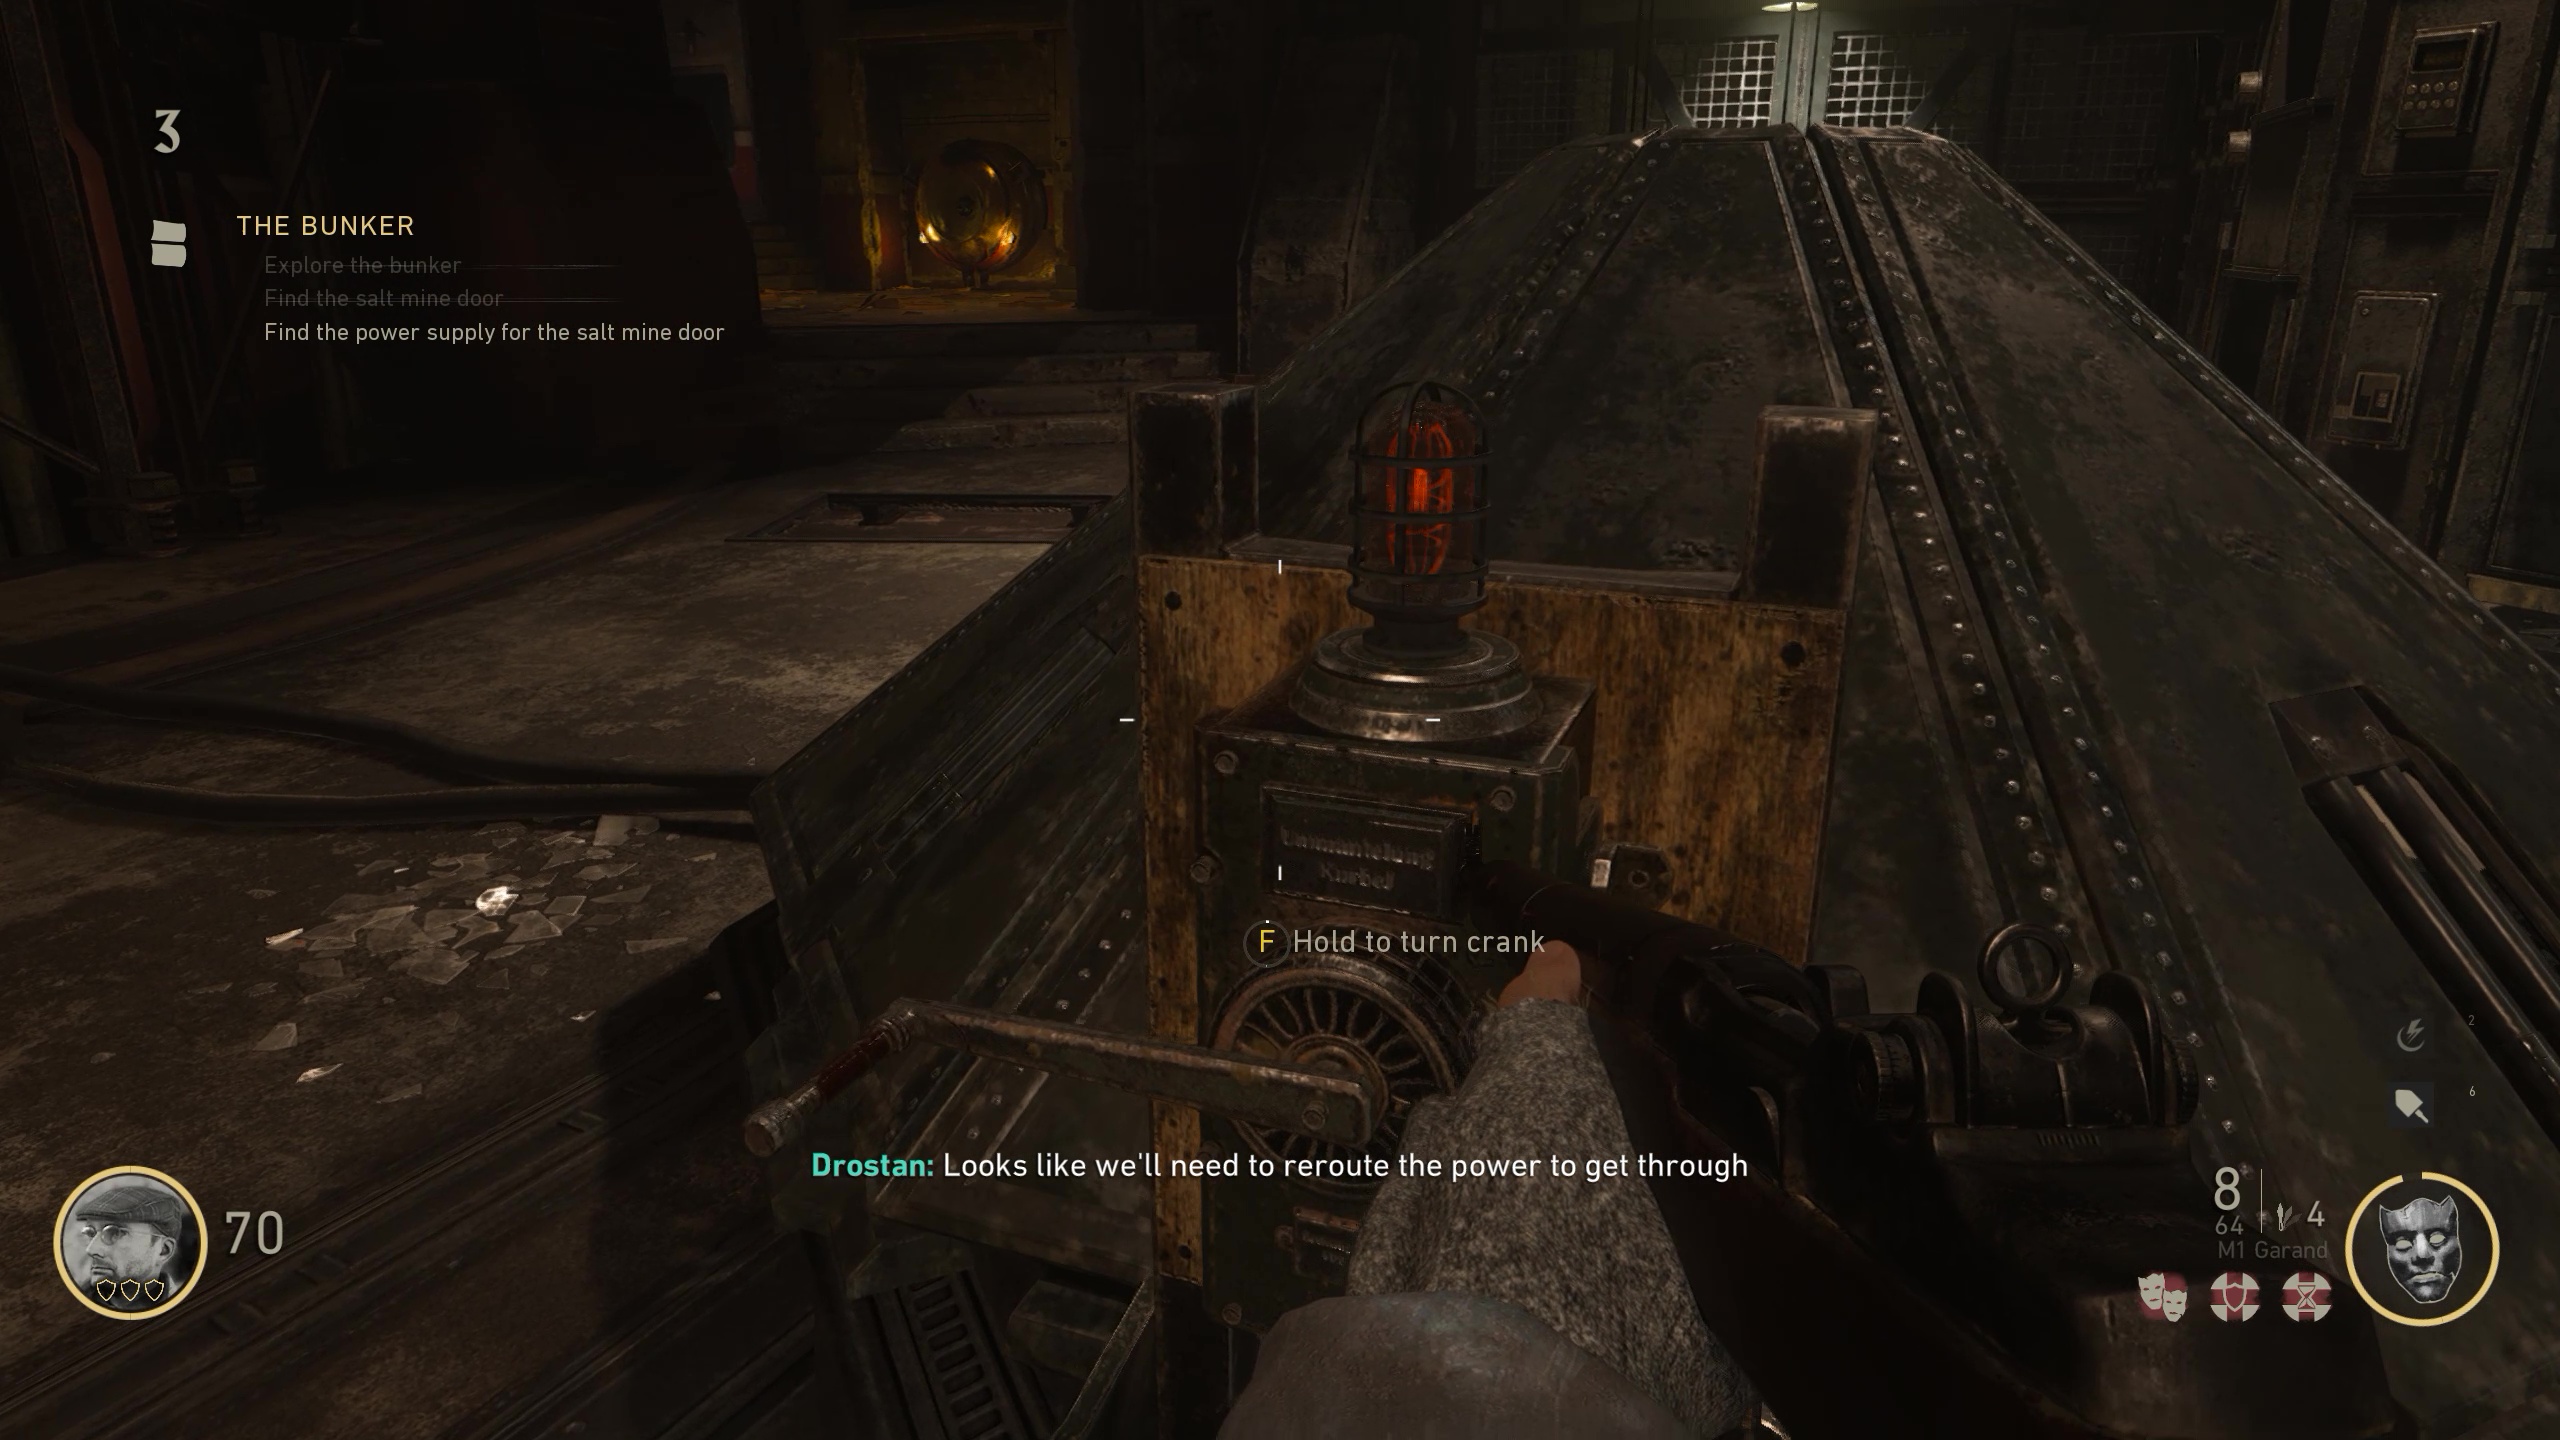
10. Before you start touching everything in this mad Nazi scientist lair, look right from the entrance to spot a pyramid-shaped metalwork attached to a crank. Use the crank to fully open and prime the structure for later steps. Don’t move on until it’s ready!
11. You’ll now need to open the gates on either side of the Command Room to access the Morgue and Laboratory sections. Each gate needs 1,500 Jolts, and it’s best to open both gates to save time, as you’ll need to flip two switches on a timer to proceed. Let’s start with the Morgue.
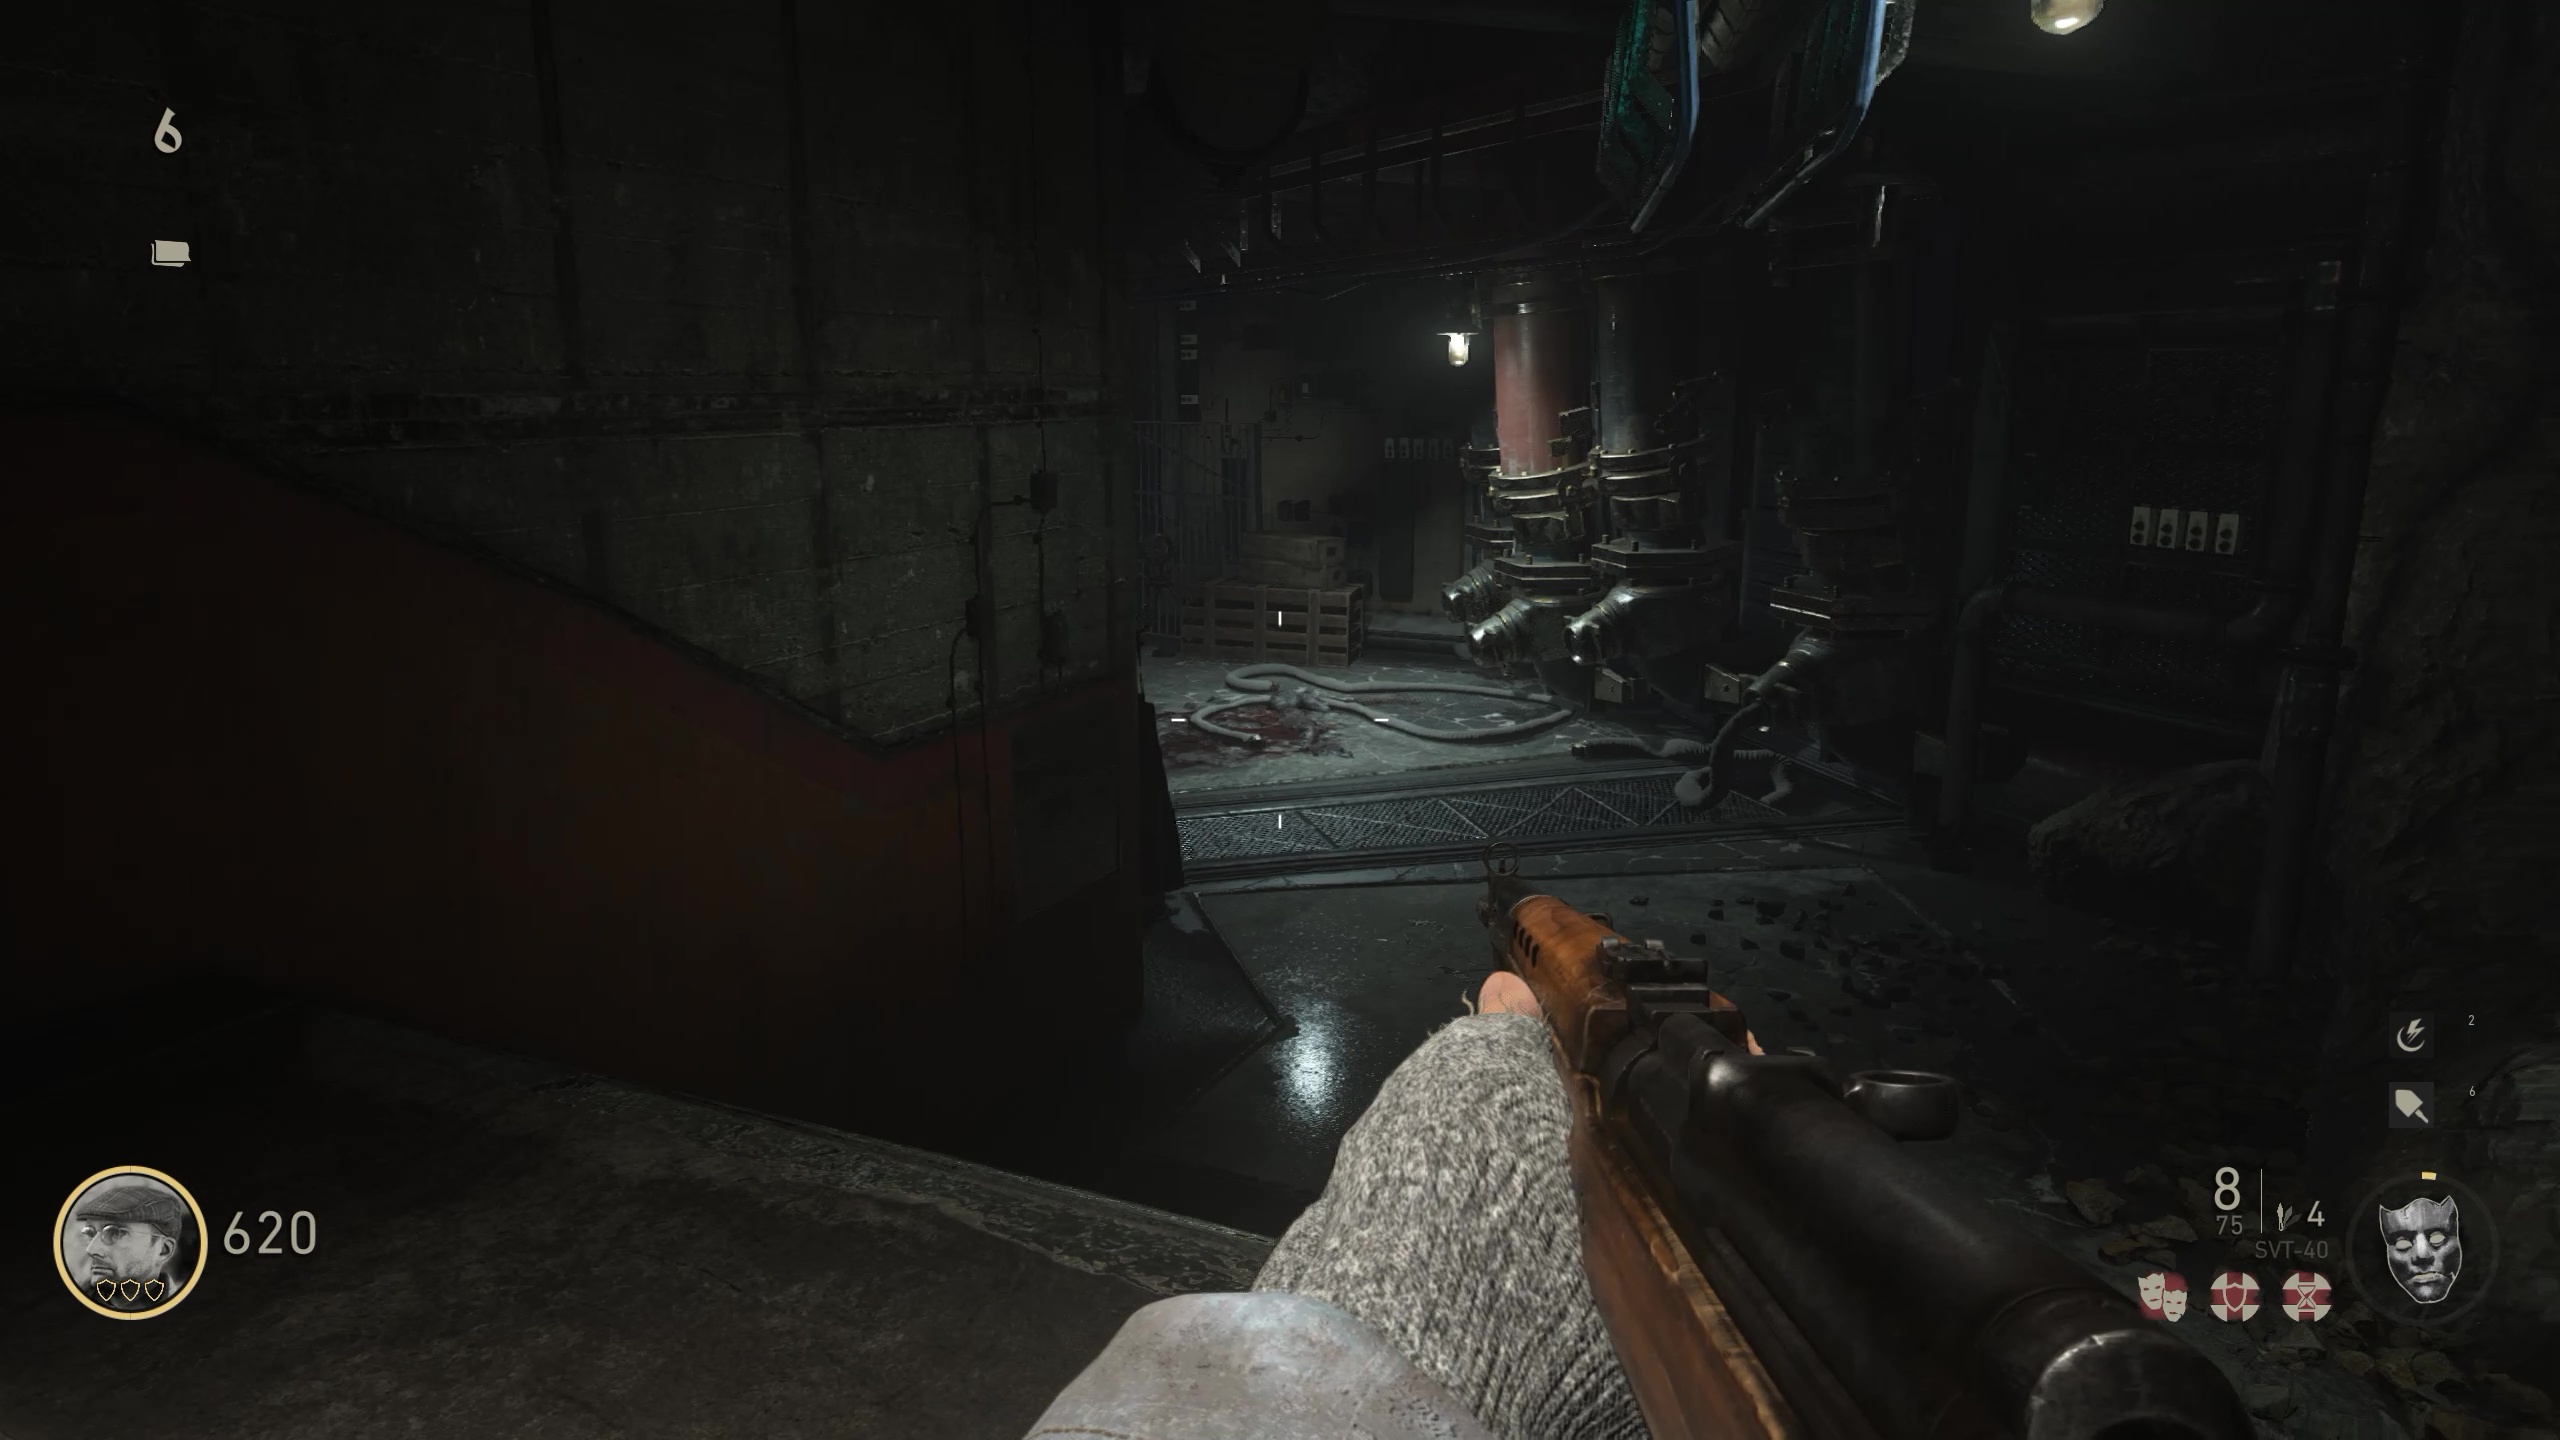
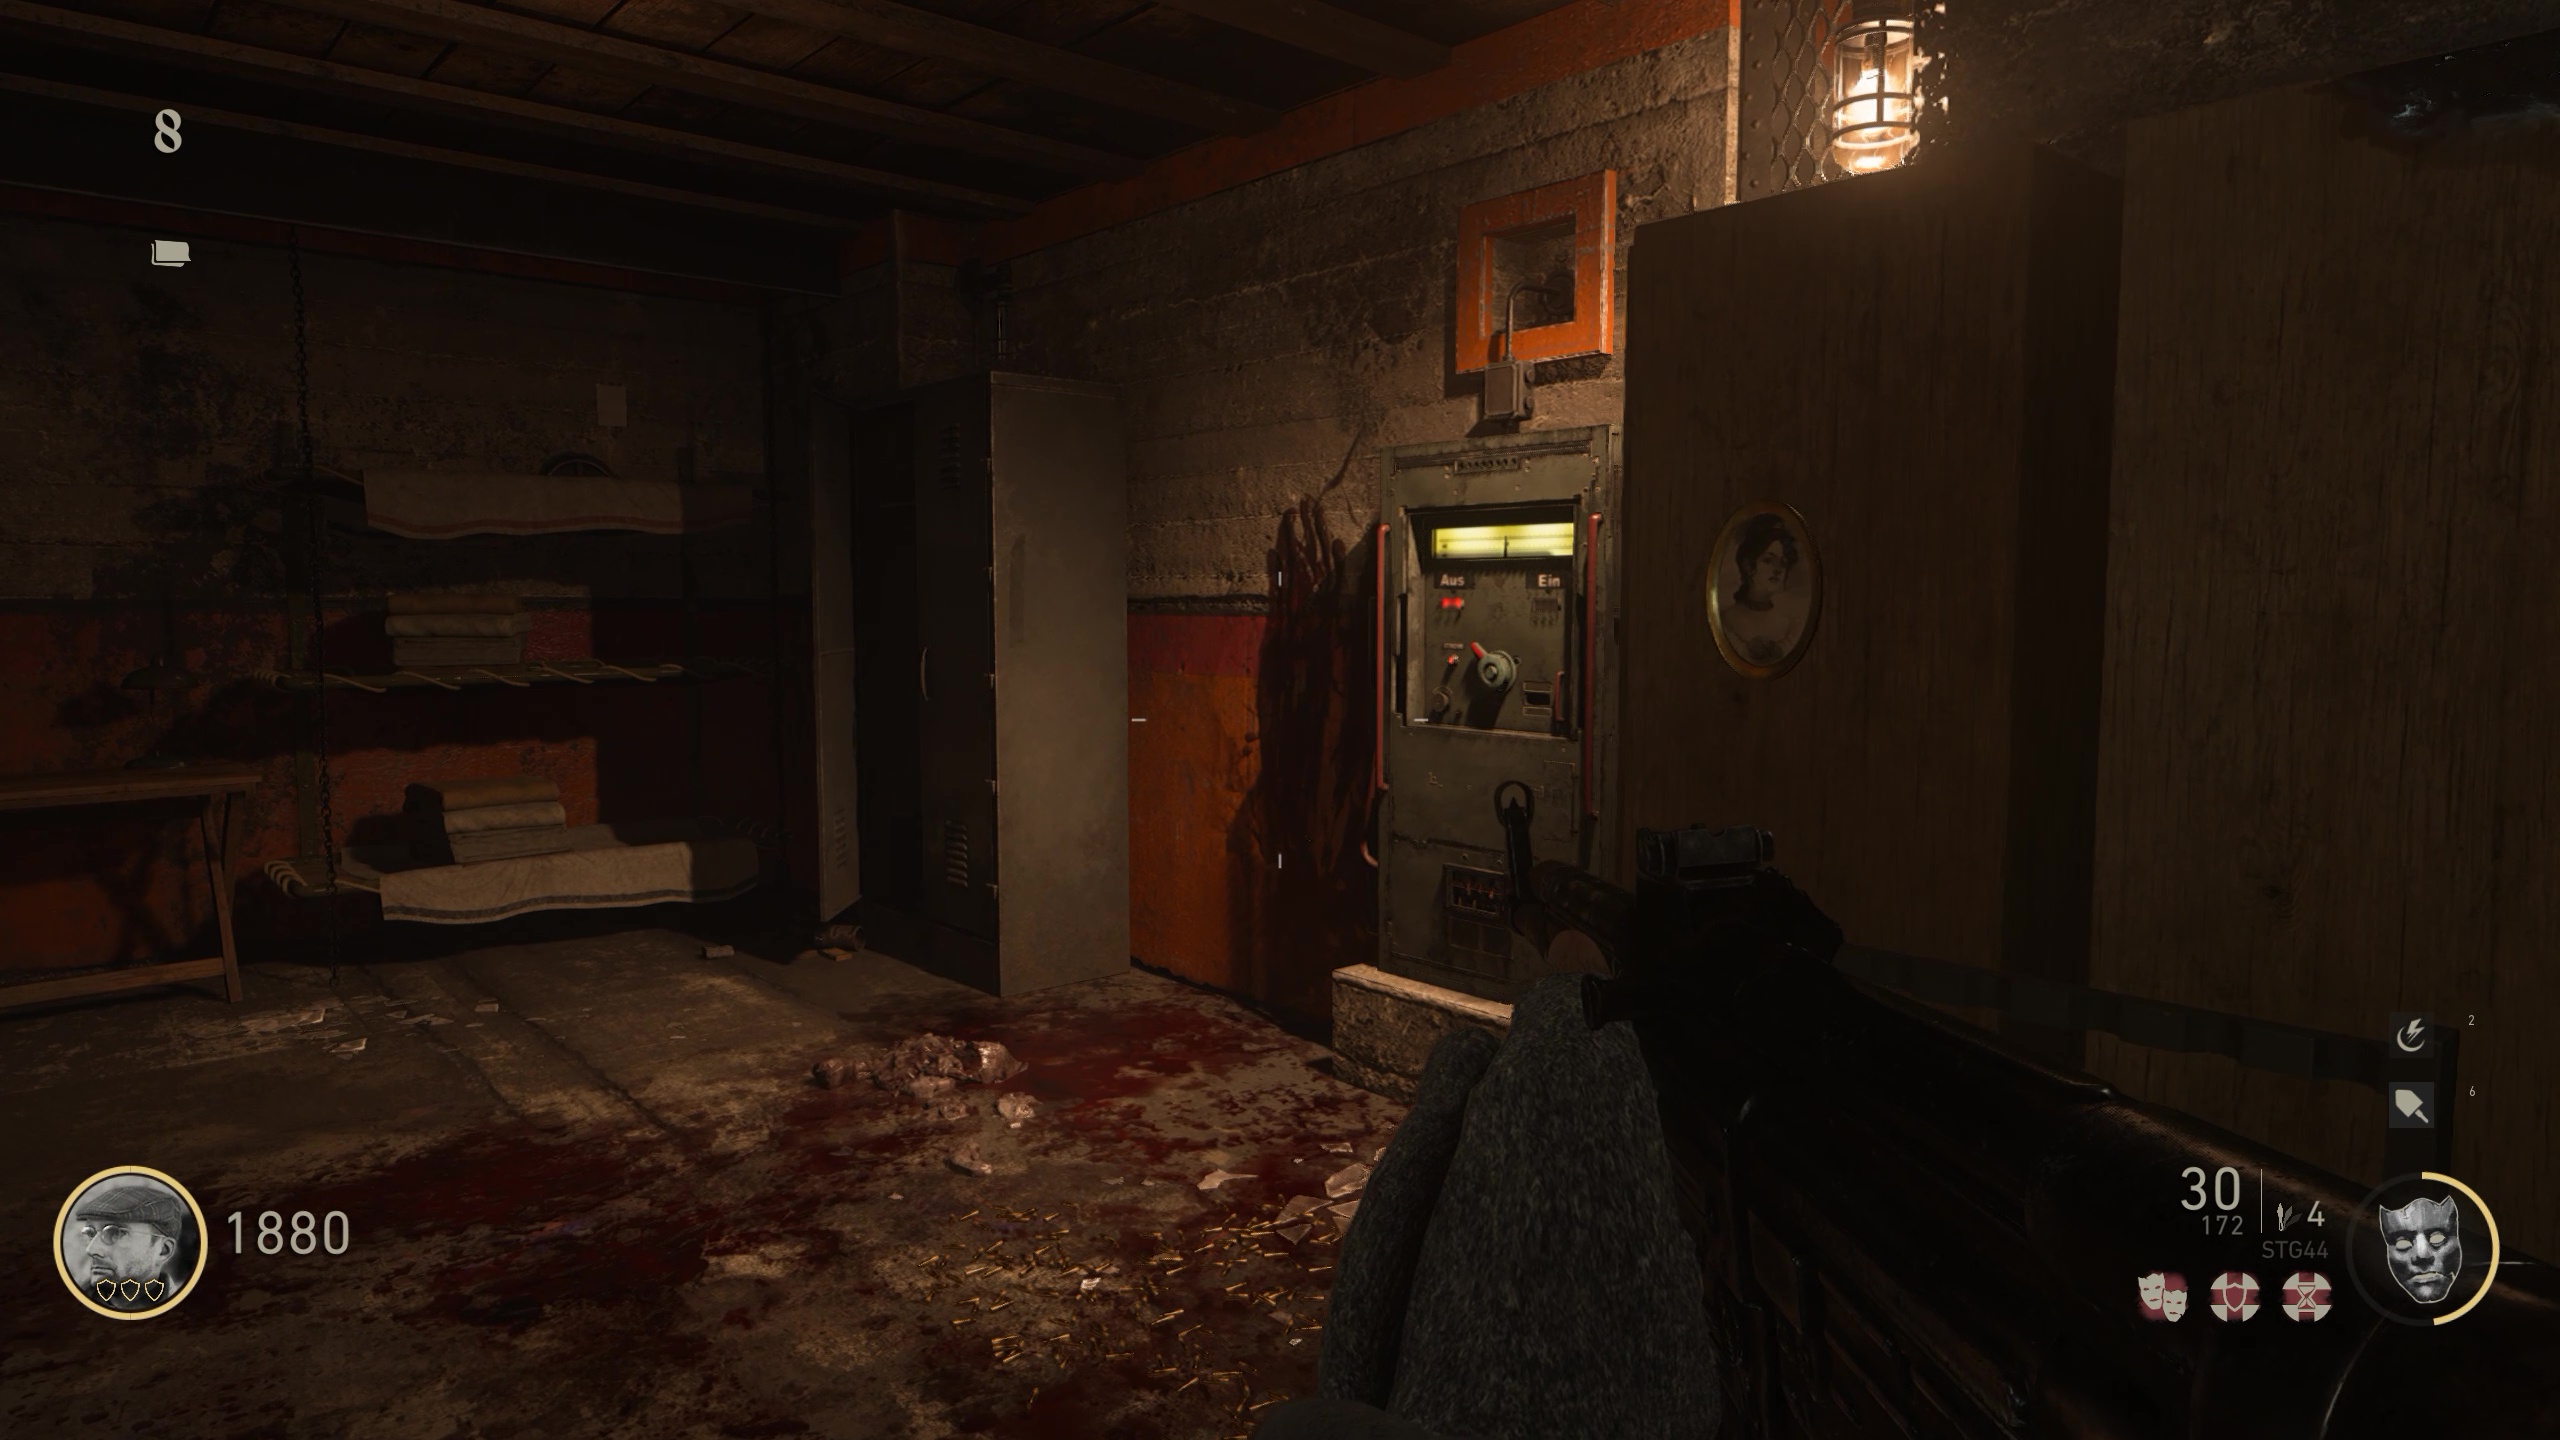
12. Travel down a couple stairways, ignoring the locked gate ahead and turning right into the Morgue proper. You’re looking for a specific panel that reroutes power to the Command Room’s Salt Mine gate. Find it by heading down the corridor at the bottom of the entrance steps and taking the second left into a larger chamber. Ascend the steps on the room’s right side (there’s a M1941 weapon locker near the base), and turn left at the top into a bunk/office area with a Geistchild station. Head to the adjacent room at the far end, and check the right wall for the first power supply switch. Flip it and get ready to run.
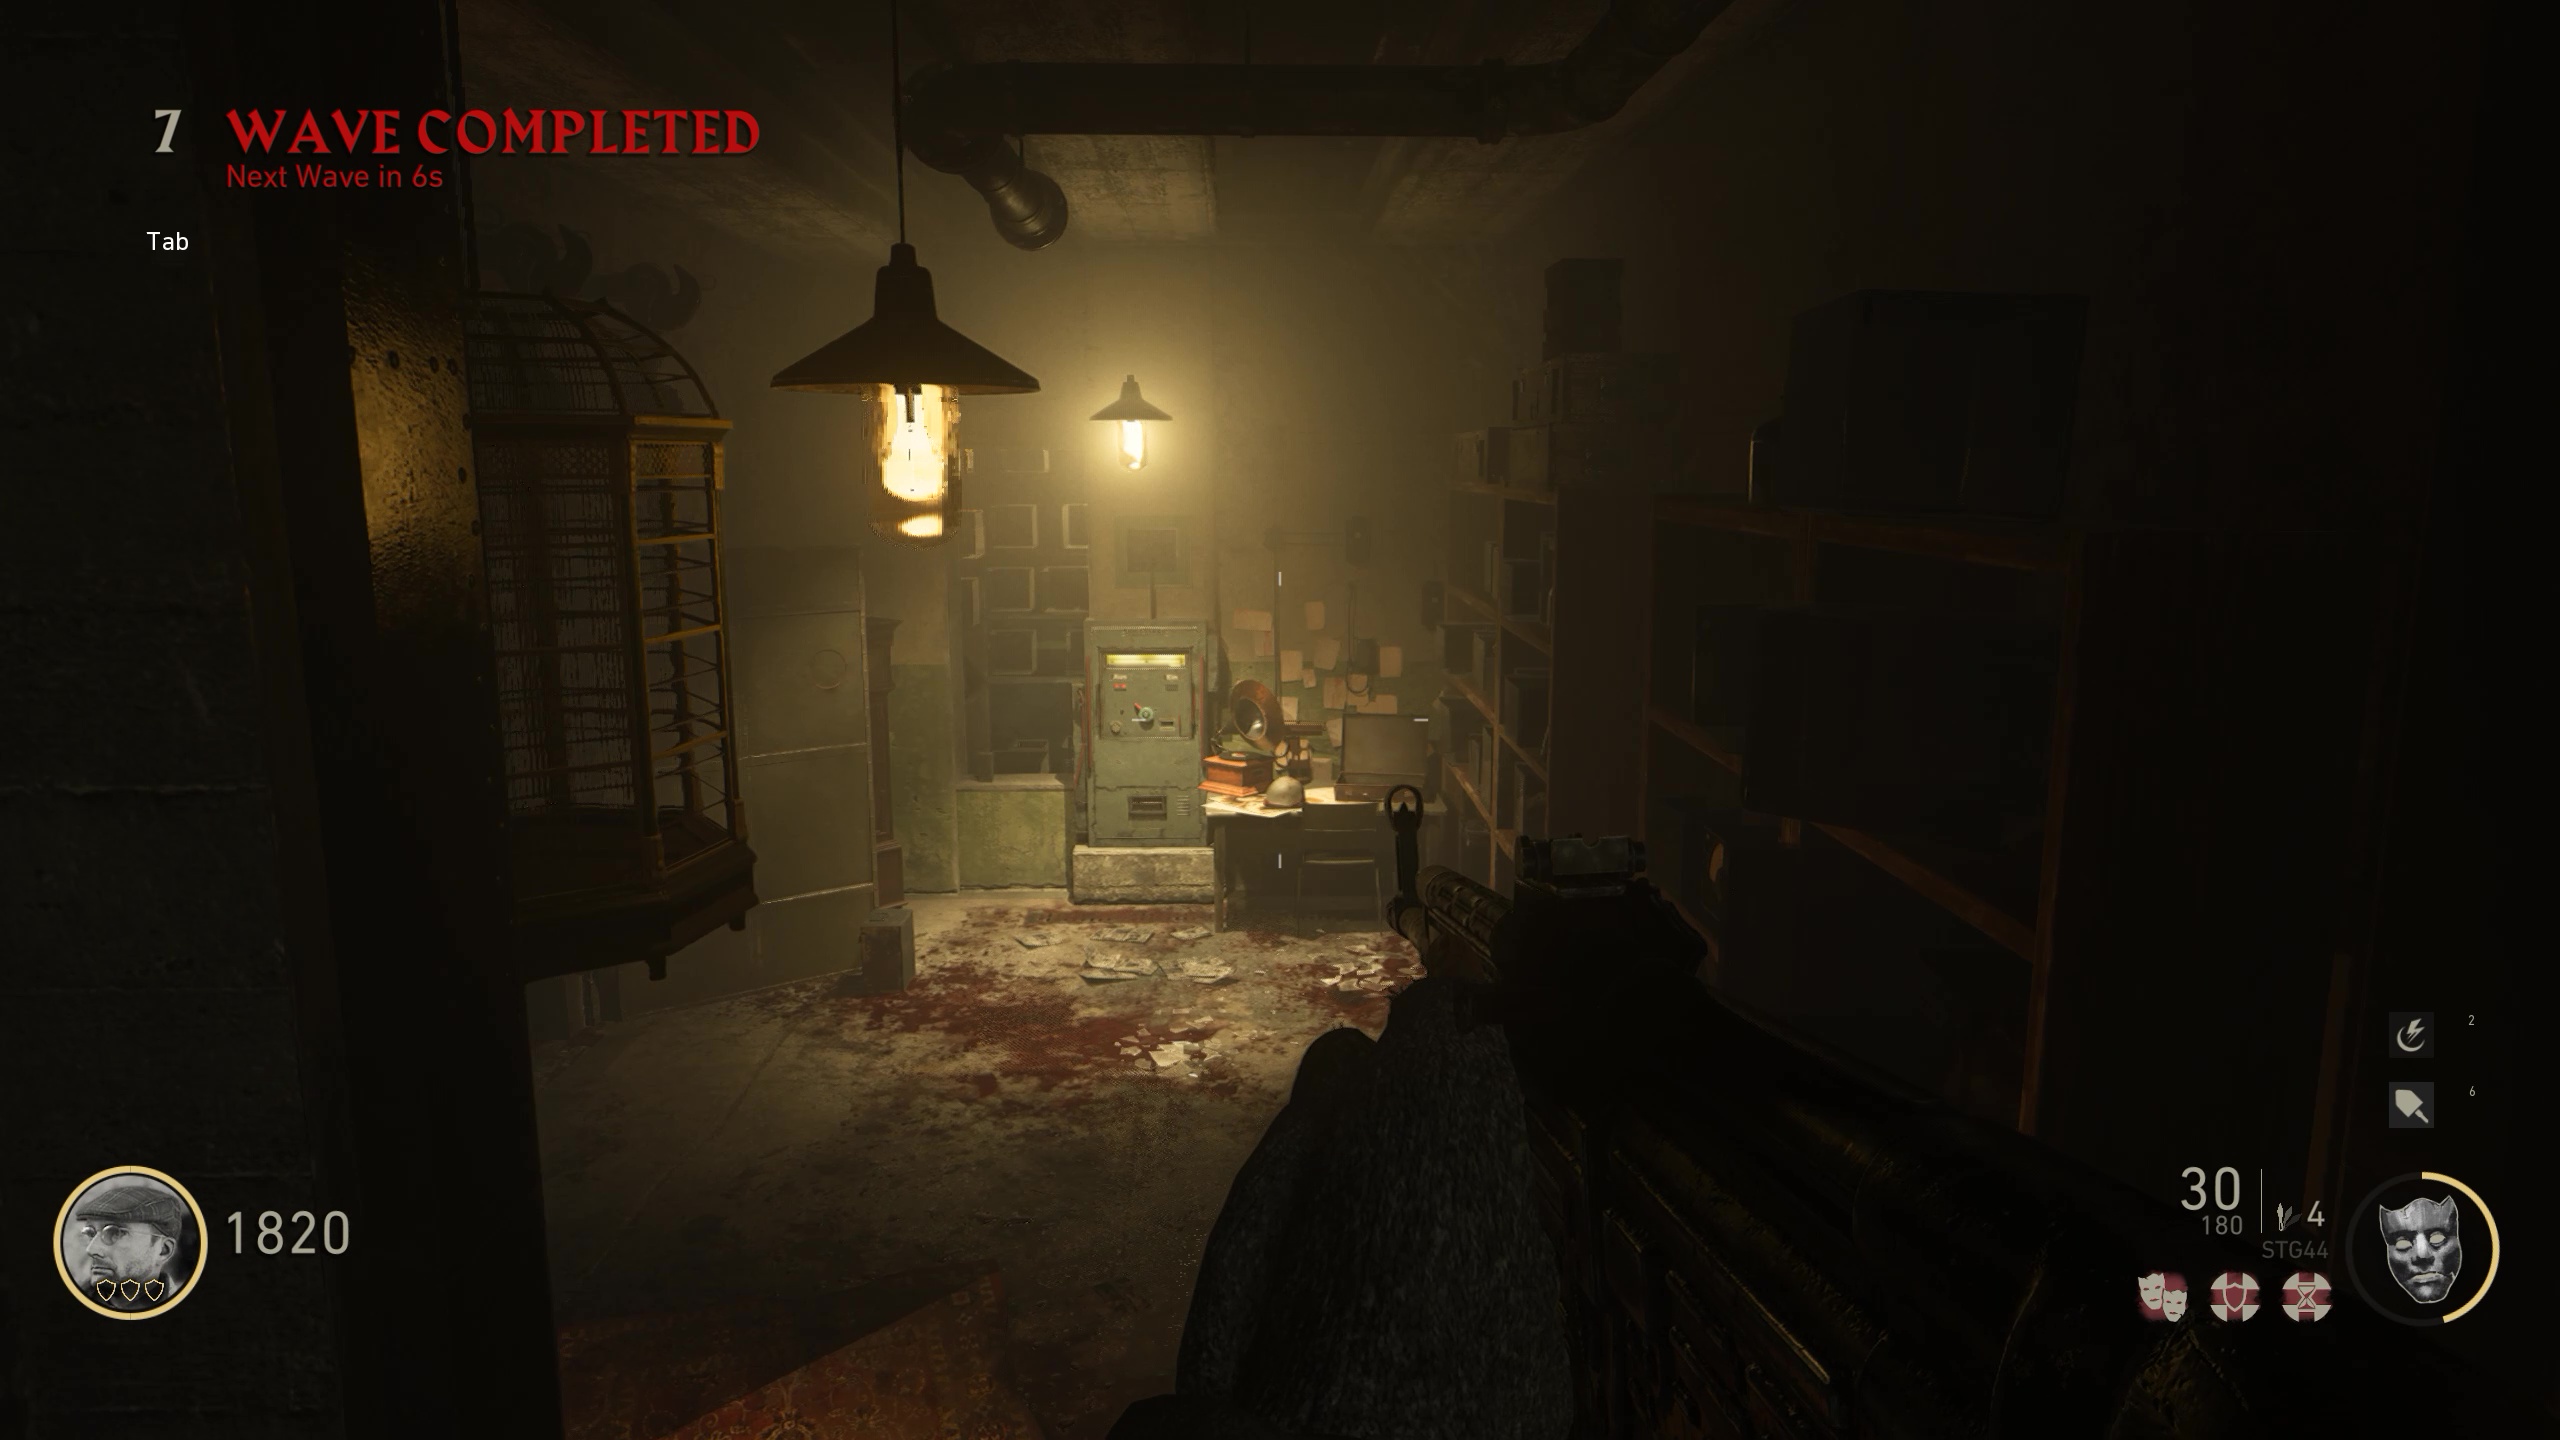
13. Sprint back to the Command Room—you can drop off the bunk room’s balcony overlooking the Morgue’s central room for a small shortcut—and run straight across to the Laboratory. (You did remember to open the Laboratory gate, right?) Once inside, head down the short steps, turn right, and enter the office ahead of you. (You’re in the correct spot if you see an STG44 weapon locker.)
Wave a quick hello to the test subject keeping the wall warm and exit the office opposite from where you entered it. You’ll immediately spot the second power switch in the small study below. Activate it, and if you were fast enough, you’ll see an objective update noting a successful reroute to the Salt Mine door. If you dawdled, the switches will reset after a time, and you’ll have to start the process again. Return to the Command Room.
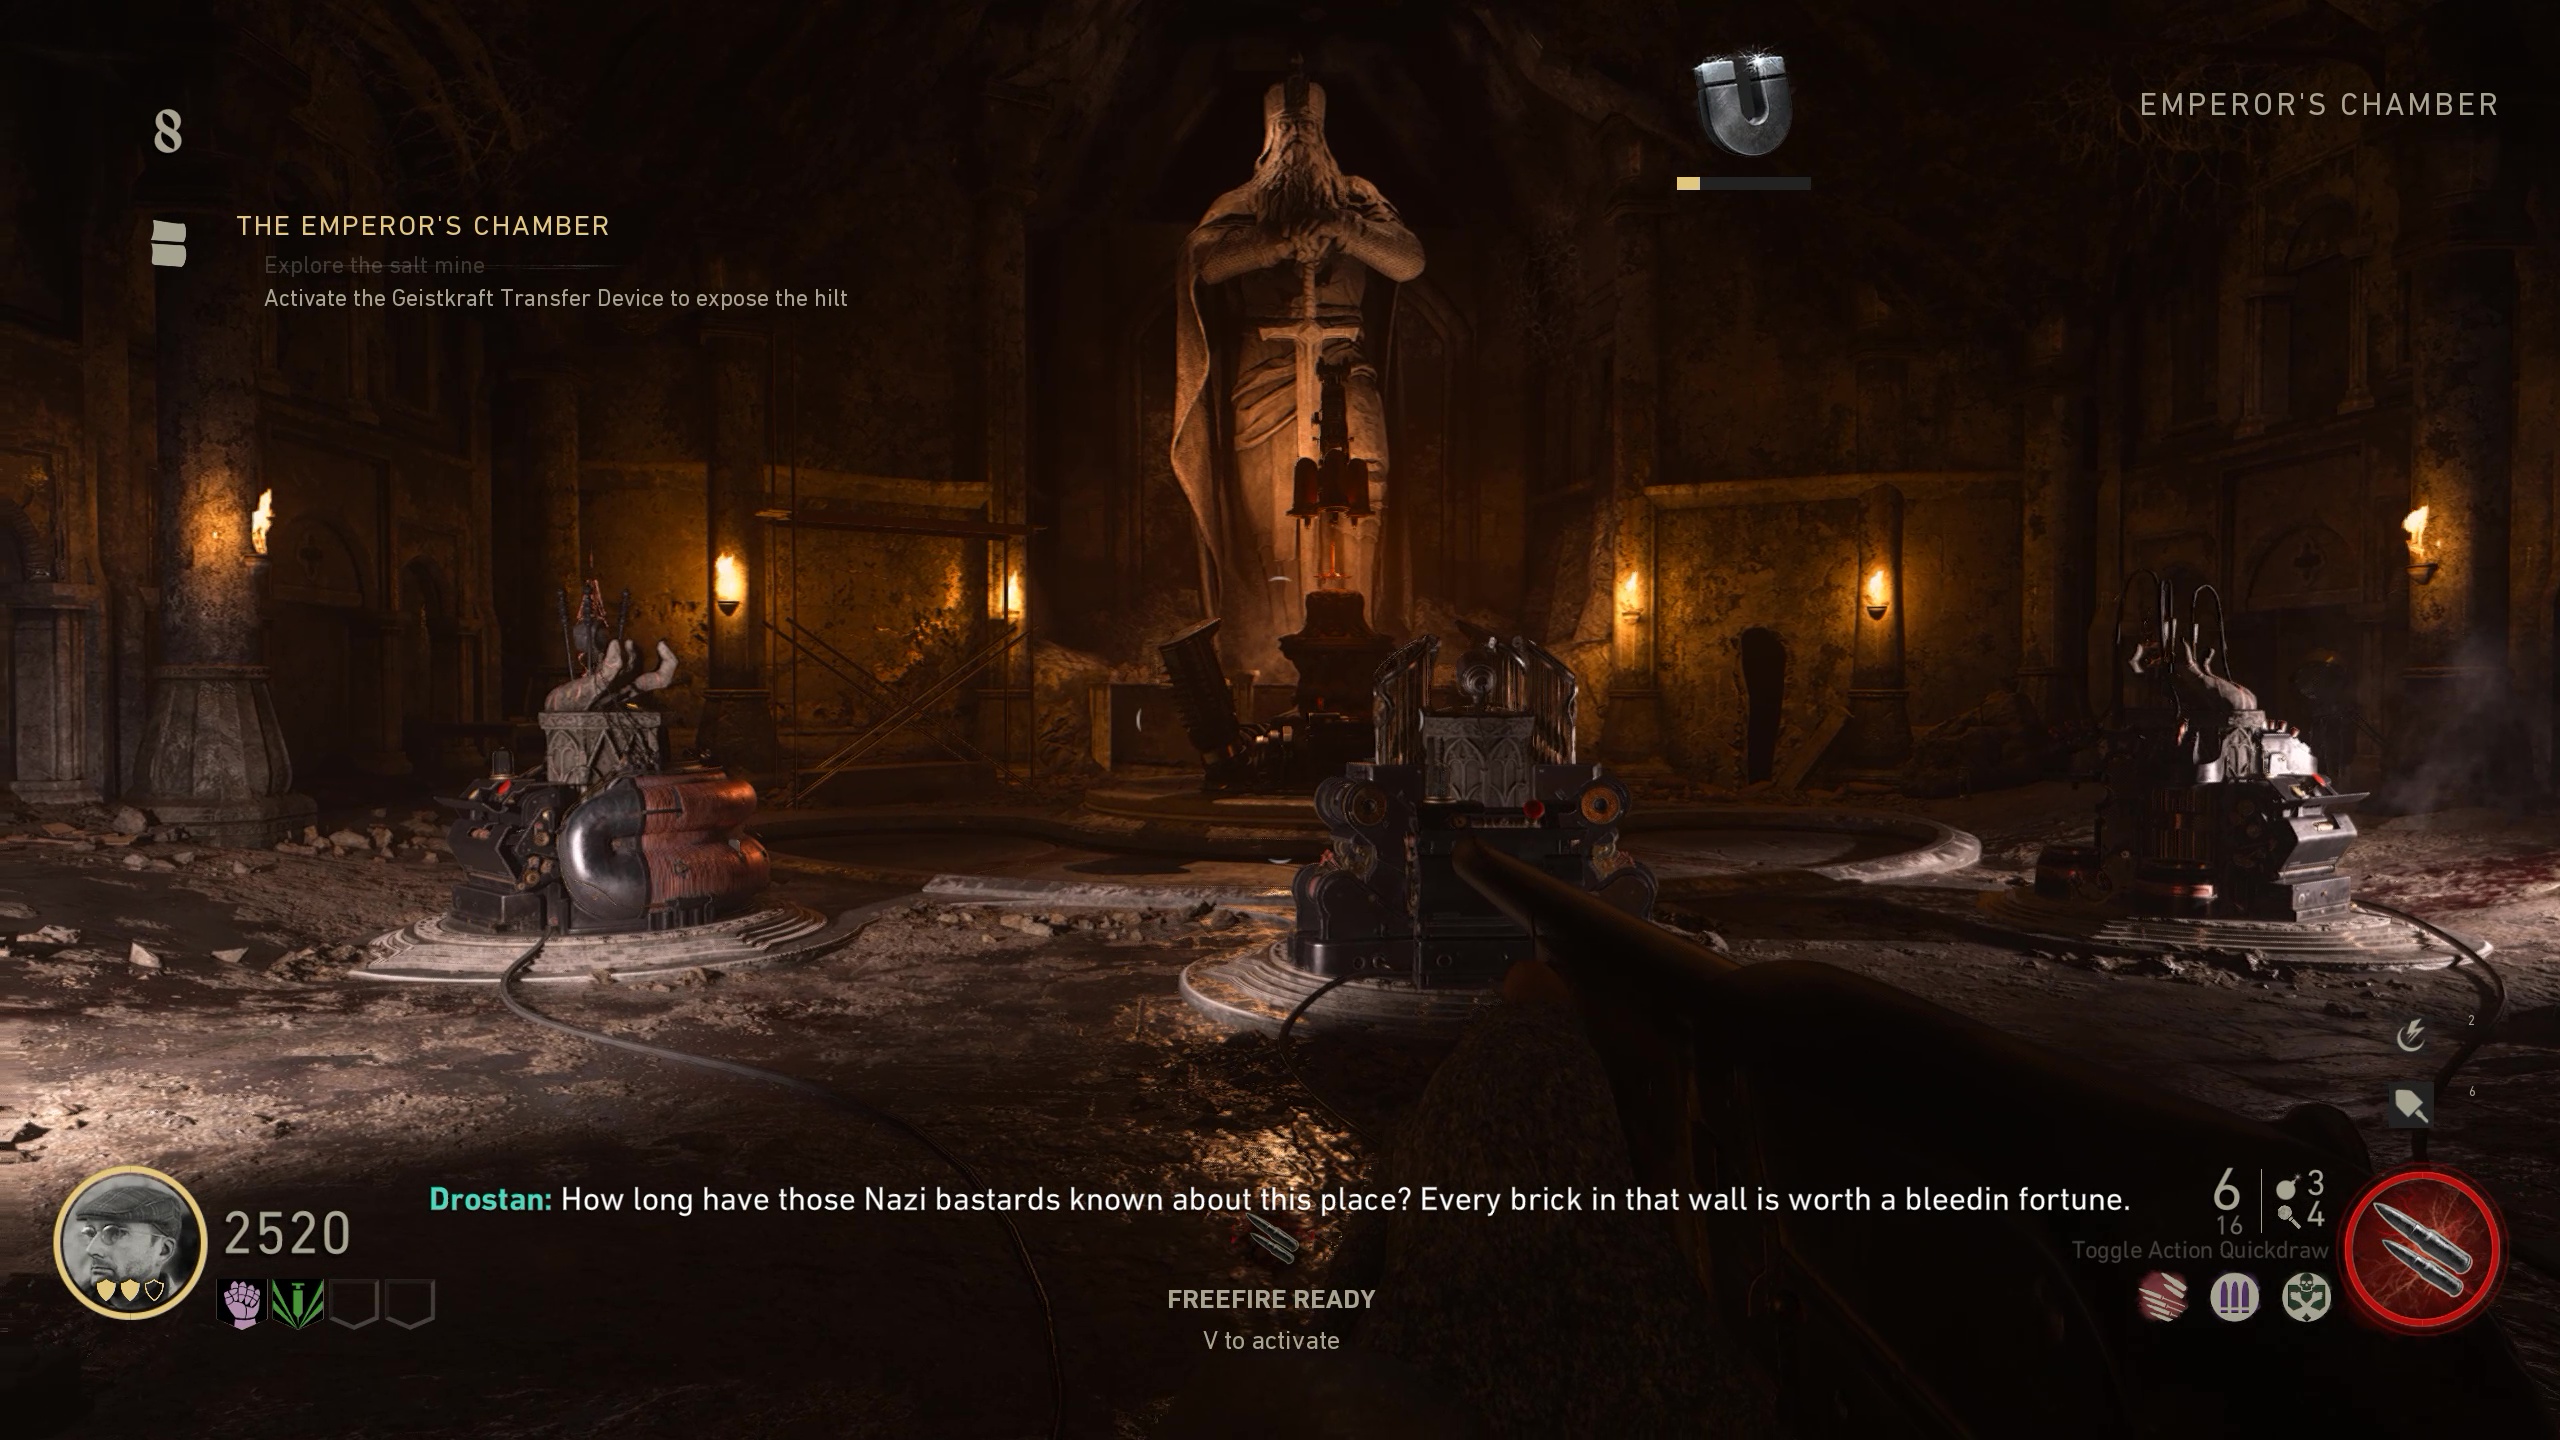
14. Another gate, another Jolt farm. Grab 1,500 Jolts from all the dead guys chasing you and unlock the now-powered third gate next to the opened pyramid structure. Note that the gate has a slightly longer opening animation, so keep moving until you can squeeze through. Follow the cart tracks as it spirals downward. You’ll likely start running into more powerful zombie types by now such as Bombers and the large explosive shell strapped to their backs. Keep your distance in the mine’s tight spaces, and don’t hesitate to backtrack into the Bunker’s earlier rooms to recharge or restock weaponry. At the bottom of the mine you’ll find the sinister Emperor’s Chamber.
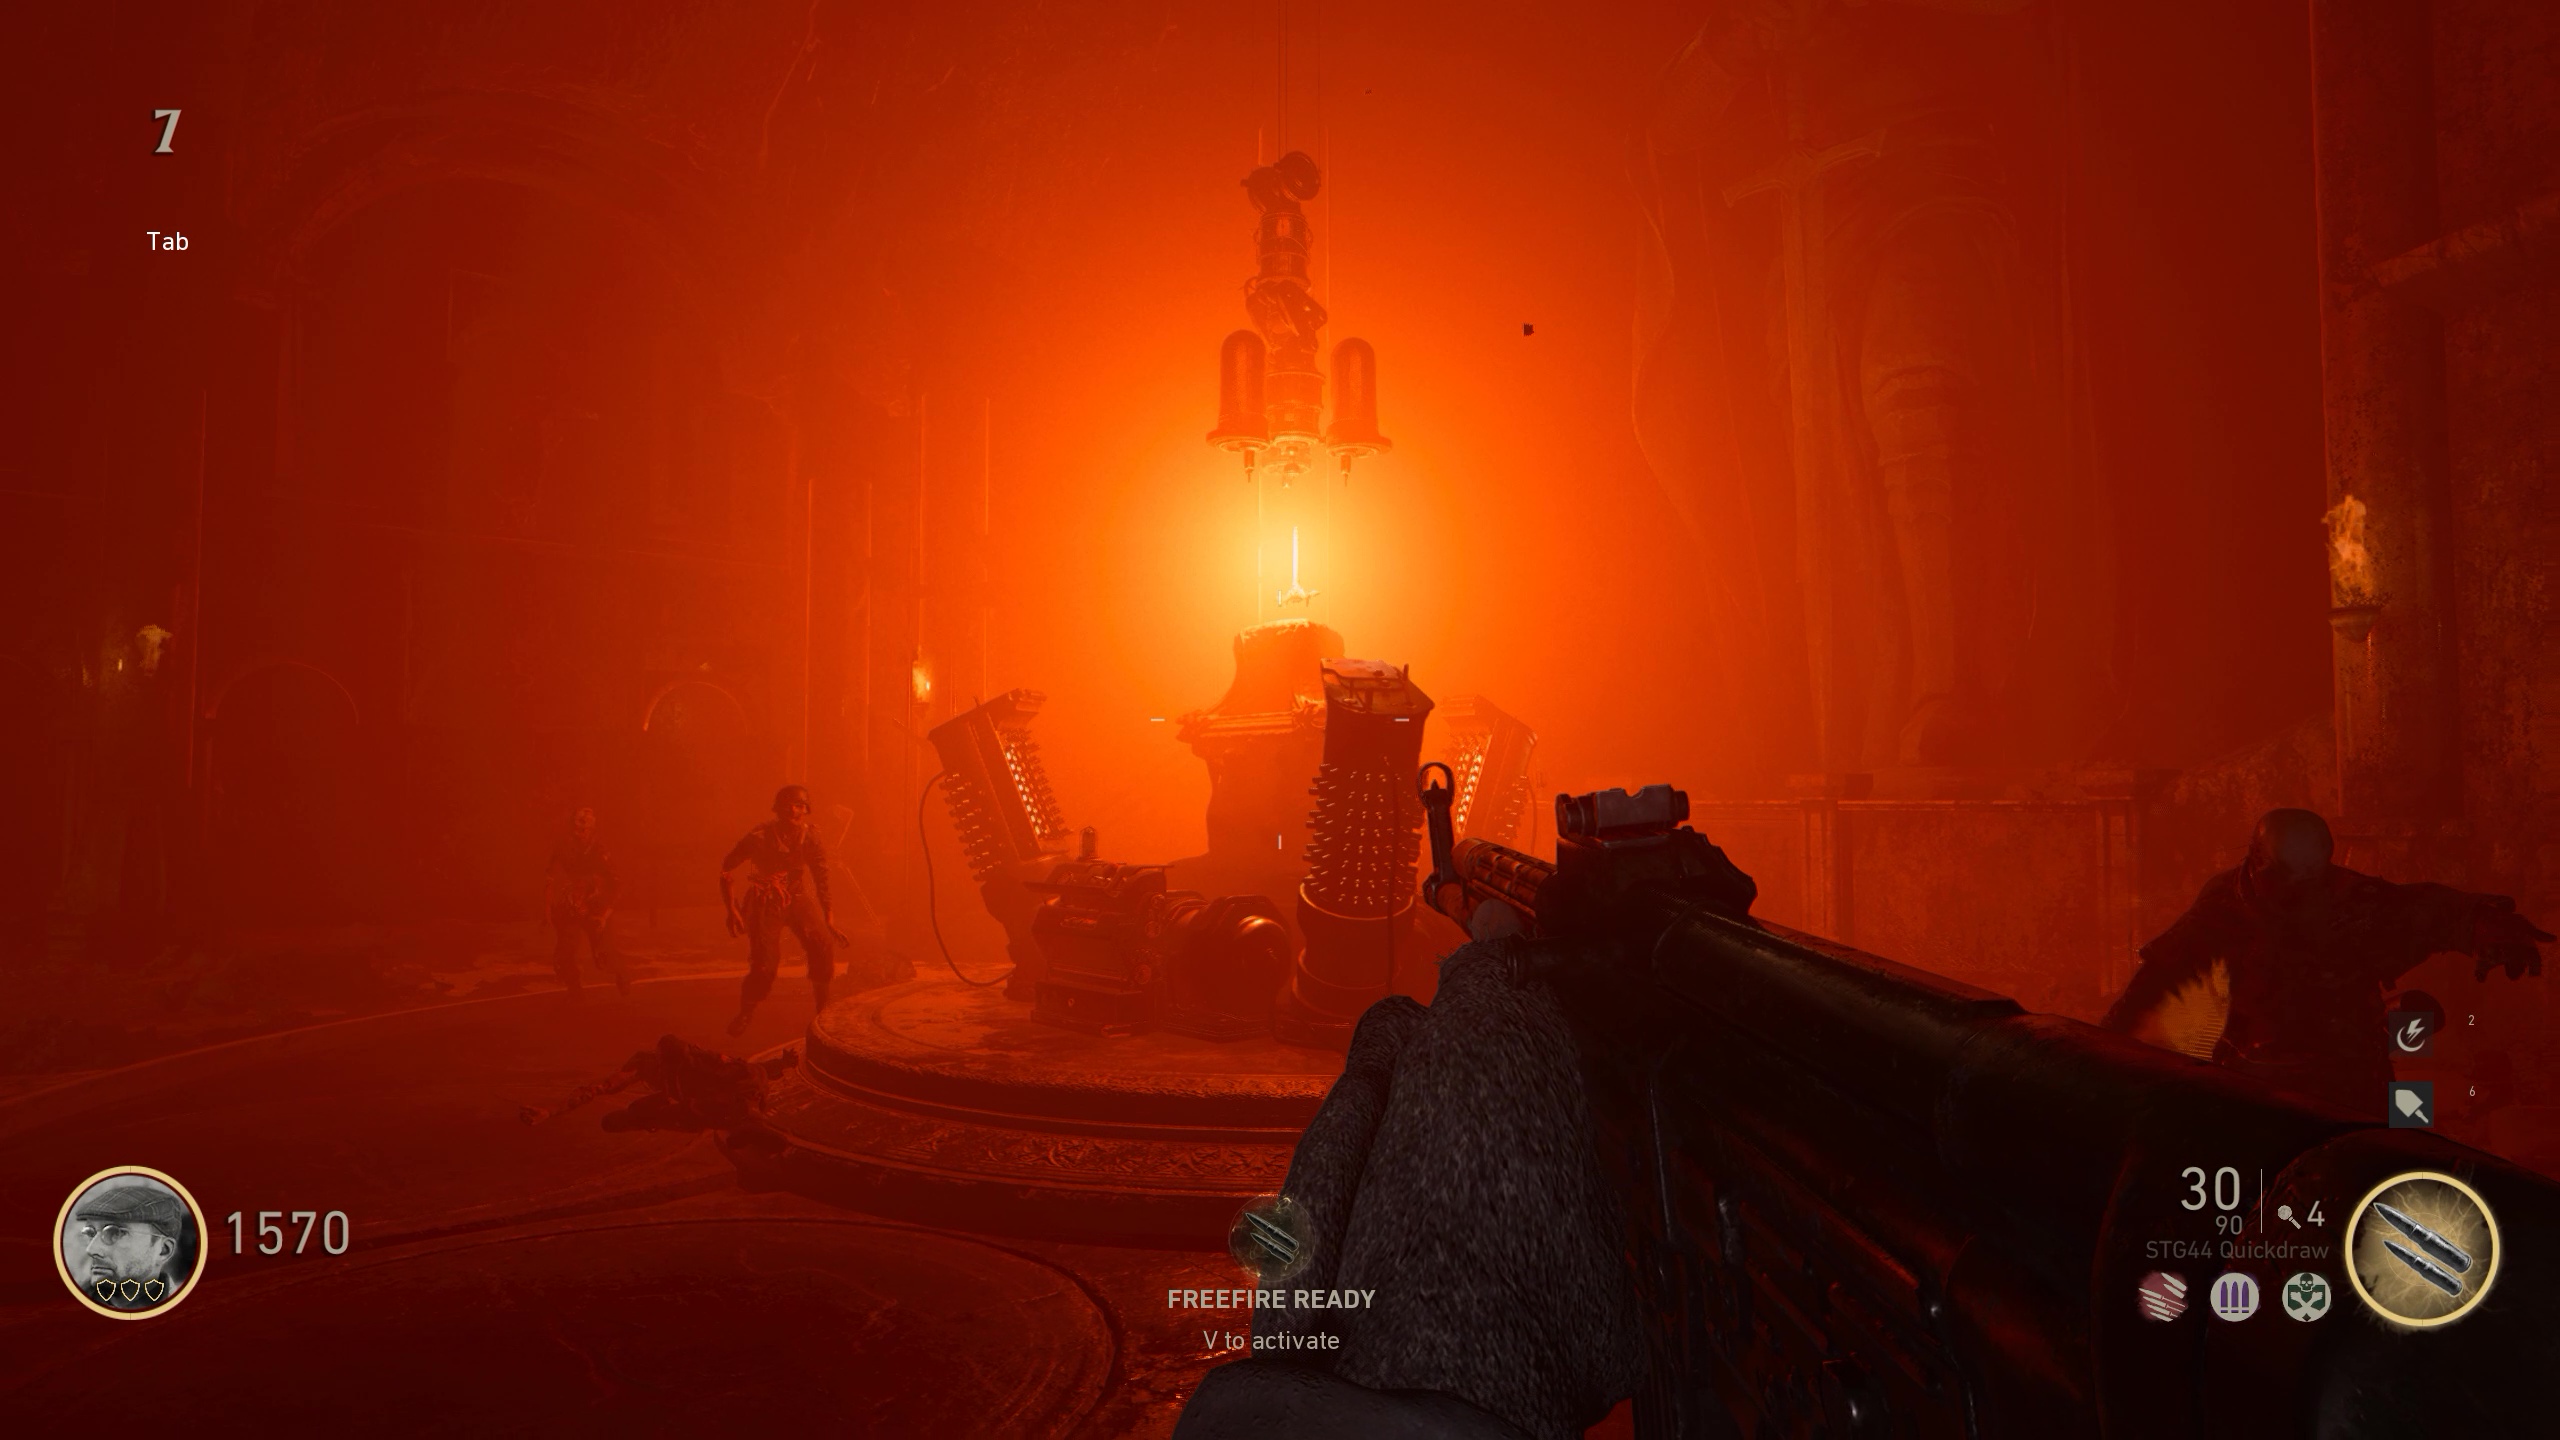
15. Approach the large central apparatus and flip the switch to provide power to the ancient sword hilt that’s definitely not evil and cursed. It won’t be enough; it demands more. A faint circle outline will appear on the ground surrounding the hilt structure, and you’ll need to slay shamblers within the circle to zap enough zombie mojo to appease your new inanimate overlord. You’ll know you’ve hit your sacrifice quota when your screen fills with a red glow. Climb back up to the Command Room.
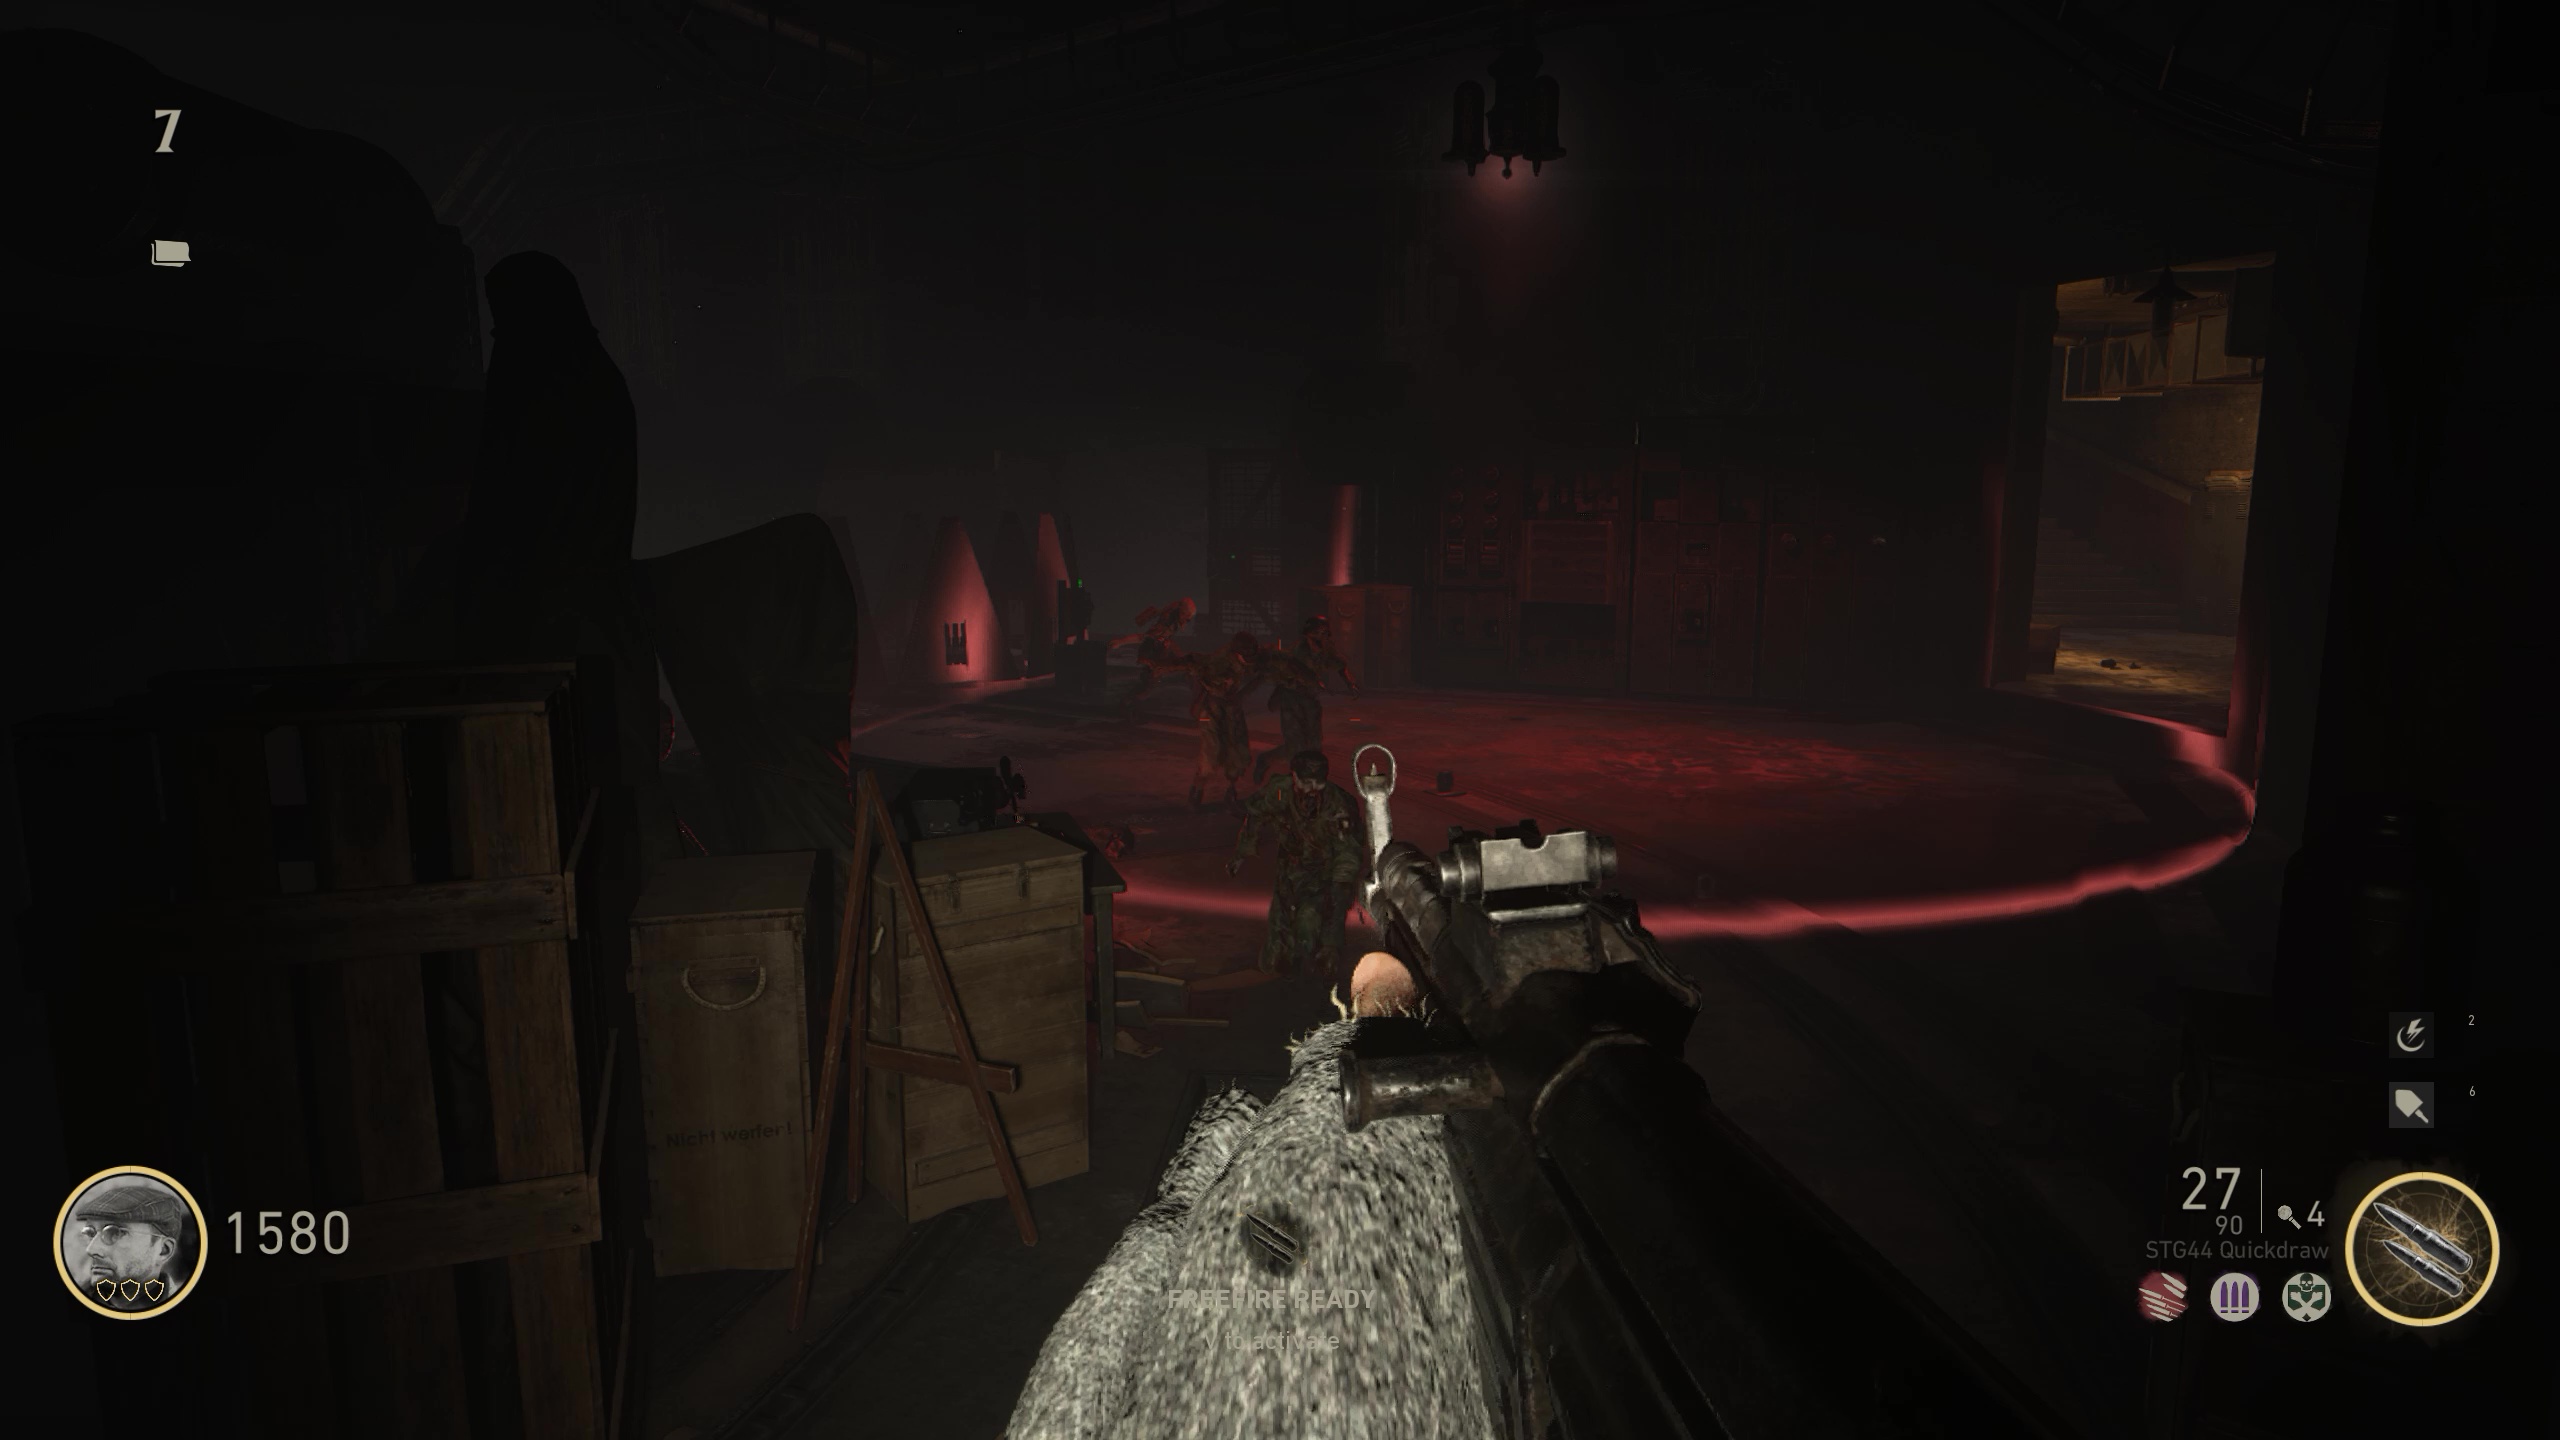
16. You’re in the home stretch, and these last few steps are some of the most thrilling. Because you cranked open the pyramid hatch, the empowered hilt will now join you in the Command Room where it will blow out the lights with the power of metal its stored zombie energy. Climb the stairs on either side of the room to reach the central platform which houses a weapon assembly station. Press the green button overlooking the hatch/gates below you, and the hilt will start moving either left into the Morgue or right into the Laboratory. As it moves, the circle outline will appear once more, and you’ll need to kill zombies within the moving circle to continually provide energy, otherwise the hilt will stop dead until you’ve reaped enough souls. Escort the hilt until it reaches its destination machine within either area.
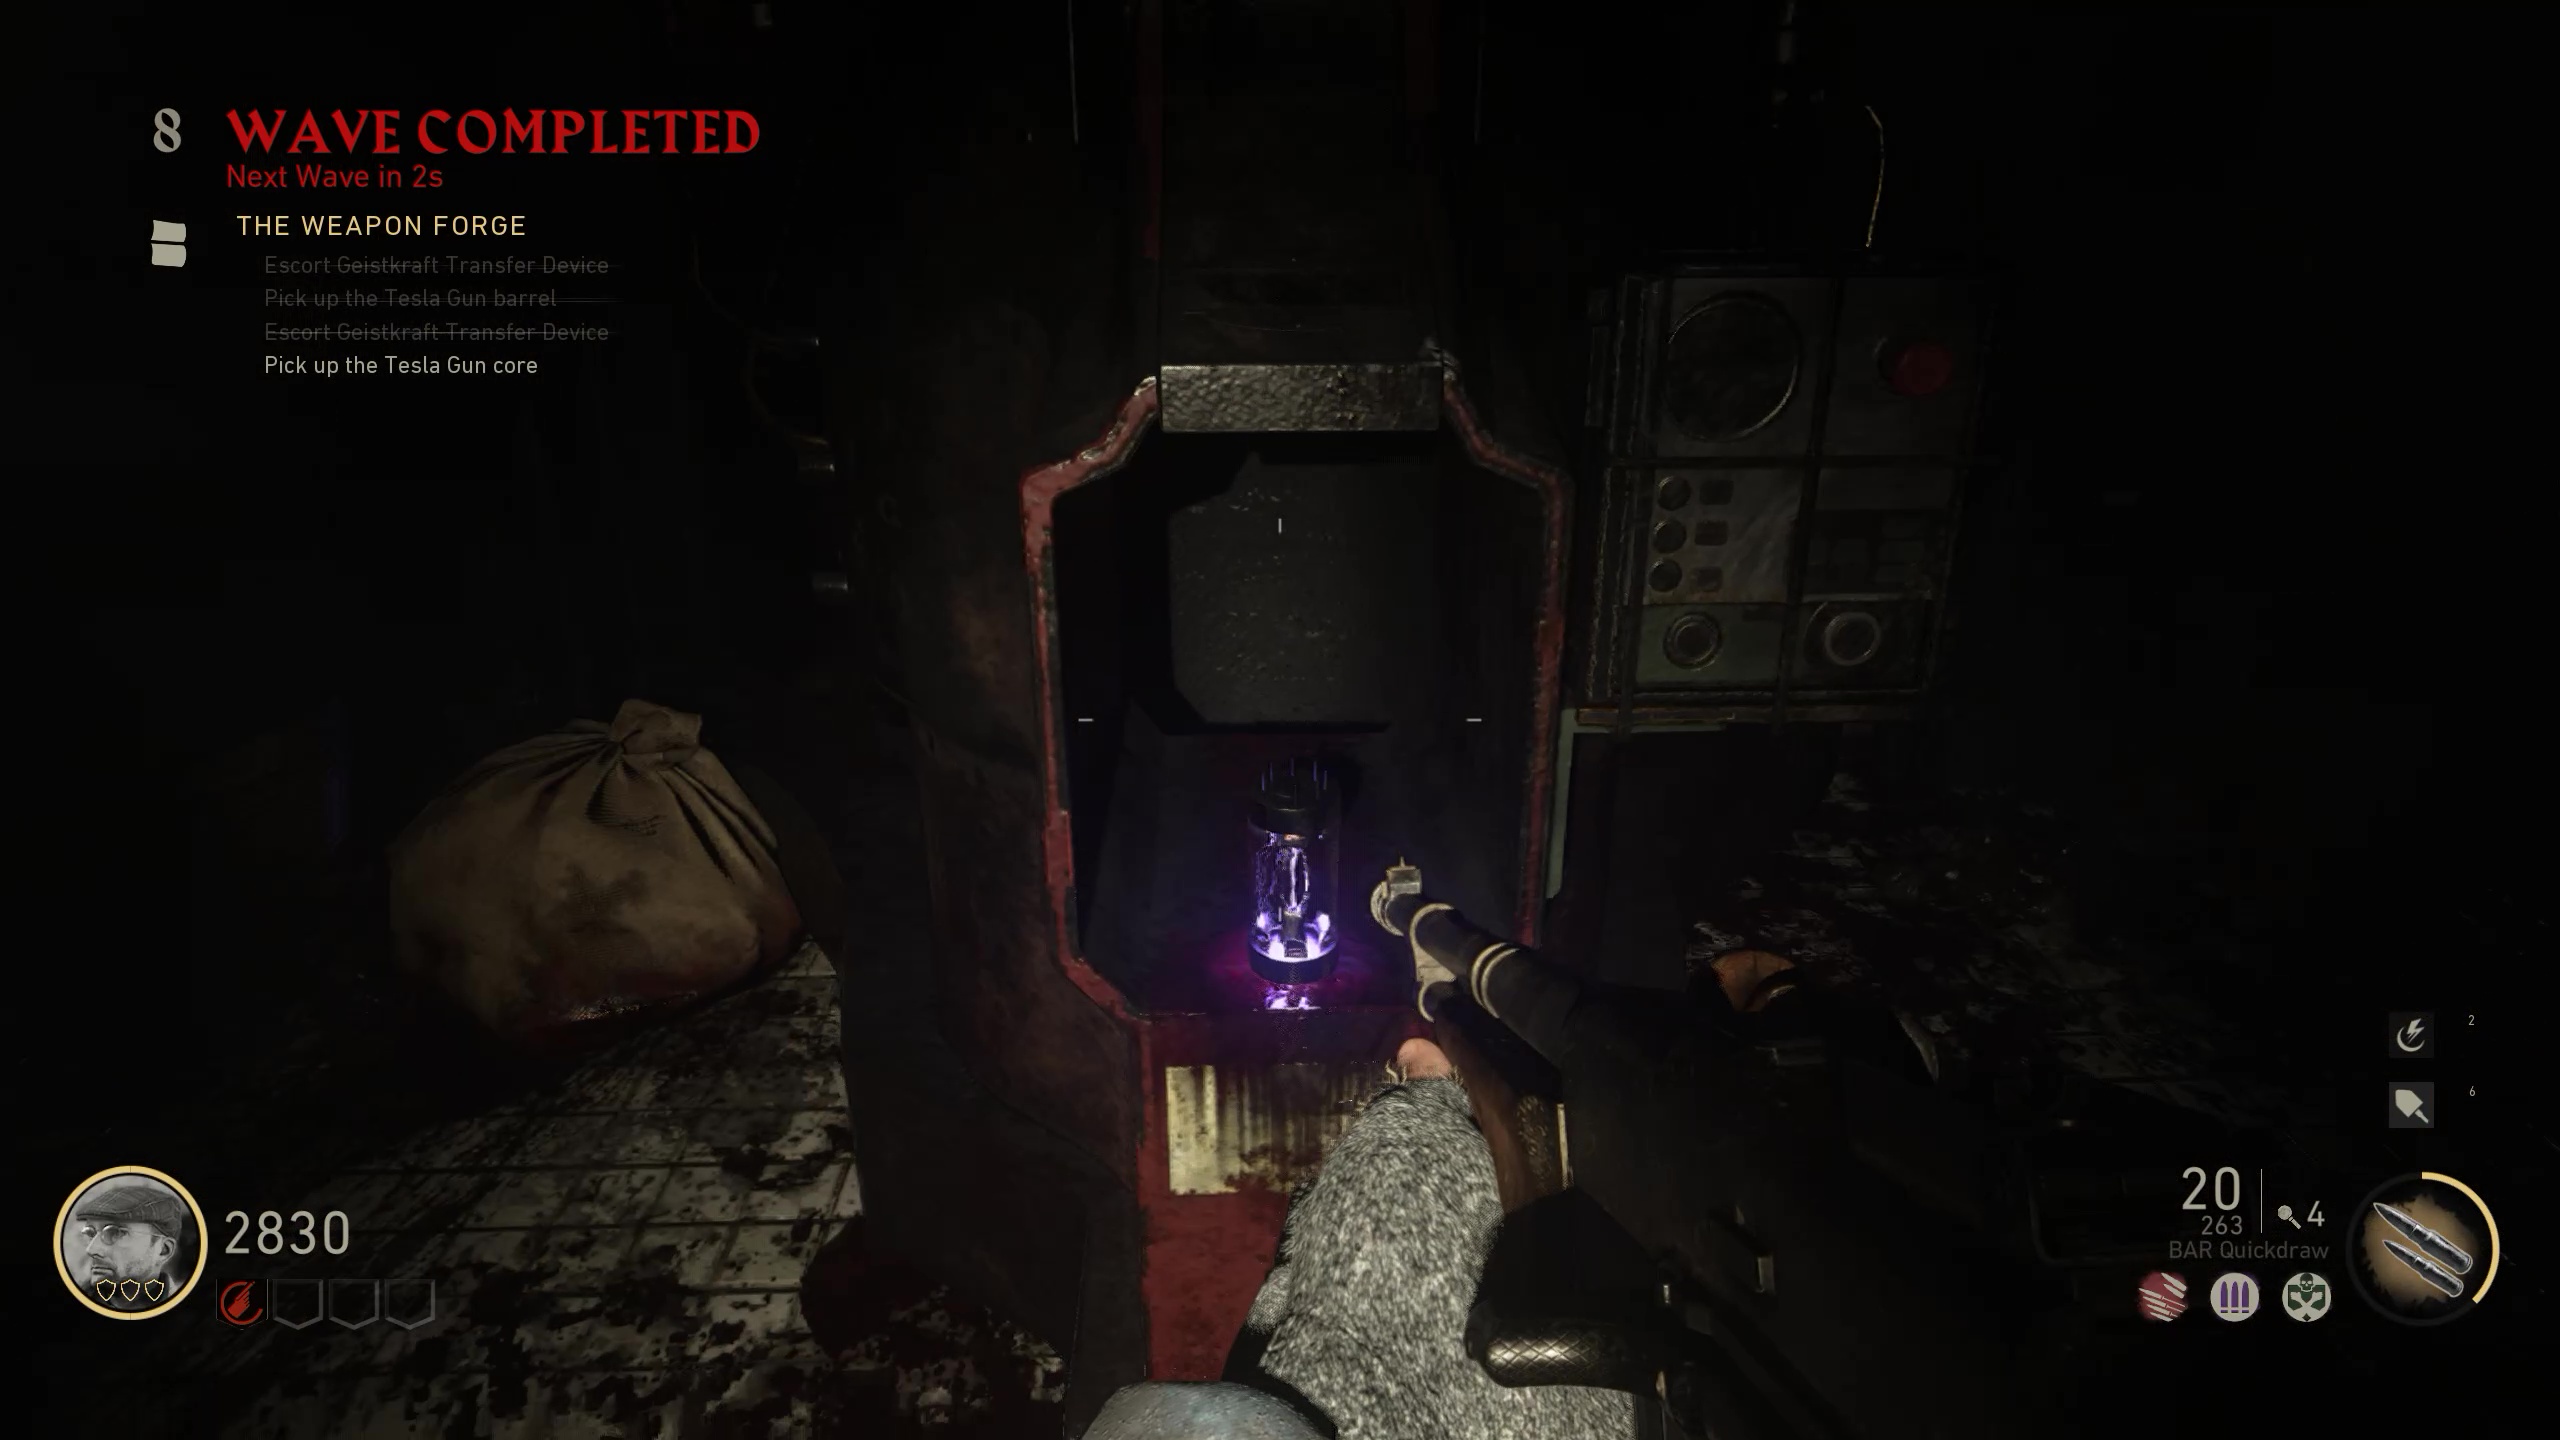
17. The hilt will plug itself into a generator machine that will blast out a lot of science noises and flashing lights. Stay alive and keep moving as the machine chugs along—you’re likely about to or have hit wave 10, and the quantity and toughness of the zombie hordes will start turning deadly. Once done, the machine will spit out the hilt—it’ll start creaking back to the Command Room on its own—as well as either the Tesla Gun barrel or core, whichever the hilt decided to go for first. Grab it and return to the Command Room where you’ll have to repeat the same escort for the remaining room: move with the circle, feed the hilt zombie power, wait for the machine to beep-boop stuff, then grab your last part.
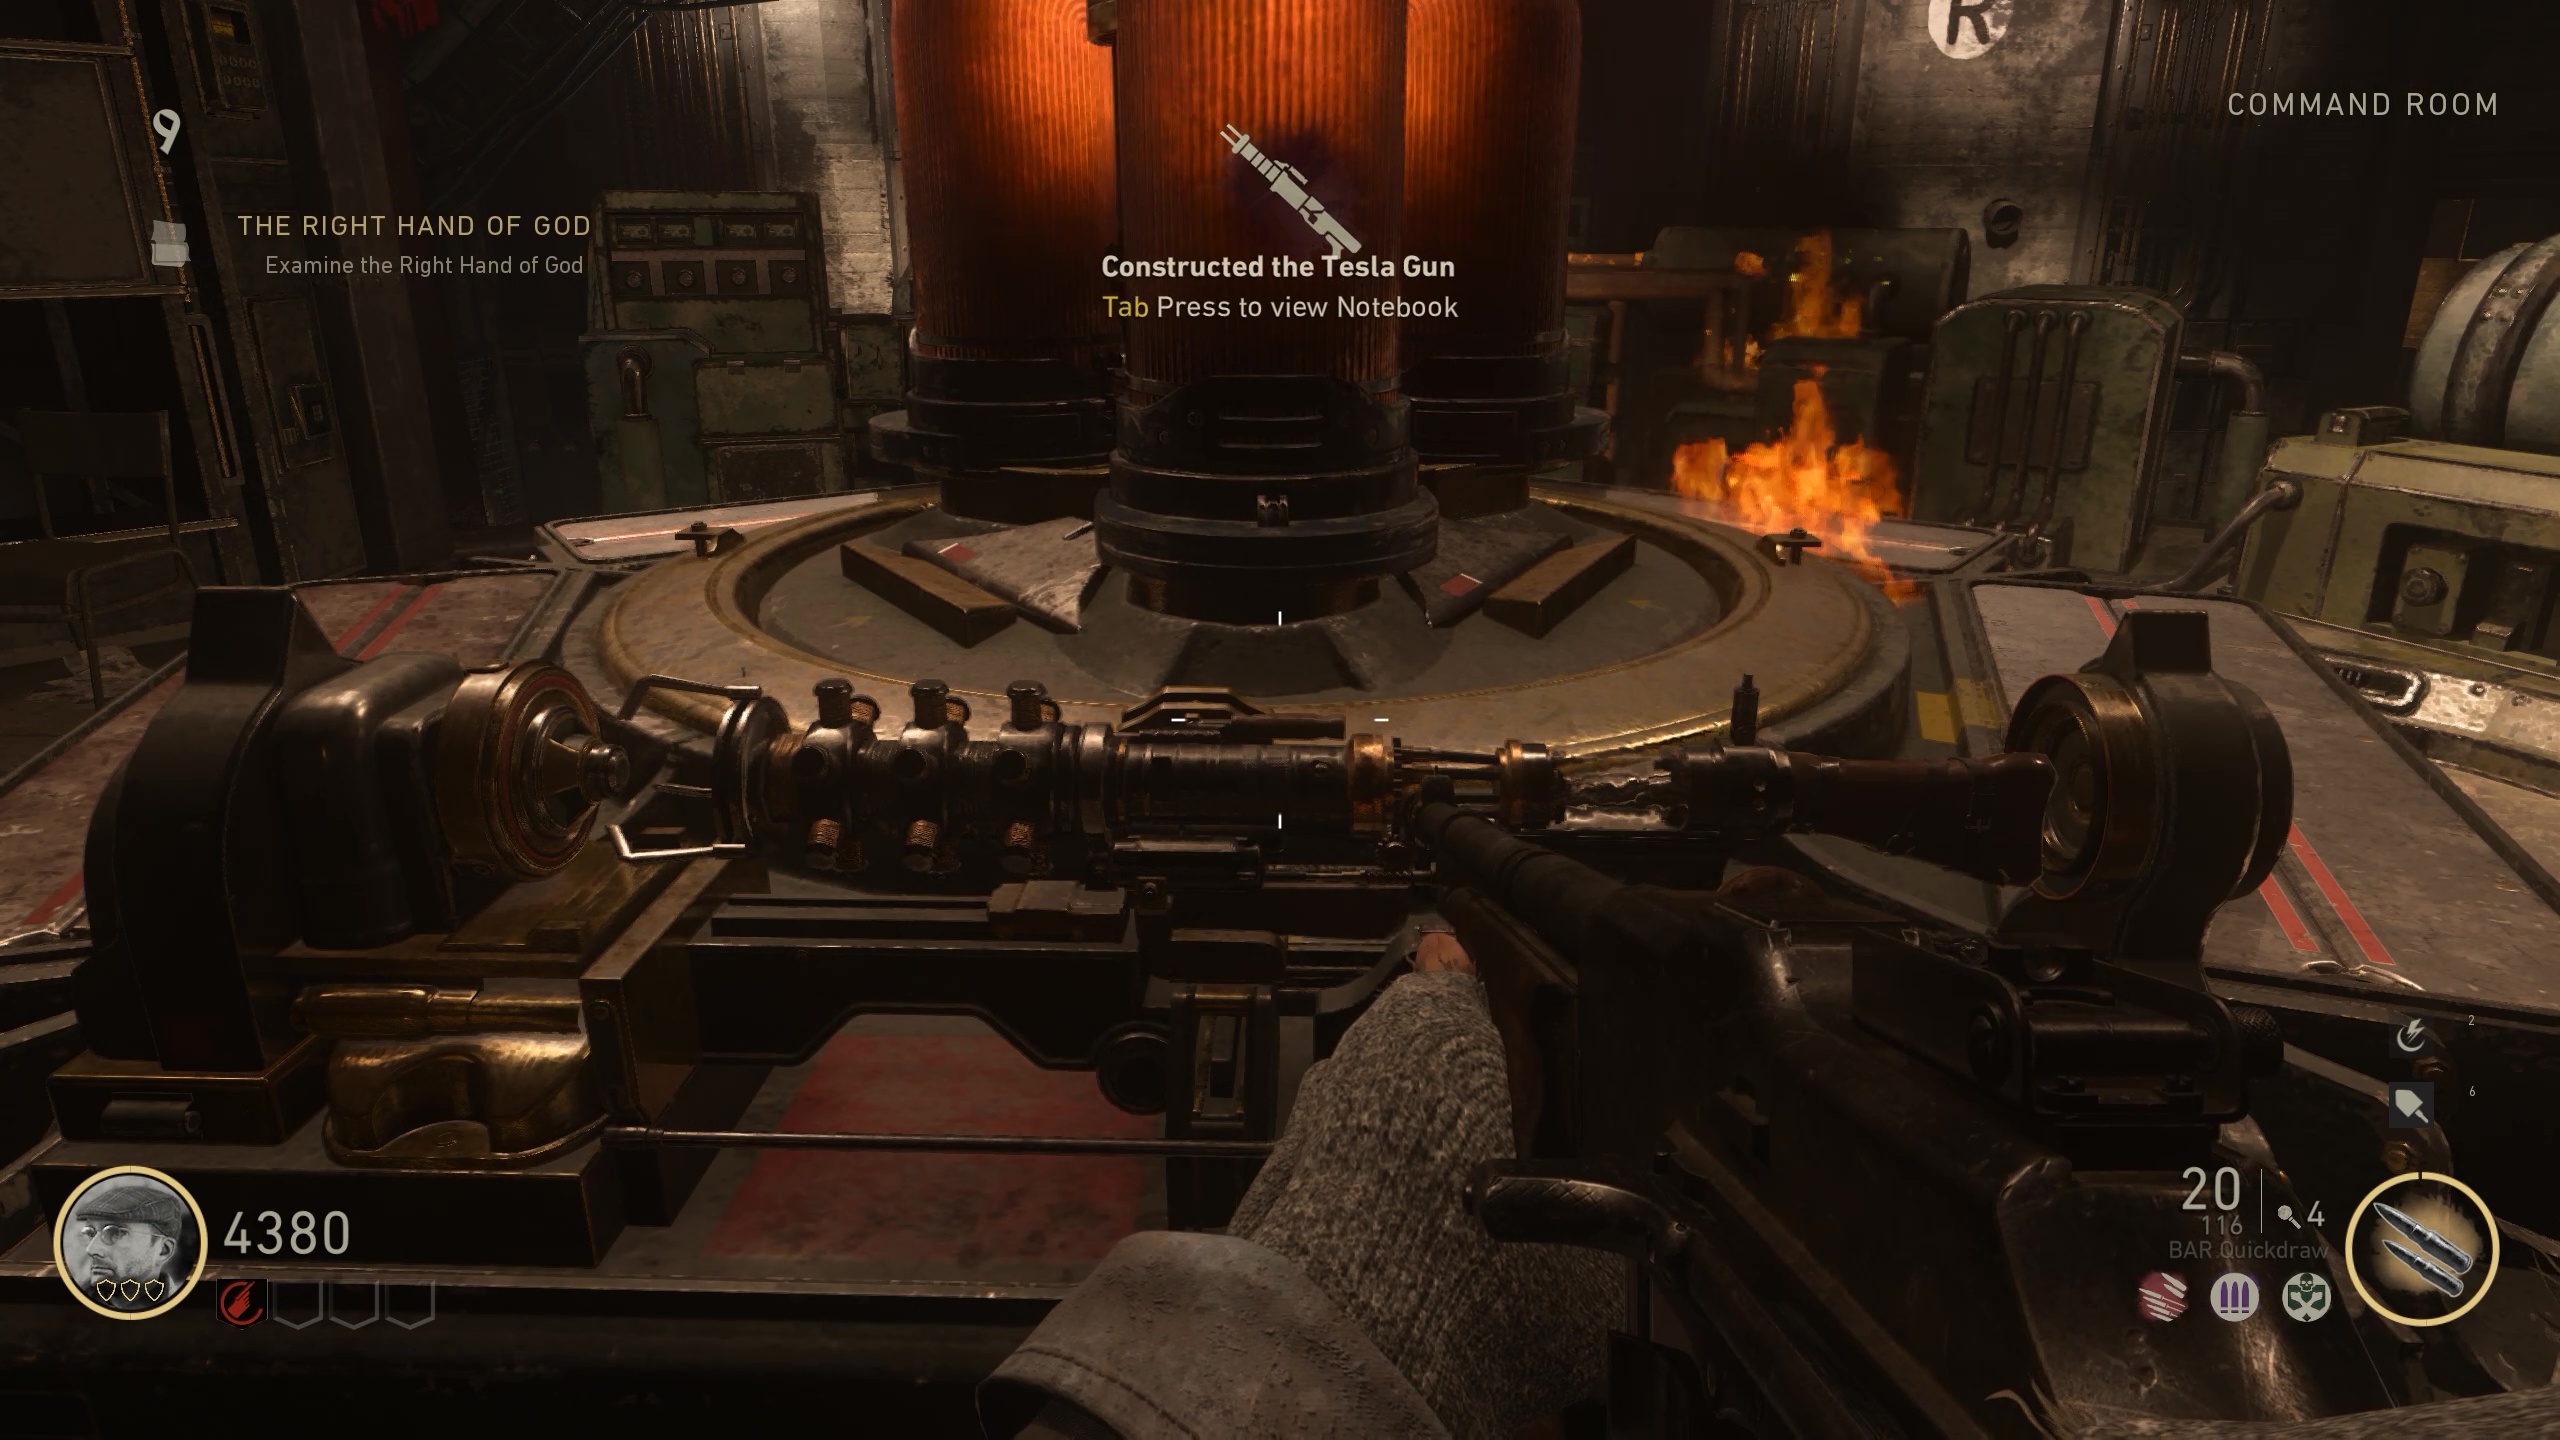
18. A hulking Brenner zombie will more than likely leap down in a flaming fanfare upon returning to the Command Room for the last time, but you’re about to arm yourself with enough electric boogie to counter a crispy end. Dodge the Brenner’s short-range flamethrower attacks and climb back up to the manufacturing station on the central platform. Slot the parts you’ve collected into the station’s pedestal, wait the few seconds as the gun assembles, and pick up your completed Tesla Gun at last. Well done!
Omri Petitte is a former PC Gamer associate editor and long-time freelance writer covering news and reviews. If you spot his name, it probably means you're reading about some kind of first-person shooter. Why yes, he would like to talk to you about Battlefield. Do you have a few days?
 Join The Club


