How to Build a Kick-Ass MAME Arcade Cabinet from an Old PC
Part 5: Construction
Once you’ve bought your parts and designed your control panel, it’s time to put it all together. There’s nothing overly difficult about building the control panels, but it can be very time consuming.
Installation
First, you’ll need an actual panel to install your controls into. If you’re building your own from scratch, we recommend 5/8” MDF or plywood, and you’ll definitely need a router to precisely cut the hole for each controller. To ensure accurate placement of holes, you can print out a diagram of your control panel, tape it to the panel, and cut through the paper.
Mounting buttons is easy—you just need a hole big enough for the button to fit through, and a plastic nut locks it into place.
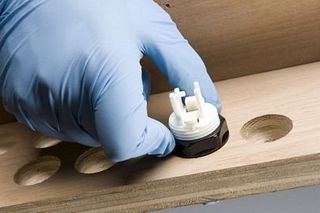
However, joysticks are a bit more trouble. If you have enough clearance under the panel, you can cut a button-sized hole for the joystick, mount the joystick assembly under the board, and then feed a long joystick shaft [link to long joystick shaft] through the hole. Alternatively, if your router skills can pay the bills, so to speak, you can also cut out a relief in the top of the panel that’s the right shape to simply drop the joystick into. If you go with a wooden control panel, you’ll want some sort of overlay to make the panel look and feel nicer. MAMEMarquees.com is an excellent source for reproduction and custom artwork.
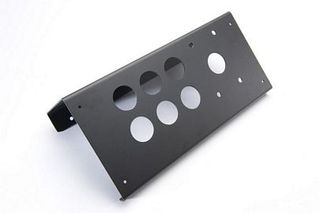
We had Scott from Arcade Depot make us a plywood panel for the two side-by-side controllers with a glossy black Lexan overlay. The joysticks drop in from the top, then the overlay conceals the sticks’ metal mounting plate. For the two short panels, we got custom-cut metal control panels, which are easier to mount into, and look and feel great even without an overlay, but are only suited for smaller panels, such as ours. For a full-sized control panel on a standup machine, wood is really your best option.
Wiring
Once you’ve got your controls mounted, it’s time to start wiring. Every single microswtich needs to have two wires connected to it: one running from the middle prong of the microswitch to an input slot on the keyboard encoder and one running from the prong on the bottom of the switch to the keyboard encoder’s GND input.
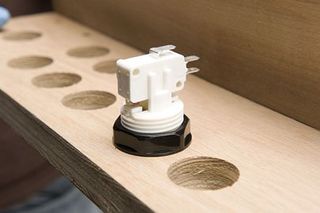
Since every switch connects to the ground, you can save a lot of wire and minimize clutter by daisy chaining your grounds. This means that instead of running a wire from every switch to a single ground hub somewhere, you simply wire the hub to the first button, then the first button to the second button, then the second button to the third button, and so on and so on.
Comic deals, prizes and latest news
Sign up to get the best content of the week, and great gaming deals, as picked by the editors.
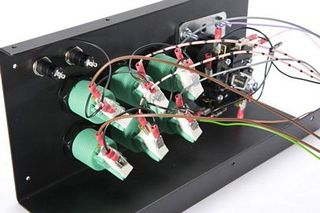
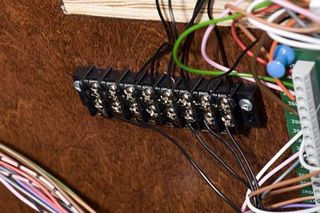
We daisy chained each of our control panels in this way, so that we only had a single ground wire running from each set of 6 buttons, and each joystick. We joined all of these wires at a grounding strip bought at Radio Shack ( err, The Shack ), and connected the strip to the keyboard encoder.
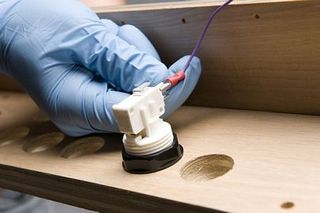
You can attach wire by soldering it to the switch, if you want, but doing this is time consuming, and a pain if you need to go back and make any changes later. Instead, we used crimp-on female disconnects, which made attaching and detaching wires much easier. Ultimarc sells a wiring kit , which includes all the wire you’ll need, a wire cutter/stripper/crimper and 100 disconnects. Pretty handy if you don’t already have all those things already lying around.
Most Popular


