How to find the weapon upgrade station in Call of Duty: WWII's zombies mode
Give your old guns new life with this vital upgrade station.

Like the Pack-a-Punch stations in previous zombie modes, WWII’s more dryly named Weapon Upgrade Station can soup up your arsenal with deeper magazine reserves and special damage effects such as exploding bullets and insanely boosted fire rates.
It's absolutely instrumental for handling the brawnier zombie waves in the late stages of a round, so devoting some time to ensure access to the station will pay off substantially in the long run. If anything, do it for the nifty shifting pattern camo—not even a desperate struggle for survival against a supernatural foe can escape the Call of Duty fashion siren song.
1. Your first destination lies in the Tunnel, so the first few actions you'll perform are the same steps to power the Bunker door when going after the Tesla Gun: turn the gas valves, switch on both generators, and so on. Check steps 1-9 in the Tesla gun guide for more specific details.
Drop back into the Tunnel after bringing both generators to life and opening the Bunker door. If you're facing the Blitz machine, turn around to meet the Sewer gate right in front of you. Pay the 1,250 Jolts and follow the sloping path all the way to the bottom, passing by a second gate and a Geistchild stand in an alcove. You can't miss the large cage guarding your final prize in the middle of this pillar-filled room. Move across to an MP40 weapon locker against the far wall, and turn to face the cage. Find the button sitting beside the pillar closest to the locker. Press it, and the cage will rise a few feet and screech to a halt.
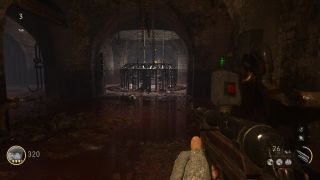
2. You'll now need to find three disposal tubes leading to closed-off areas in the Sewer that contain the remaining switches needed to fully open the cage. The first tube is located within the Bunker’s Command Room at the far stairway’s landing. Hop in after paying the paltry 250 Jolt ride fee and slide back down into the Sewer. You should now have landed into one of the blocked sections, and a switch cheerfully greets your arrival. Press it to open the gate back to the main Sewer room where the cage will lift up just a little more.
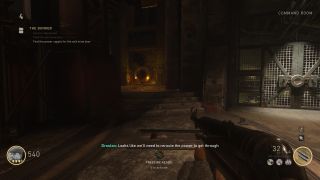
3. The second tube will have you backtrack all the way to the map’s starting section where you fended off the first couple waves. Spend 1,500 Jolts to unlock the Pub gate which you can find nearby your spawn point and beside the large duffel bag used to store weapons. The Pub area looks like a nondescript patch of snow beside a blown-out building wall, but it's the shortest route to the second gate you'll need to unlock straight across from where you entered.
Once you have another 1,500 Jolts, use them on the Tower gate and cross to the actual tower past the stone bridge and flaming truck. Check the tower's left side to see the second disposal tube resting against the far corner. As before, cough up 250 Jolts and slide back to the Sewer, hitting the switch to nearly fully open the station cage. One left!
PC Gamer Newsletter
Sign up to get the best content of the week, and great gaming deals, as picked by the editors.
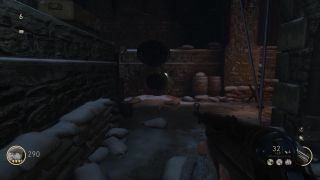
4. Return to the Command Room and unlock the Morgue gate. Head down the steps, turn right, then take the first left to enter the central room. (This is the same room the sword hilt travels to when escorting it for the Tesla Gun.) The last tube is on the room’s left side beside a stairway. Pinch your nose and drop in.
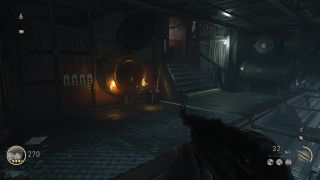
5. Once you press the last button, the cage should fully lift up to reveal the mighty upgrade station. Pour 5,000 Jolts into it and offer your equipped weapon for a substantial upgrade to your offensive power. Try experimenting with the weapons provided by the Mystery Box in the Command Room for the extra effects they receive—the MG42 machine gun or Karabin sniper rifle are excellent powerhouses when upgraded.
Omri Petitte is a former PC Gamer associate editor and long-time freelance writer covering news and reviews. If you spot his name, it probably means you're reading about some kind of first-person shooter. Why yes, he would like to talk to you about Battlefield. Do you have a few days?
Most Popular


