20 Essential Tricks Every Skype User Should Know
Backup Skype Configuration and Chat History
Whether switching to another computer or reinstalling Windows (and thus Skype), you needn't lose your instant messaging history, nor do you need to start over from scratch and re-configure all your settings.
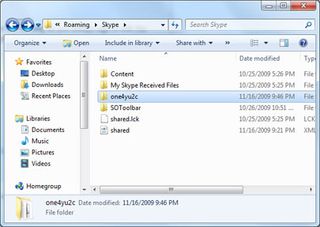
To backup your chat history and configuration in Vista and Windows 7, navigate to C:\Users\[USERNAME]\AppData\Roaming\Skype . If you're running Windows XP, go to C:\Documents and Settings\[USERNAME]\ApplicationData\Skype . Find a folder in the directory with your Skype username and copy this to a USB stick or CD/DVD. When you reinstall Skype, transfer this folder into the same directory.
Sync Skype on Multiple PCs
You can think of Dropbox as chocolate syrup. Why? Because it makes everything sweeter, and Skype is no exception. We just showed you how to backup your Skype configuration files and chat history for importing to another machine, but what if you wanted to sync your Skype install on multiple PCs? With a little bit of tweaking -- and some help from Dropbox -- you can do just that. Here's how.
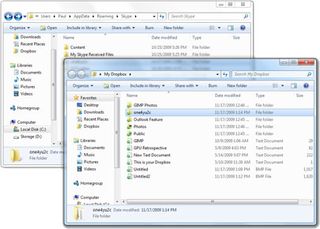
First, download Dropbox from here and install it on every machine you plan to sync. Close down Skype. If you're using Windows 7 or Vista, navigate to C:\Users\[USERNAME]\AppData\Roaming\ (Windows XP users will navigate to C:\Documents and Settings\[User Name\]Application Data Folder ). Move (don't copy) the Skype folder to your Dropbox location. The easiest way to do this is to right-click the folder, select the Cut command, and then paste it into Dropbox (right-click, Paste).

Now that we've moved the folder out of its default location, we need to trick Skype into thinking it's still there. To do this, we need to create what's called a symbolic link in the original directory that appears to be the real deal, but really just redirects to the new location in our Dropbox folder. As far as Skype is concerned, the folder will appear to still be in its original location, even though it's not.
Click on Start and type CMD (in Windows XP, click Start>Run>CMD and hit enter). Right-click the CMD executable and select Run as Administrator. To create a symbolic link, type the following command:
mklink d/ "C:\Users\Paul\AppData\Roaming\Skype" "C:\Users\Paul\Desktop\My Dropbox \Skype"
PC Gamer Newsletter
Sign up to get the best content of the week, and great gaming deals, as picked by the editors.
Notice the quotation marks that enclose both the original and new location of our Skype folder. Also be sure to alter the above command depending on where your Dropbox folder is located, as well as the original folder location.

Repeat the above steps on your work PC, laptop, or wherever else you have Skype installed and your conversations will remain synced.
Ditch Skype's 4.0 Interface in Windows 7
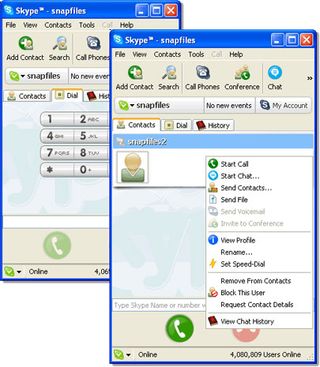
Skype's developers not only added a bunch of new features in version 4, they also gave the app a major face lift. Some have praised the new layout and UI, while others believe Skype took a major step backwards. If you fall into the latter camp, you've probably been chugging along with version 3.8.0.188, the latest 3.x release before 4.0
That's all fine and dandy, except that it doesn't play particularly nice with 64- bit versions of Windows 7. Many have reported that the older version installs just fine, but when you try to fire up the app, it crashes before you have a chance to log in. We've run into this issue ourselves and set out to find a solution. Well guess what? We found one.
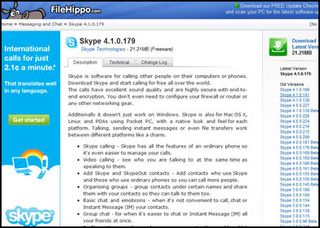
If you're having trouble getting an version 3.8 to run, revert back to version 3.6, which you can find over at FileHippo.com or OldVersion.com . Skype 3.6.0.248, the latest release before 3.8, doesn't appear to suffer the same setback in Windows 7. Just be warned that by going back so far, you'll be running a dated app that's several versions behind the latest release, which means you're missing out on added features and potentially leaving yourself open to unpatched bugs and security risks.
Most Popular


