
Styles of input
Time to get into the real meat of the Steam Controller: its ability to replicate many, many different control styles. These different styles can also be combined. You can set a trackpad to behave like an analog stick or mouse, or switch modes at the press of a button. Sometimes you can set a control surface to an input style you would never normally think of, like setting the analog stick to emulate mouse movements or the ABXY buttons to output joystick movement.
Experimentation here is key. You may find that there is an unconventional way of using a control surface that will fit with your play style or the kind of game you want to play. When setting up a new control style, each of these will be an option under style of input. Here’s what you need to know about each input type.
Button pad
Button pad is one of the most simplistic input styles the Steam Controller has. This simply works like the ABXY buttons would on a traditional controller. If set to the physical ABXY buttons you will get a 1:1 mapping to the physical buttons as you would expect. If button pad is set to a trackpad then you will find that there is a mapping of four circular areas, one for each button to replicate the physical layout of real ABXY buttons. If you decide to have 'click required' enabled, this can be a reasonable replacement for genuine ABXY buttons for some games.
Mouse
This input style is how you allow your Steam Controller’s trackpad to function like a real mouse. After getting used to it, you should be able to come close to the accuracy and usability of a genuine mouse. This is the ideal way to use the right trackpad in most games. There are some caveats, though. The big problem here is you can’t guarantee that a game will accept analog inputs with mouse inputs simultaneously. (More on this later.)
Joystick move (JMove)
Joystick move is the Steam Controller's most basic of joystick inputs. In this mode you can simply press a spot on the pad with your thumb and the emulated joystick will travel to that spot relative to where you put your thumb. Simple, right? The farther towards any one direction you move your thumb, the farther the 'stick' will move in that direction.
As the name implies, this mode is both intended for and is best suited for character movement. You can use it for either the left or right ‘stick’ outputs as you desire. Setting both pads to JMove when playing a twin-stick shooter, for example, is a great way to use it.
Joystick camera (JCamera)
This mode will likely be the closest approximation of an analog stick in both its functionality and its usage. The big difference with this mode is you should be resting your thumb in the middle of the pad, because with JCamera you have to drag from the center of the pad to ‘pull the stick’ from its resting position. Erroneous touches to the pad not starting from the center will be ignored.
JCamera also differs from JMove in the sub-options that are available to you. An example of this mode would be in a third person action game like Remember Me. These games are perfect choices for this mode since the right stick is just used for turning the camera and precise accuracy and speed are not priorities.

Mouse joystick (JMouse)
The idea here is to allow the trackpad to act like a mouse in its basic functionality while still outputting to a 'right stick' as seen by the game itself. The big benefit here is in many games, you can’t actually use the right pad as a genuine mouse and still have gamepad settings for the rest of the controller. This means you will lose correct analog character movement and have to set the Steam Controller to be used as a keyboard and mouse instead. Prime examples of games that do this are Bethesda's Fallout 4 and Skyrim.
The limitation to JMouse is that this virtual mouse device cannot output any faster than the maximum speed that a stick would normally be able to. In games where this is the case, you can mitigate this by increasing stick sensitivity in the game itself. There are also typically dead zones hard coded into a game assuming the user is using a traditional joystick. This has the side effect of not allowing some of the fine adjustments to aiming without moving a minimum speed. Proper settings can help reduce this issue. Adjust the minimum joystick X/Y output value and minimum movement threshold. If a game doesn't have stick sensitivity settings, though, there's not much you can do.
This is the control method to use in games that don't support the Steam Controller if you want to retain analog movement on the left stick. But it means you give up true mouselook on the trackpad.
Directional pad
In this mode, you set each of the four main cardinal directions to a button. This differs from button pad in a few key ways. There is an overlap between the 'buttons' themselves so pressing two of these buttons at the same time is both quick and easy to do, as with diagonal inputs. This makes this mode ideal for use as a genuine directional pad as with 2D platformers or with using WASD to create a keyboard and mouse-based configuration. Here you can also set a few different layouts of D-pad.
Typically, especially with WASD movement, Radial with overlap is used. Without overlap removes the zone in between each button. Imagine it like four equal slices of a pie when looking at the pad. Cross gate has diagonals but they are substantially smaller than in the radial layout. This is for when you are mostly using the main four directions with only occasional diagonal inputs.
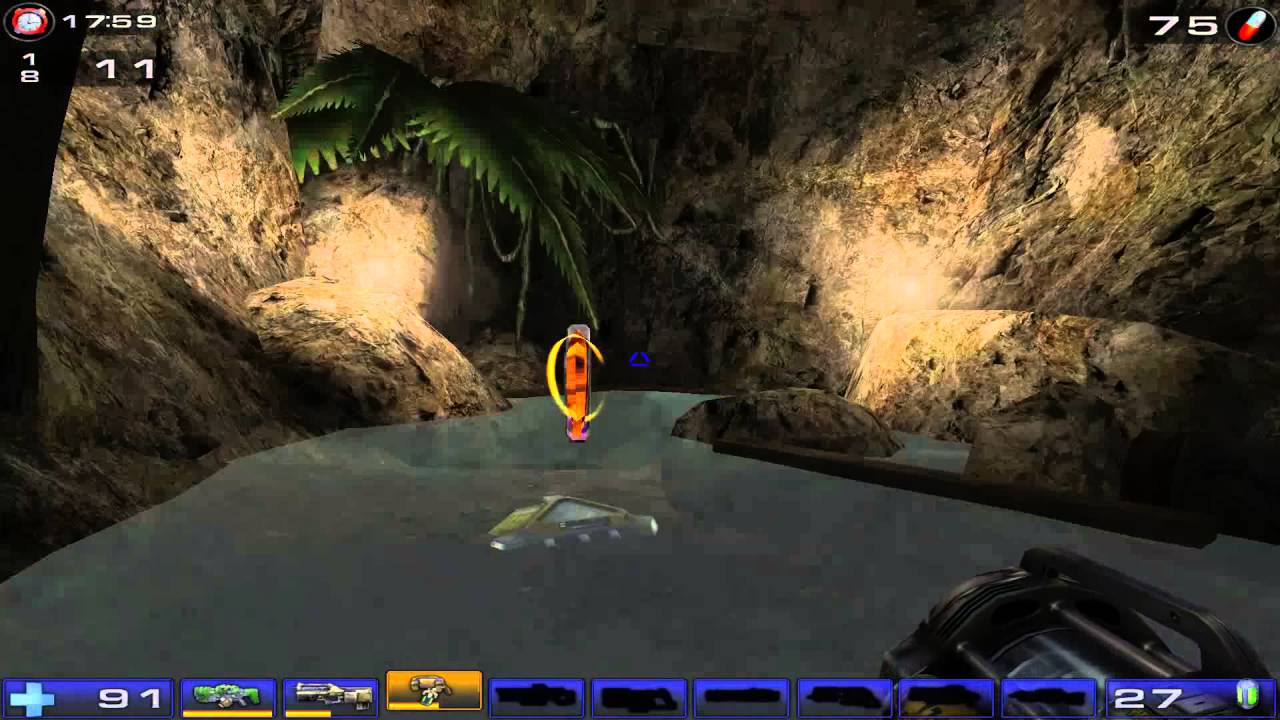
You can think of analog emulation as tapping your assigned key, for example W, faster and faster in proportion to how far you are moving your thumb forward. In some games, this has the side effect of causing some jittery animations. (Try using this in Skyrim.) But especially in older games, Like Quake III, the animations are not a concern because all there is, really, is a slight bob to your gun. This allows some games with absolutely no or very limited joystick support to take benefit from the trackpad or the analog stick of the Steam Controller. Sometimes, when it is set up well, you will not be able to tell the game even lacks joystick support.
The only two other things you will likely need to care about right away are the requires click and dead zone options. ‘Requires click’ means you must physically click the pad down to have the input take place. For menu navigation, this is usually set to ‘on,’ but for a WASD setup, most users report preferring this to be off, but it is entirely up to you and mostly a matter of preference. The dead zone, on the other hand, is likely something you will have to experiment with. Most users prefer at least a small area in the middle of the pad for their thumbs to rest on when not actually moving.
Scroll wheel
Scroll wheel has a few modes that can be very useful. The default setup for this mode uses a clockwise and counterclockwise circle you draw with your thumb on the pad to scroll. Under the Swipe Direction drop down menu, you can use a vertical or a horizontal swipe for the scroll wheel. This can easily be bound to the next weapon and last weapon controls of your game.
An extremely useful feature of the scroll wheel input style is the ability to set a list of commands that are sent as the wheel clicks through. So instead of simply binding next and last weapon you would instead bind one through zero on the keyboard to this list. Now, as you scroll it will cycle through the complete list of commands. An example of using this feature would be with quick slots for spells or armor sets, even inventory items depending on the game you are playing.
Touch menu

Touch menu is an amazing feature. The typical usage of this input style lets you touch your pad and then a literal menu, using the Steam overlay, will open up on screen. You can have up to sixteen different keys bound to each touch menu (and you can have two without even using the shift command). This is especially useful for keyboard shortcuts in an action RPG like Torchlight or an MMORPG like World of Warcraft, where you can bind the entirety of your skills hotbar, and then some, to a touch menu.
You can also greatly customize the look and function of your touch menu: everything from the color of icons and names of the buttons in the menu to the icons themselves. After deciding how many buttons you will need, select the button you wish to customize.

The familiar mouse, keyboard and gamepad binding screen will appear, except now in the top right you will see a circle with select icon next to it. Selecting this will give you a long scrolling list of pre-built icons to choose from. These are what will show when you open the touch menu. So, for example, you can set a disk icon bound to a quick save key. Or have your entire inventory of weapons available to you, each with their own dedicated button with its own icon to boot.

Mouse region
Mouse region is especially useful for those who play MOBA, ARPG, or MMORPG games. Mouse region takes a predetermined area of the screen and maps it as a 1:1 grid right onto the trackpad or analog stick. Imagine you are playing Sacred. In this and most other games like it, you move by clicking the mouse on some point of the screen, then your character moves to that spot. If you were to make a small mouse region in the center of the screen and make the touch action the left mouse button, wherever you touched the pad, your character would go. Holding your thumb on a spot will allow your character to continue moving in that direction, having the same result of adding real, proper analog movement. Mouse regions can also be placed to great effect on the analog stick, leaving your touchpad open for a touch menu and all your keyboard shortcuts for spells and such.
Mouse regions are also useful as an alternative to using a touch menu. For example, in Torchlight, you could shrink the vertical size of the mouse region all the way and after adjusting the horizontal size and positioning of the region, you have essentially mapped the lower bar on the screen to the pad. In this case, it would likely be a good idea to not have a touch binding and instead bind the left mouse button to the pad click.

This input style requires some fine tuning to get just right. Use the controller HUD while adjusting to show a graphical representation of the region being edited. Another limitation to keep in mind is that Windows display scaling can and does interfere with the placement of the regions in the HUD. Have Windows DPI scaling turned off for both Steam and the game you are trying to play to avoid some of these issues.
Another thing to bear in mind when using mouse regions is that if the resolution of the game and the Steam overlay are too different, or if the game uses a non-standard way of cursor positioning, the region may not work properly. If your game supports it, using a hardware cursor is the most likely to succeed. If not then regions can usually be made to work as above but more experimentation and semi-blind attempts may be required.
Gyros
The gyros are the Steam Controller's best-kept secret. Remember the last console generation, when gyro controllers and waggle were all the rage? The Steam Controller is nothing like that. The Steam Controller’s gyros are high accuracy and low latency, meant for enhancing an already established control scheme. They work really, really well.
One of the most useful things you can do with the gyros is aim assist. Imagine you’re playing an FPS. If you set the sensitivity of your pad too high, you tend to overshoot your target and can’t seem to get any good headshots. Conversely, if you lower the sensitivity too much, you can’t swing your view 180 degrees fast enough to zero in on the next target.
Now imagine you have your pad sensitivity set high enough that a single swipe equates to a full 180-degree turn, while you have the gyros set substantially lower so you can zero in on the target and get the headshot you were looking for. That is the power the gyros give you. One of the best features of the Steam Controller is allowing mouse input, or joystick for that matter, from both a pad and the gyros simultaneously. So let’s set up a simple test of this in a game some of you might remember.
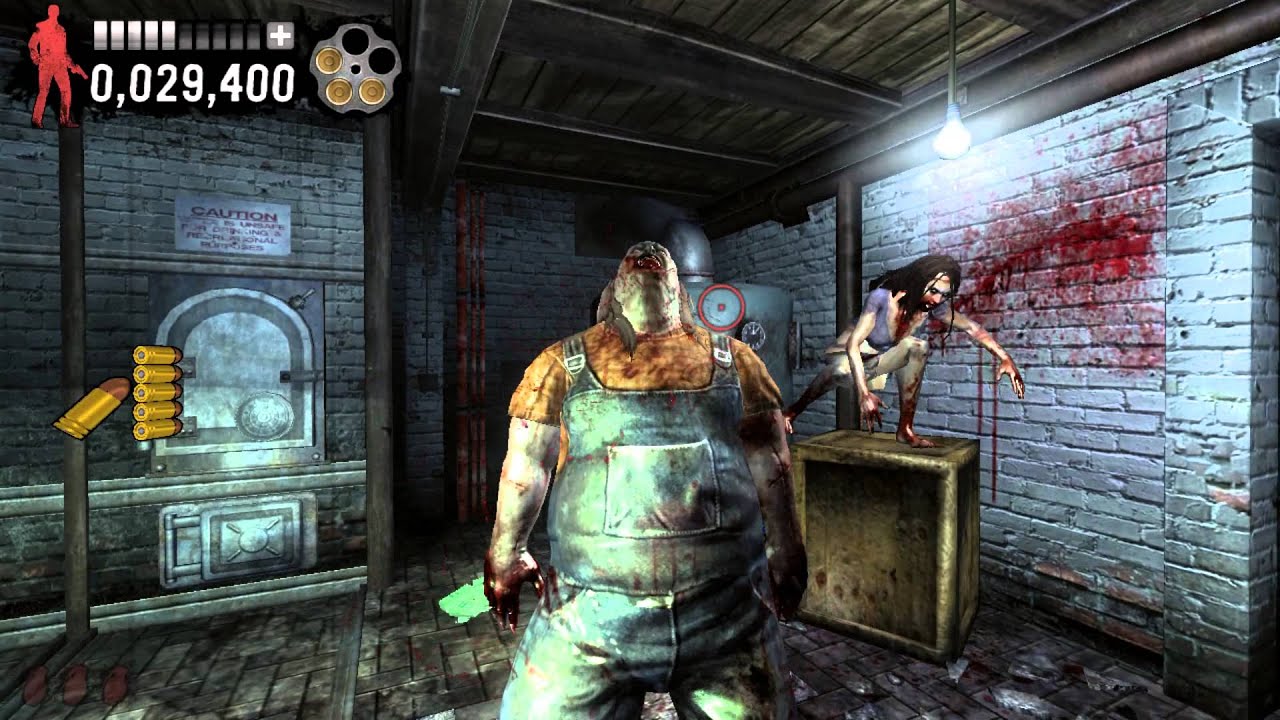
Gyros are also useful for mouse only inputs. Good example: Typing Of The Dead Overkill, which includes the entire original game that can be played with the mouse. It was first released for the Nintendo Wii as an IR pointer input game. The Steam Controller does not use an IR pointer but the accuracy of the gyros is such that this game is not only fully playable but is also substantially easier than its Wii counterpart.
Gyro lean is something most users will likely ignore until they see it being used in a game. The Steam Controllers gyros are limited to only outputting two axes at any given time. This means you can use the gyros as a mouse or a joystick but you can’t also use them for a roll axis at the same time. But by customizing gyro lean, you can set a threshold so that when you tilt the controller from side to side, you will be outputting a button command.
This can be very useful in games that have a lean function. Dishonored is a prime example of this. You can now stay behind cover and as you roll the controller, peek out from behind that cover and using the pad and the gyros, line up and finally take that shot. When you get your own body involved in this way, it can feel quite satisfying to a tricky shot that would have required a third hand or seven fingers to pull off with a traditional controller. This option is not hidden behind the advanced settings and is right there on the main config screen for the gyros. The point at which this digital command is activated, however, is behind the advanced menu and is called gyro lean point.

The last typical use case for the gyros is in racing games. When the Gyro is set to a joystick output, it reveals a setting where you can restrict the output to horizontal movement only. This is useful for racing games so you don’t feel the haptics distracting you while you are absentmindedly moving the controller a little bit vertically. You also might want to use only the roll axis of the gyros and it will start to feel a bit like Mario Kart Wii in the way you steer, only much more accurate.
Gyro enable button is the button you need to press to activate the gyro control you have bound. One example: when playing a modern FPS game that has the ability to aim down iron sights, you can set the gyro enable button to the left trigger soft pull. Now the gyros and their fine aiming will be enabled only when you aim down the iron sights. Another way to do this is to have the gyros enable on right pad touch. This way, you have the ability to stop the gyros from outputting when you are not explicitly trying to aim at a target. As you can imagine, some games menus can get a little rough to navigate if the mouse keeps moving at your slightest movements.
This also allows you to 'ratchet' your position, as in letting go of the pad, adjusting your physical position and then reactivating the gyros. This will combat some of the inevitable gyro drift—drift being that no matter what you do, you will never precisely return to the exact same position reliably. This is normal for gyro input devices.

On the next page: The options you need to know for each input style, and what they do.


