The best perks in Dead by Daylight
Get the edge as a survivor or a killer with our Dead By Daylight perks guide.

Dead By Daylight’s perks have the power to make or break a trial. Some can tip the scales in favor of the survivor or the killer during one final chase to the exit gates, while others can act as a match-long hindrance for survivors and killers alike. Consequently, special care should go into choosing your perks before each trial begins.
Each survivor and Dead By Daylight killer holds three unique perks (in addition to a handful of universal perks) that can be obtained via the Blood Web. Initially, only one perk can be equipped at a time, before more slots are opened at levels five, ten and fifteen, making a total of four perks to be equipped at a time.
As perks continue to level up via the Blood Web, higher leveled versions can also be obtained. However, perks are each randomly generated based on levels of rarity. “Teachable” perks can also be obtained at higher levels, allowing for other survivors to obtain perks previously exclusive to specific characters (this can also be achieved via the Shrine of Secrets with iridescent shards).
This list will focus on the best Dead by Daylight perks that are generally the most useful to new and experienced players alike. It will also specify the survivor or killer that the perk is initially exclusive to (if applicable).
The best Dead by Daylight survivor perks
The best Dead by Daylight survivor perk loadouts typically involve perks that are passive and always active, or perks that are most beneficial while directly being targeted.
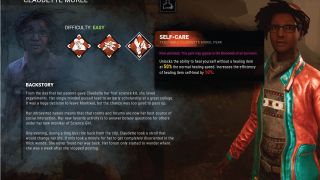
Self-Care (Claudette Morel)
Self-Care is a perk that fits in almost any survivor loadout. It allows survivors to heal themselves from the ‘Injured’ state without the aid of a med-kit (albeit at a slower rate). There are many advantages to this. First, it allows survivors to immediately work on getting back to the healthy state as soon as the killer is distracted. If a med-kit is brought to the trial, you don’t have to worry about running out of charges right before fully healing yourself, because you can use self-care to make up the difference. Self-Care can be used whenever there is a free moment, and even to taunt the killer if you’re trying to be a distraction.
PC Gamer Newsletter
Sign up to get the best content of the week, and great gaming deals, as picked by the editors.
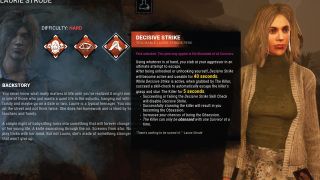
Decisive Strike (Laurie Strode)
Requiring a bit more skill to execute effectively, Decisive Strike activates after being rescued from a hook. If the killer catches a survivor with the active perk, the survivor can break free and stun the killer long enough to make an escape. Decisive Strike can be a risky perk, as it requires the survivor to pass a skill check to succeed, and even if it does, that player will become the killer’s Obsession. Nonetheless, a successful Decisive Strike will be time consuming for the killer, so the reward can be fruitful.
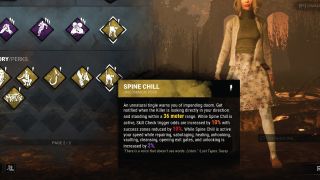
Spine Chill
A universal perk, Spine Chill activates when the killer is facing the survivor from a specific distance, flashing when it becomes available to use. Spine Chill has no cooldown, so it can be activated throughout the entire trial. This makes it a handy perk in a variety of situations. Since it only activates when the killer is facing the survivor, it’s an accurate gauge of knowing exactly when the killer is heading directly towards you. This is useful while being chased and trying to predict what the killer’s next move will be.
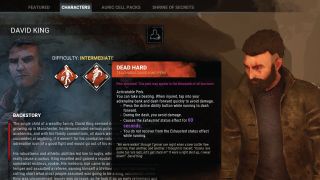
Dead Hard (David King)
Dead Hard combines the usefulness of Spine Chill with the timeliness of Decisive Strike. While only available in the ‘Injured’ state, it allows players to rush forward and gain brief invulnerability from any of the killer’s attacks. This includes projectiles, meaning that even if the Huntress throws a hatchet at you during a chase, you can time Dead Hard to make you immune to the impact of the hatchet, opening up a variety of escape opportunities.
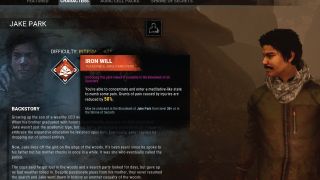
Iron Will (Jake Park)
For killers, auditory cues are essential in tracking survivors. When survivors are first struck and put into the ‘Injured’ state, they often let out a grunt of pain, indicating the direction that they run away in. This makes it easier for the killer to follow them as they flee. Iron Will reduces the noise (or completely eliminates the noise with its rarest tier), allowing for survivors to escape without auditory cues giving away their position.
The best Dead by Daylight killer perks
Like survivors, killer perk loadouts are most effective when they mix both actives and passives.
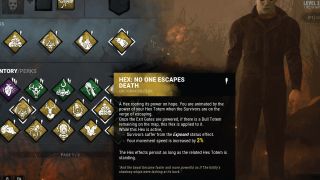
Hex: No One Escapes Death
Perhaps the most controversial perk on this list, No One Escapes Death (often shortened to NOED) is a perk that attaches to a hex totem once the last generator has been repaired. Until that totem is cleansed, the killer’s attacks are granted the ability to instantly put survivors in the ‘Dying’ state, including projectiles. This perk is so powerful that survivor players will often complain when it is used, but it’s still a perfectly viable tool in the killer’s arsenal.
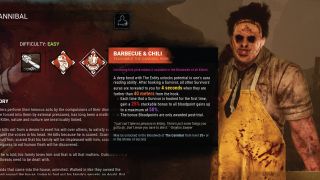
Barbecue & Chili (The Cannibal)
Often as a survivor is being hooked, teammates will either head towards the hook in an effort to quickly rescue their companion, or capitalize on the moment to keep on objectives while the killer is distracted. Barbeque & Chili allows the killer to actively see both. Once the survivor is hooked, the aura of all survivors further than 40 metres from that hook are revealed for four seconds. This allows the killer to see how many survivors are continuing on objectives at a distance, and thereby determine which players are likely attempting to rescue their teammate.
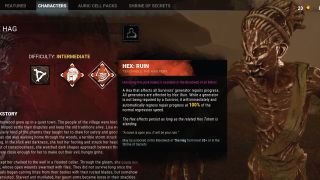
Hex: Ruin (The Hag)
Another perk that often infuriates survivors, Ruin instantly activates and attaches to a totem at the start of a trial. It slowly regresses any generator that isn’t actively being repaired. Ruin is ideal for preventing survivors from completing objectives, especially for killers who can quickly and easily move around the map to keep survivors on the run.
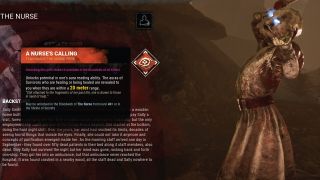
A Nurse’s Calling (The Nurse)
As many survivors will typically have either a med-kit or the Self-Care perk, A Nurse’s Calling is a handy perk, as it reveals the aura of any survivors actively healing themselves or a teammate within a certain distance. It’s perfect for not only tracking survivors, but also making sure that they don’t have the opportunity to restore back to the 'Healthy' state as well.

Sloppy Butcher
Sloppy Butcher is a highly versatile perk. In addition to inflicting the ‘Mangled’ status effect, which decreases the rate survivors can heal themselves, it also increases the rate in which they bleed, leading to easier tracking. This trait counteracts many of the perks that survivors often use. If they have Self-Care, for example, then healing will take longer. If they have Iron Will, the additional bleeding will cancel out the reduced noise the survivor makes.
Most Popular


