20 Essential Tricks Every Skype User Should Know
Create Your Own Podcast
Using Skype, you can create your own professional sounding Podcasts that rival the sound quality of those using much more expensive equipment. And provided no one is using a $0.25 microphone picked up from Walmart's clearance bin, you may find that your Podcast sounds better than most radio interviews where it's clear the guest is speaking through a telephone rather than sitting in the studio next to the DJ.
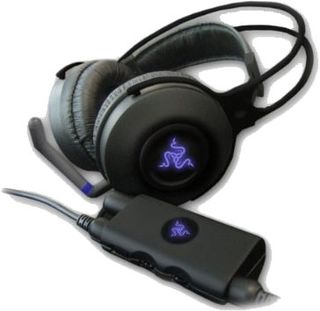
Image Credit: Razer
Don't get us wrong, you don't need an ultra-expensive microphone, but we suggest using one with noise canceling capabilities so you don't end up broadcasting sounds from the background. And generally speaking, you should avoid using the mic that comes built into most webcams and notebooks, as these tend to be pretty low quality. Headsets with built-in microphones typically work well.
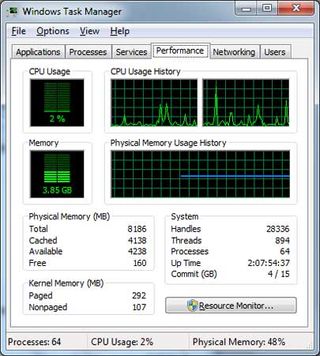
The next order of business is to shut down any programs you're not using, particularly any app that taps into your Internet bandwidth. Is Outlook running? Shut it down. Downloading a torrent? Pause it and close uTorrent. You don't want anything running that could potentially degrade the sound quality of Skype, especially if you plan on including multiple recipients in your podcast.
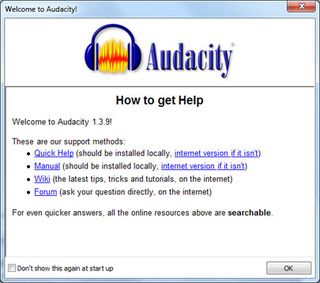
Next, download the latest version of Audacity from here . If you're running Windows 7, we suggest installing the latest beta release, which is currently version 1.3.9. We ran into some quirks running the latest stable build on our Windows Home Professional 64-bit testbed, but the beta release ran without a hitch.
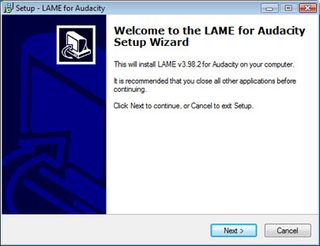
Due to the murky legal waters surrounding software patents, Audacity opts not to bundle and distribute an MP3 encoder with its recording software. And that's just fine, because it's easy enough add an encoder ourselves. To do so, download the LAME ( L ame A in't an M p3 E ncoder) from here and install to the default directory.
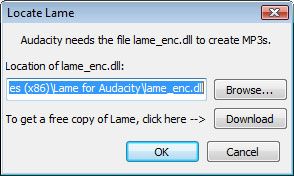
When it's finished installing, fire up Audacity and navigate to Edit>Preferences>Libraries. Click the Locate button and then press Okay.
PC Gamer Newsletter
Sign up to get the best content of the week, and great gaming deals, as picked by the editors.
Here's where things get a little tricky. Starting with Vista, the ability to record sounds from your PC's audio channels have been stripped away, or at least it would appear that way at first glance. It's widely believed this was done to prevent end users from recording streaming audio, such as songs from an online radio station (isn't DRM grand?). Unfortunately, this also prevents us from recording other Skype users.
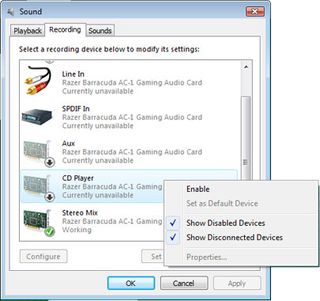
To get around this, we need to re-enable the Stereo Mix option as a recording device. Right-click the sound icon in the Systray and select Recording devices. Next, right-click any of the devices and check the option to 'Show Disabled Devices.' If your soundcard supports Stereo Mix, you should now the see the option lightly grayed out. Right-click and select Enable.
If you don't see the Stereo Mix option, it's possible your sound solution doesn't support the option, either at the hardware level or by restricting access at the driver level. Either way, there's no easy remedy short of investing in a discrete soundcard that supports Stereo Mix, such as Razer's Barracuda AC-1 or Creative's X-Fi series (Creative calls Stereo Mix 'What U Hear').
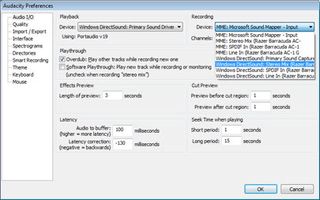
We're almost ready to start recording. Fire up Audacity again if you previously closed it down, then navigate to Edit>Preferences>Audio I/O (depending on which version of Audacity you have, Audio I/O might also be labeled Devices). In the Device pull-down menu under Recording, select Stereo Mix (or What U Hear).
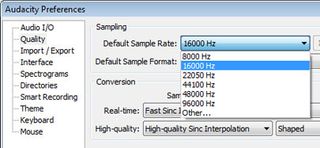
Jump over to the Quality section in Audacity's Preferences tree on the left-hand side. Change the Default Sample Rate to 16000Hz. This will strike a good balance between sound quality and file size, but if you truly need a higher quality recording, play around with higher sample rates.
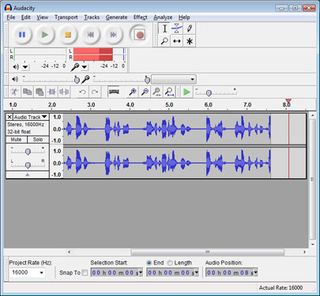
Now you're ready to start recording! Once you and your guest(s) are ready, just hit the record button. If everything is set up correctly, you'll see the audio track updated in real-time. If not, you need to retrace your steps to see where you might have went wrong, or adjust your microphone's volume.
Spend some time playing around with Audacity to learn the program's intricacies. When you're finished recording, you can delete awkward moments of silence or other undesirable parts of the recording you don't want included in the final product. You can also add in background music and sound effects by recording additional streams. We're not going to cover all the tricks you can do with Audacity (at least not in this guide), but as you play around, you'll soon discover it's a pretty powerful recording program that belies its free price tag.

The last order of business is to save your finished recording as an MP3 file. Click File>Export and fill in the Metadata form (track title, track number, and so forth). After you've tagged your Podcast, mash the OK button and select MP3 from the Save as type pull-down menu.
Most Popular


